
What’s the BEST way to blend colored pencils?
I get asked all the time what tools I use to blend coloured pencils. Until now, I’ve been using the layering and burnishing method that I showed you in my previous blending video, and it has worked beautifully to create smooth blends with bold colors.
But some of these other blending methods can save time, use less pencil, and might just work better for different types of pencils or papers.
So I decided it was time to try every possible blending method I could find to see if there was a better option out there for me, and to answer all those questions I’ve been getting about using blending pencils, solvents, and even household products to blend colored pencils.
Check out the full video, and scroll down for the results!
Disclaimer: This post contains affiliate links and I may earn a commission if you click them and make a purchase (at no cost to you).
Blending Colored Pencils
Today, we’re testing the professional blending tools like blending pencils, solvents, alcohol markers, and a few extra products I came across in my search.
I’ve broken this up into the below categories you can click to skip ahead:
Basic Blending Methods
- Burnishing method (& burnishing pencil)
- White Pencil
- Blending Stump
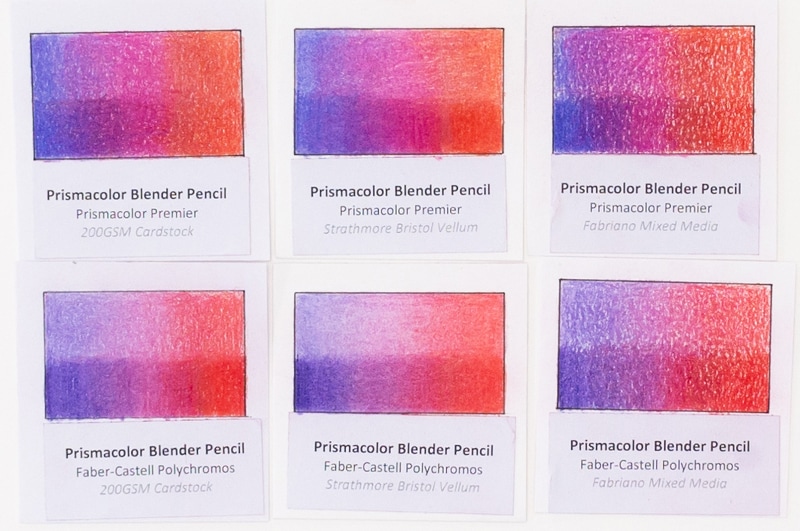
Blender Pencils
- Prismacolor Blender Pencil
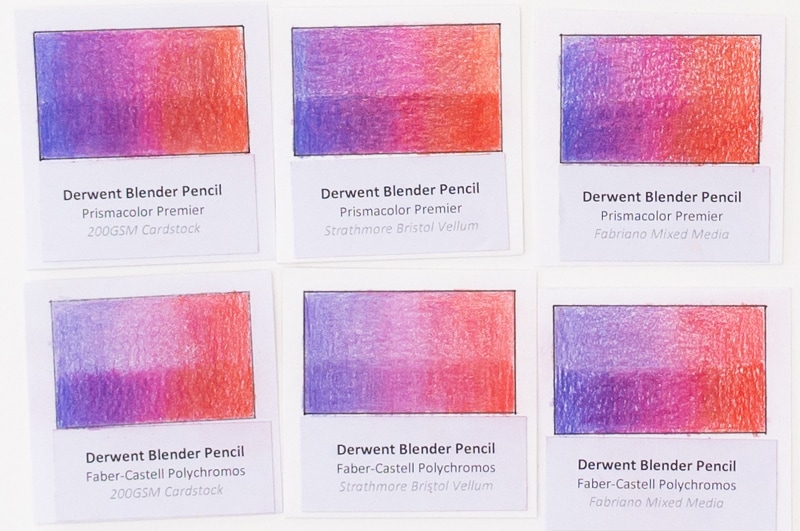
- Derwent Blender Pencil
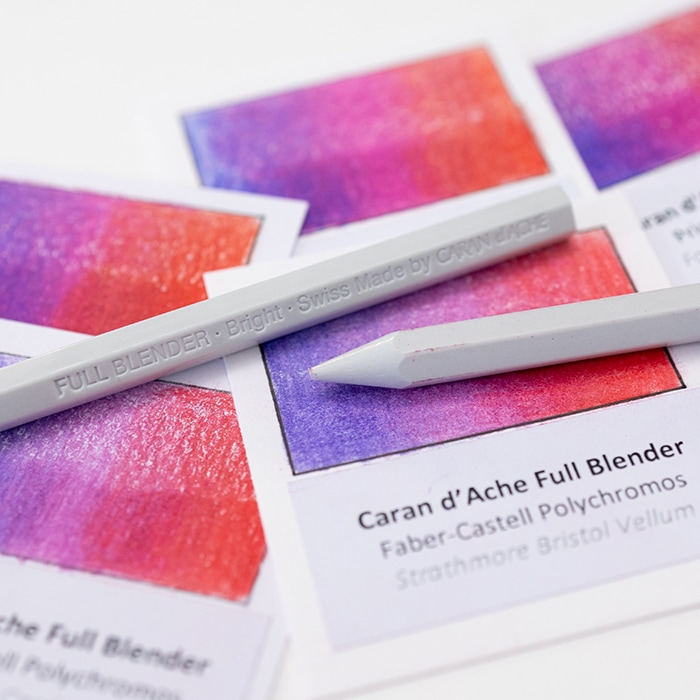
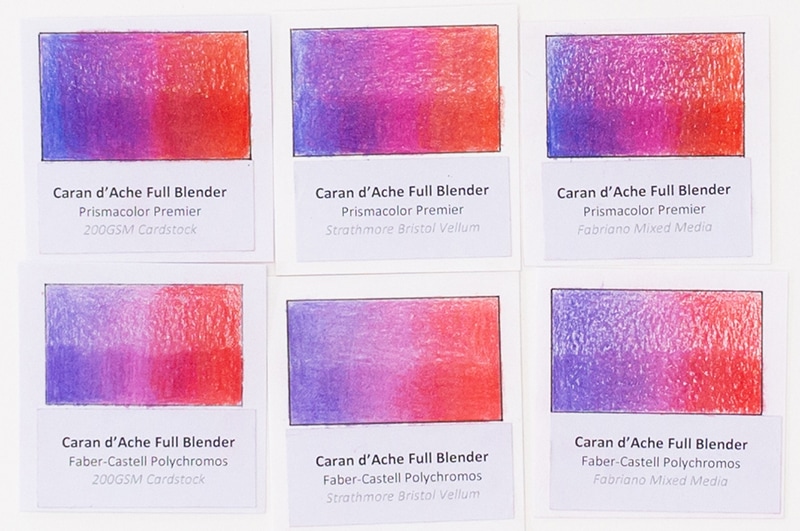
- Caran d’Ache Full Blender Pencil
Blending Solvents
- Artists’ Odorless Solvent
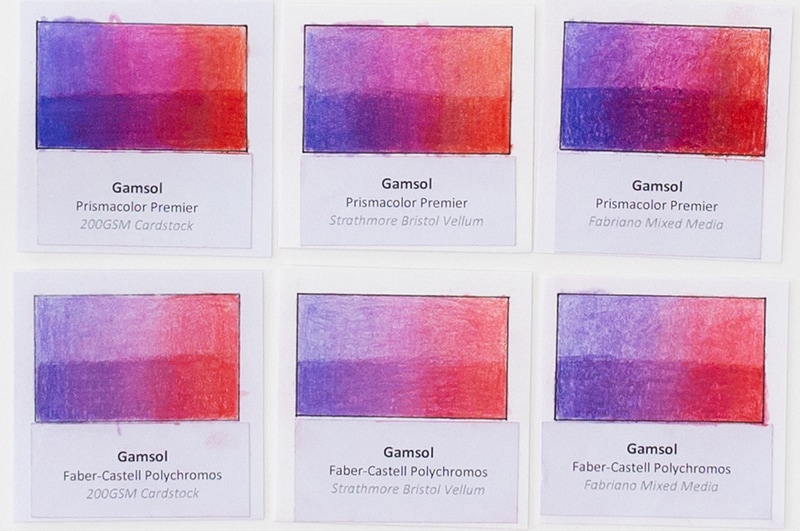
- Gamsol (Odorless Mineral Spirits)
- Zest-It Pencil Blend
Miscellaneous Blending Methods
- Powder Blender
- Alcohol Marker
- Blender Pen for Colored Pencil
Blending Colored Pencils with Household Items
I’ve included a separate video below where I’m testing out popular household items to see how well they blend with colored pencils too!
- Vaseline
- Baby Oil
- Vegetable Oil
- Olive Oil
- Coconut oil
- Isopropyl Alcohol (Rubbing Alcohol)
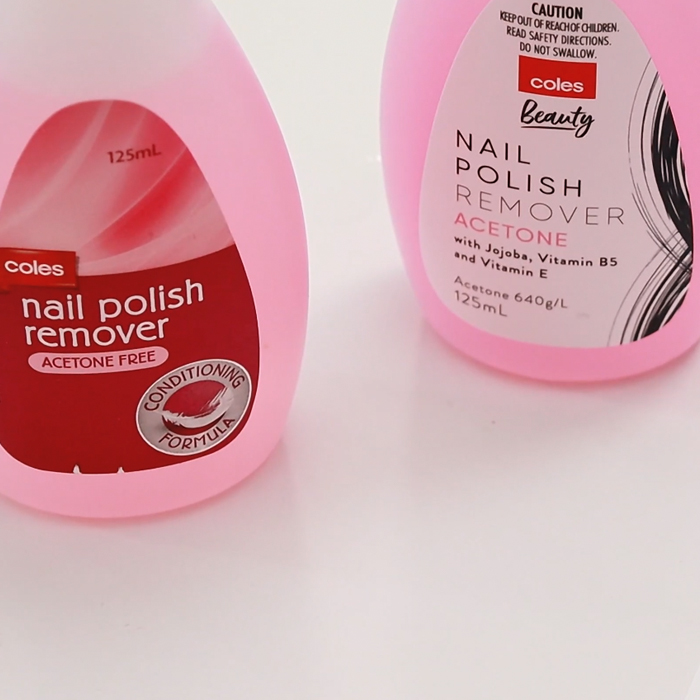
- Nail Polish Remover (with acetone)
- Nail Polish Remover (acetone free)
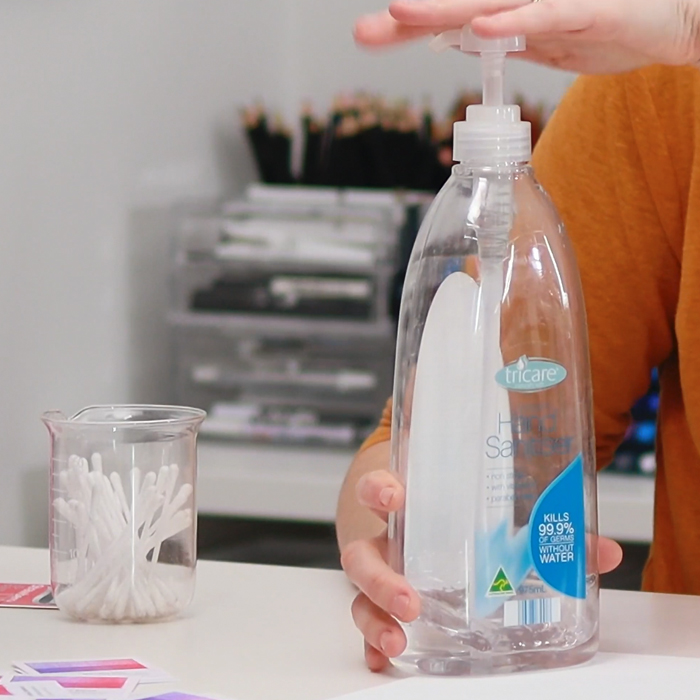
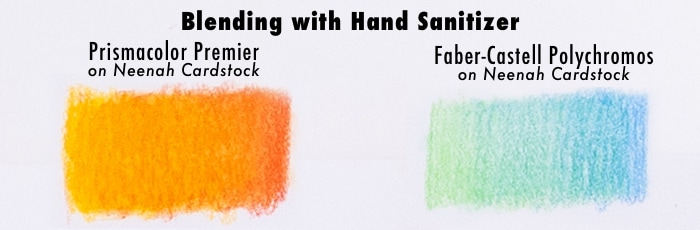
- Hand Sanitizer
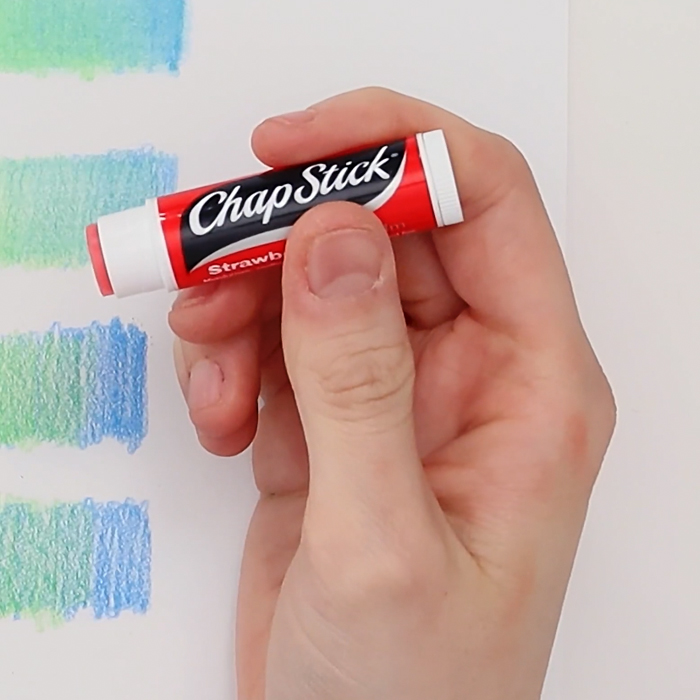
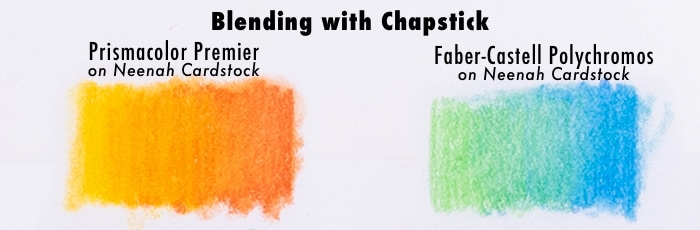
- Chapstick
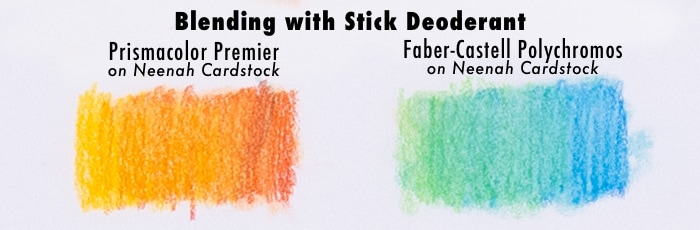
- Stick Deodorant
- Pizza Stone (Heating Technique)
Preparing for Testing
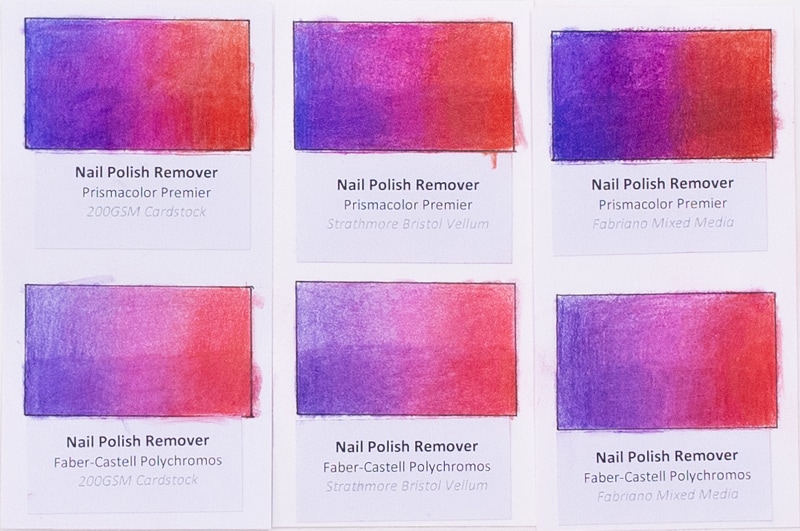
To make sure this test is thorough, I also wanted to test a few different papers, and see how each of these methods worked for wax and oil-based pencils.
Pencils Tested:
Paper Tested:
- Strathmore Bristol Vellum
- Quill Cardstock 200GSM (or similar)
- Fabriano Mixed Media
Preparing Pencils for Blending:
Because we are using blending tools, I didn’t want to burnish any of my pencils or layer too heavily. I wanted to see just how well these tools work, so I’ve putting down enough pencil that the blending tools will have enough pigment to work with, without so much that we can’t see how well they work.
Once you’ve tried and tested a certain method, you’ll be able to adjust your coloring and work out exactly how much pencil to put down before applying your blender. Some blenders work better with lots of pencil first. Other blenders work better with a little pencil at a time, and some blenders will even allow you to build up layers.

Blending Colored Pencils – Basic Blending Methods
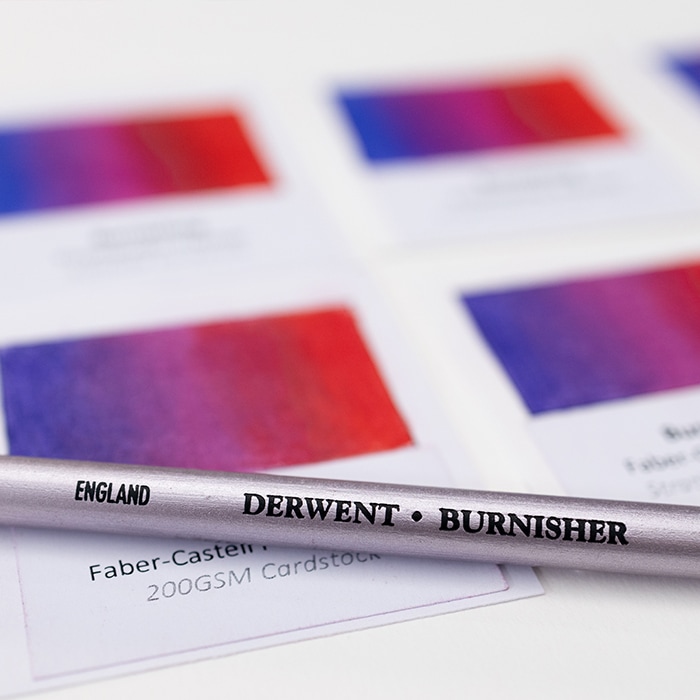
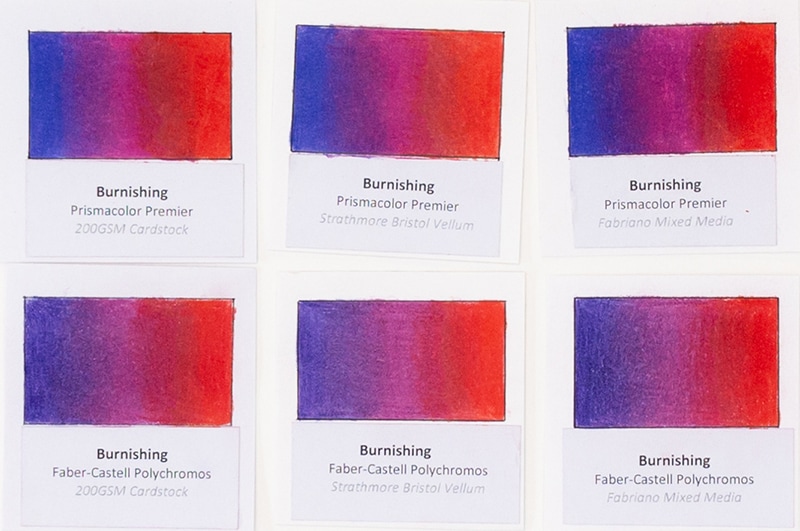
Burnishing method (& burnishing pencil)
We’re starting with the basics. The first method is burnishing, which is what I use on most of my coloring pages to create smooth blends and beautiful gradients. You don’t need any extra tools for this, but you can use a burnishing pencil if you’d like, which is a pencil without any pigment.
Burnishing flattens the tooth of your paper, so it’s the last step in your coloring. Once you’ve burnished your page, it’s very hard to add any more layers of color without adding some kind of textured fixative.
Pros:
- No extra tools required
- Easy to control
- Colors are bold and vibrant
Cons:
- You can’t add extra layers after burnishing
- Uses a lot of pencil
- Takes longer than other methods
Buy Burnishing Pencil: Amazon
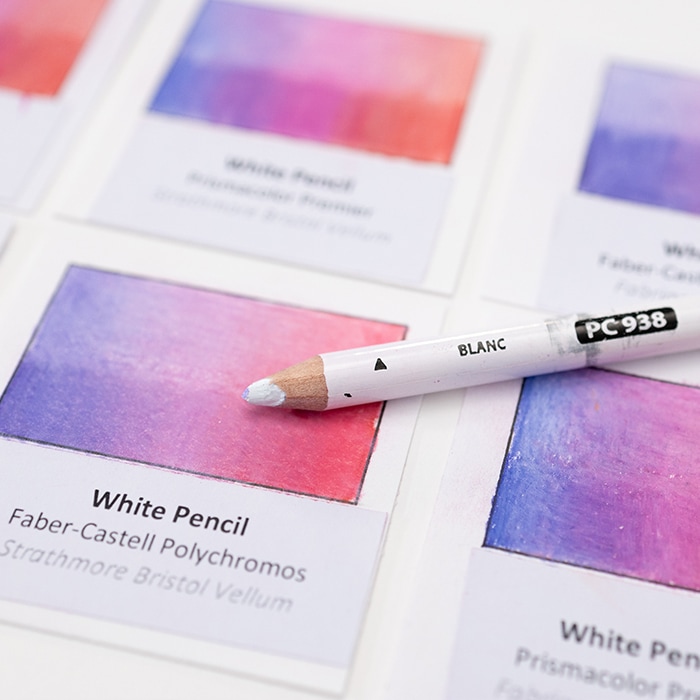
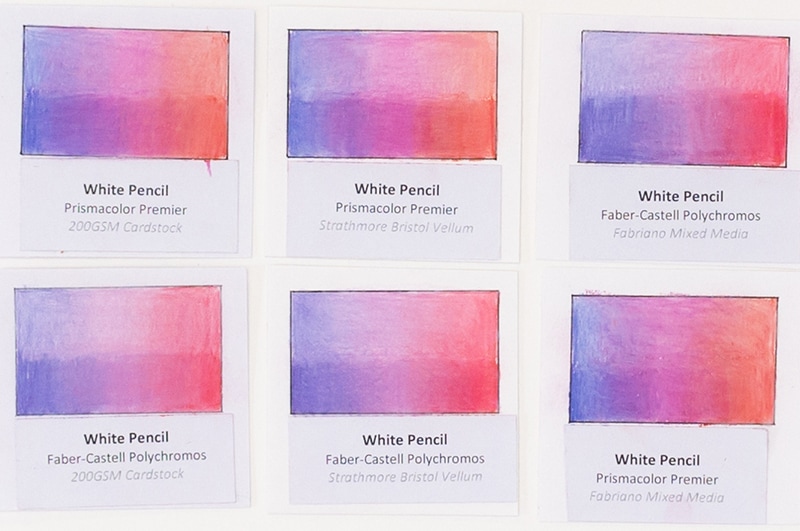
White Pencil
Blending with a white pencil is much the same as burnishing, except that you do the burnishing process with a white pencil instead of a burnishing pencil or the colors you are already using. It softens the colors and smooths them out well, but can also create a milky appearance and wash out bright colors really quickly – so use this when you are wanting this effect.
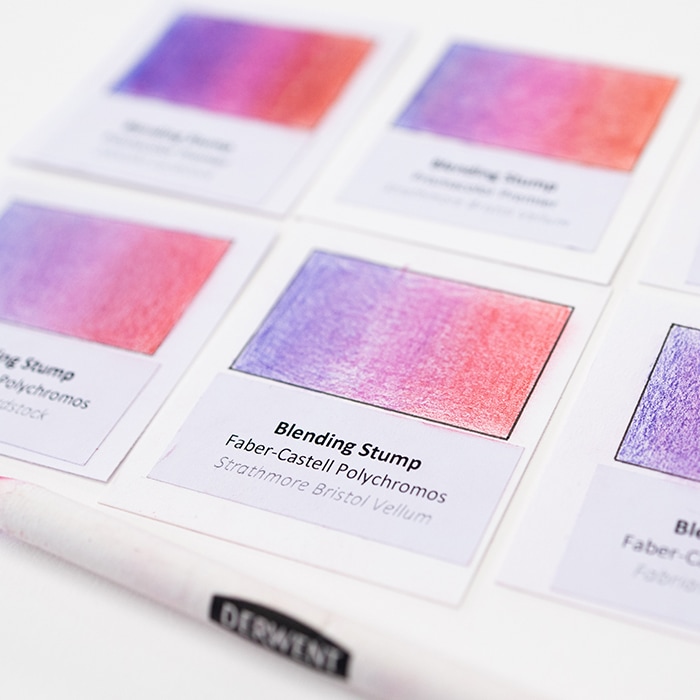
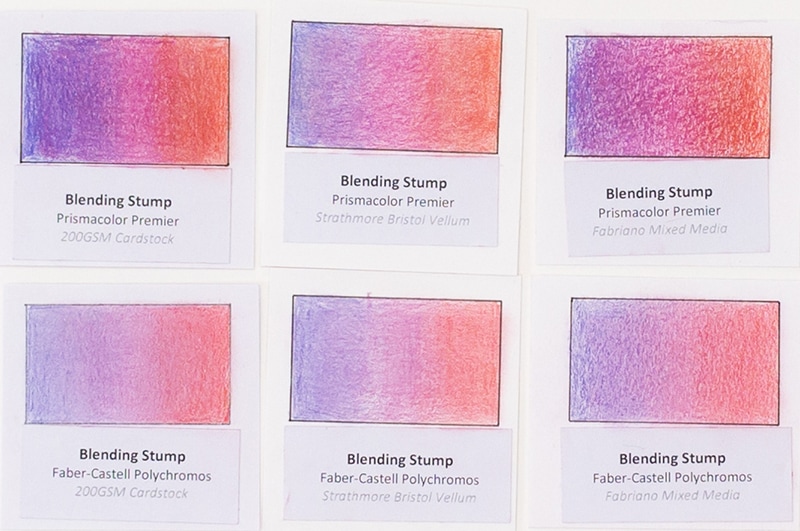
Blending Stump
Blending stumps are designed for graphite pencils, but they can be useful for colored pencils too – although it’s definitely not their strength. I think they are best used for feathering/softening areas to white or creating light shadows, rather than to blend colors together, as you can see from my results below. The colors stain them quickly and you need sandpaper to clean them – but it was worth including in our test anyway!
Blending Colored Pencils – Blender Pencils
Many colored pencil companies now offer blender pencils to help blend colors together more easily and create smoother gradients. The pencils are easy to use and can also be used for burnishing. They are great for beginners and are much easier to work with than solvents.
You sharpen and use them much like a regular pencil on top of your colored pencils to smooth out and blend your colors.
All 3 brands I tried worked quite well. Personally, I liked the Prismacolor and Caran d’Ache blenders the most. The Caran d’Ache blender seemed to be slightly more effective.
Pros:
- Easy to learn and use
- Clean, not messy at all
- Easy to store with your pencils
Cons:
Not as effective as solvents at removing white paper texture (without burnishing)
Derwent Blender Pencil
Buy: Amazon
Blending Colored Pencils with Solvents
Solvents are a popular choice for many artists because they save a lot of time and allow you to spread out your pencils to cover much more area with less pigment, especially on lower layers.
They break down the wax or oil in the pencils so the color acts more like a paint – filling the texture of the paper easily and blending colors together.
They take a bit of practice, and it can be easy to use too much – so I recommend testing them and practicing on scrap paper before applying solvents to your artwork.
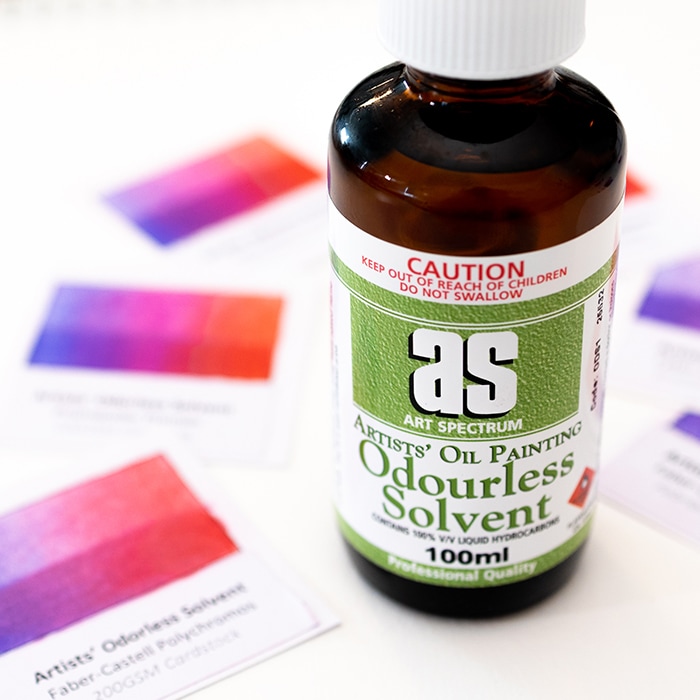
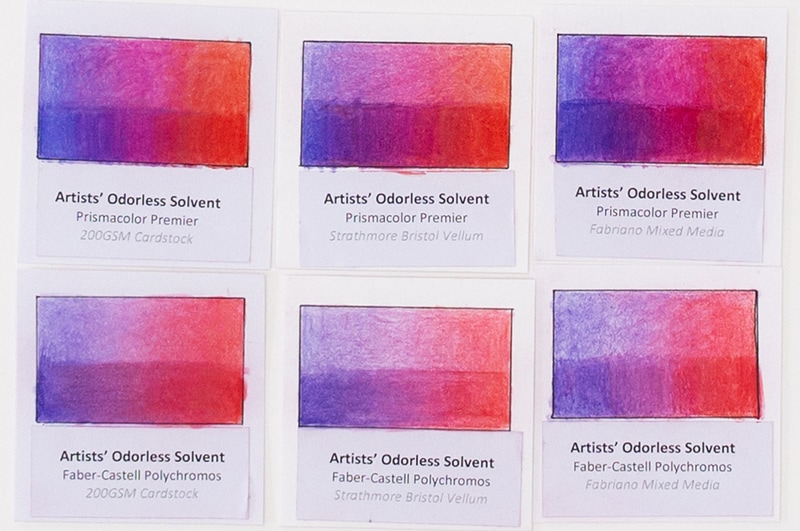
In my examples, I applied a small amount of solvent with a cotton bud that I wiped with a paper towel to remove excess solvent, so it was barely damp before applying to my pages. You can also use a sponge, brush or other items to apply the solvent.
Each solvent I tried worked in a similar way, and you do need to be careful not to rub or move the pigment around too much once you’ve applied the solvent.
Once your solvent has dried, you can go back and add more layers of your colored pencil. You can use the solvents on multiple layers or just the lowest layer, it’s up to you.
Pros:
- Very effective at spreading out color
- Saves a lot of pencils
- Saves time
- Can be layered
Cons:
- Learning curve
- Messy
- Some solvents have strong smells or health risks with too much exposure (need ventilated area)
Artists’ Odorless Solvent
Zest Pencil Blend
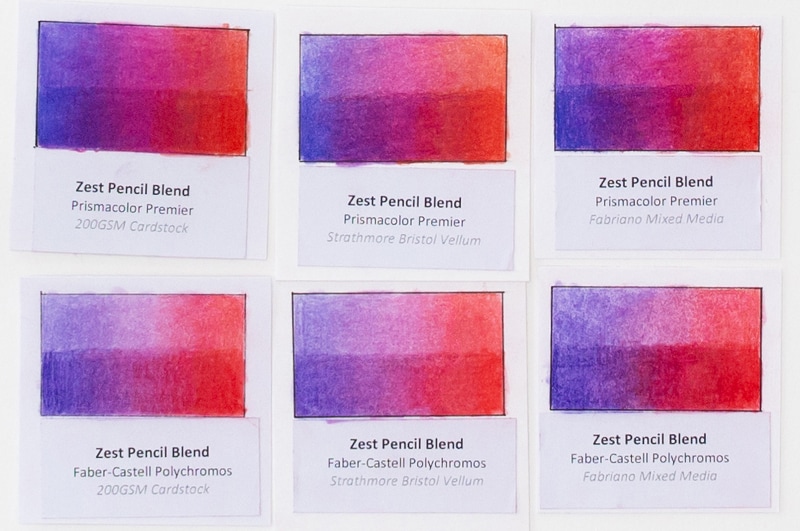
Zest-It Pencil Blend
I also really wanted to try the Zest-It Pencil Blend, because it is recommended by so many artists. I ordered it but received the Zest pencil blend from my video instead. It’s possible that these products are the same – I’m waiting to hear back from the store we purchased from to confirm.
Blending Colored Pencils – Miscellaneous Blending Tools
Powder Blender

I misunderstood how the powder blender works, so it doesn’t quite fit in the category of the other blenders tested today, and is almost a different medium of it’s own.
The powder blender works best on sanded paper, and is applied before using pencils. It works best with oil-based pencils (like Polychromos) and turns the pencils into a pastel-like product that can be moved around and used in a different way.
Buy: Blick
Here is a video from Lachri Fine Art that demonstrates how to use the powder blender effectively.
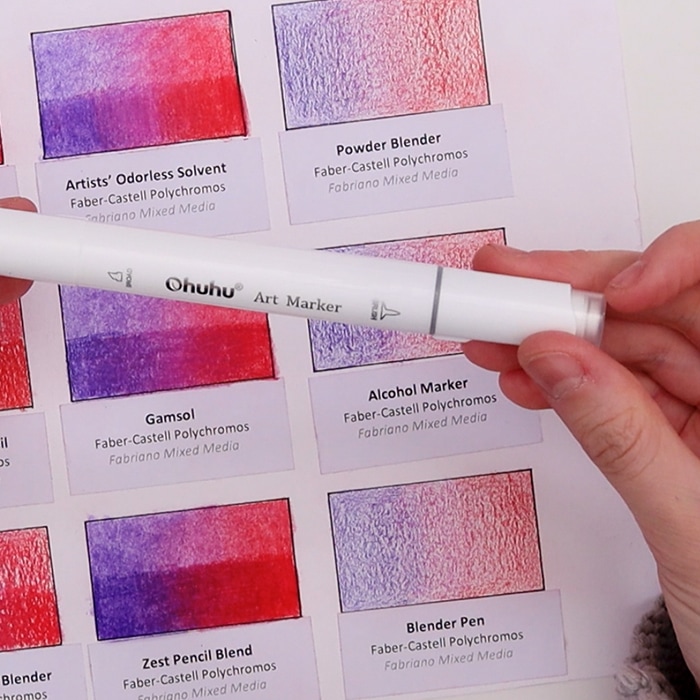
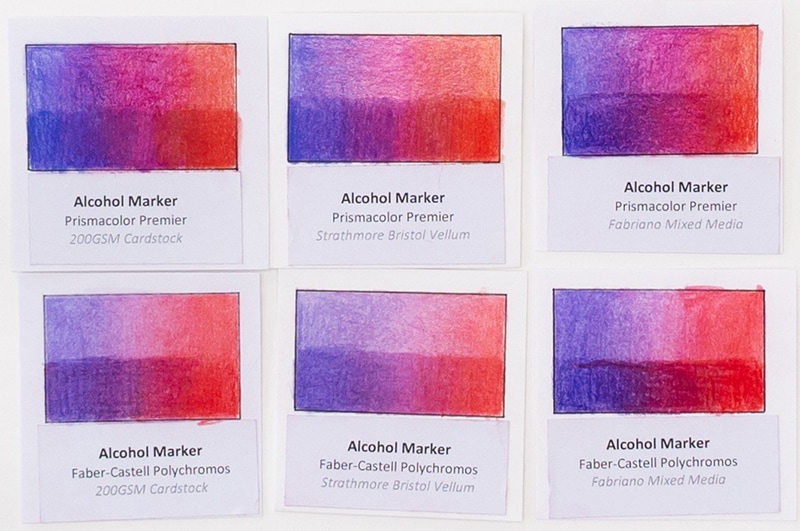
Alcohol Marker (Colorless Blender)
Most brands that make alcohol markers will make a colorless blender marker. I’m using my Ohuhu colorless blender because I have 2 of them – I don’t recommend using the marker that you intend on using with your marker set, because your pencils may stain or damage it. Instead, buy a separate one if you intend on using it for your pencils.
This is easy to apply and dries pretty quickly. Like most of the solvents, you do have to be careful not to move the colors around too much when it’s wet or drag colors into each other, so keep a spare piece of paper nearby to draw on in between colors to clean your marker. It doesn’t break the pigment down quite as much as the solvents, but I’d say it does a pretty good job for a base layer, and I like the convenience of a pen.
Pros:
- Very convenient to use, not messy
- Fills the tooth of the paper quickly
- Almost as effective as the solvents
Cons:
- Takes some practice
- Easy to accidentally drag colors into each other
- Marker remains stained after use
Buy (Copic Colorless Blender): Amazon
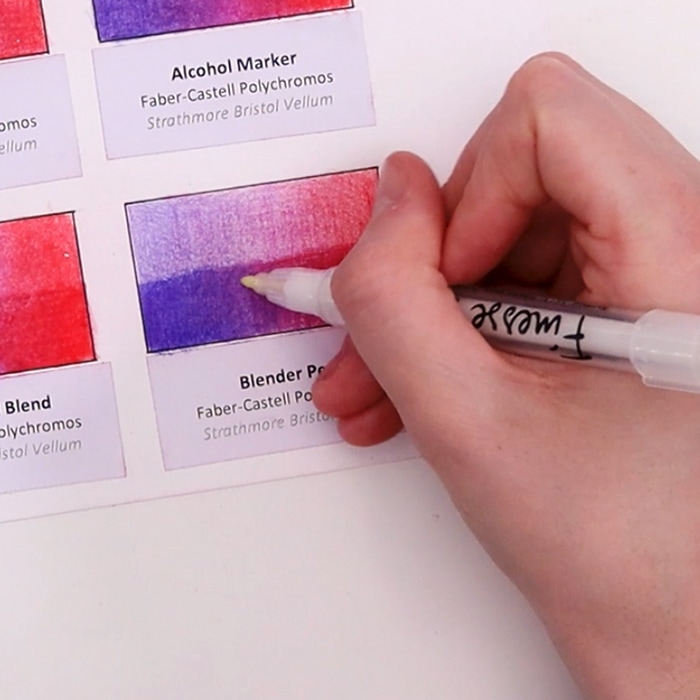
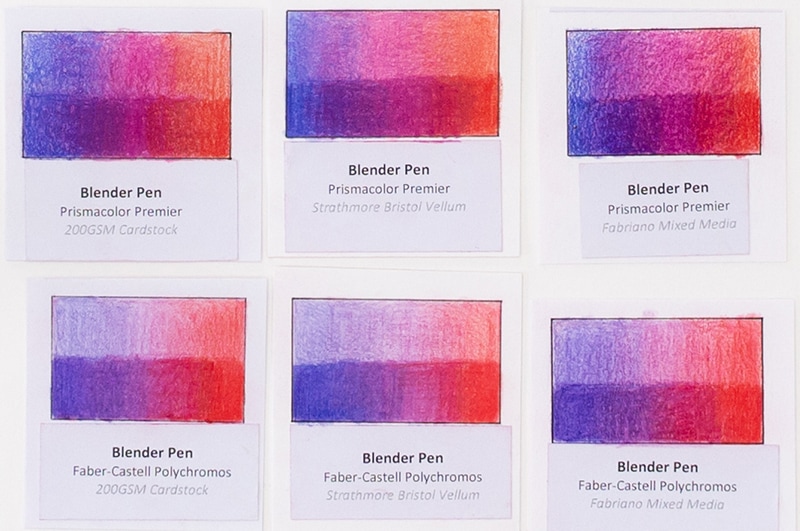
Blender Pen for Colored Pencil
The next blender pen I’m using is from Finesse and it’s a Colored pencil blender pen.
After a little research online, I was able to confirm that it was basically the same as the colorless alcohol marker. And while it did a great job, it’s quite a thin marker and the ends don’t seem as high quality as many of the colorless alcohol markers around the same price range.
Blending Colored Pencils with Household Items
Now, let’s look at some blending “hacks” using everyday items you might already own.
I’ve filmed a second video where I tried these out below, or keep scrolling for the final results to compare against our professional tools we’ve just listed!
This video will be available to watch from 5:30AM ET Friday.
I’ve tested some of these on the same paper as the tests above, but for the rest, I’ve used a the Neenah bristol vellum cardstock I’ve just purchased from Amazon to try out. I’ve heard a lot of positive reviews about this paper for coloring, especially if you are wanting to use it in your printer, so I’m excited to finally try it for myself instead of the cardstock I’ve been using so far. I was pretty happy with the results from this video.

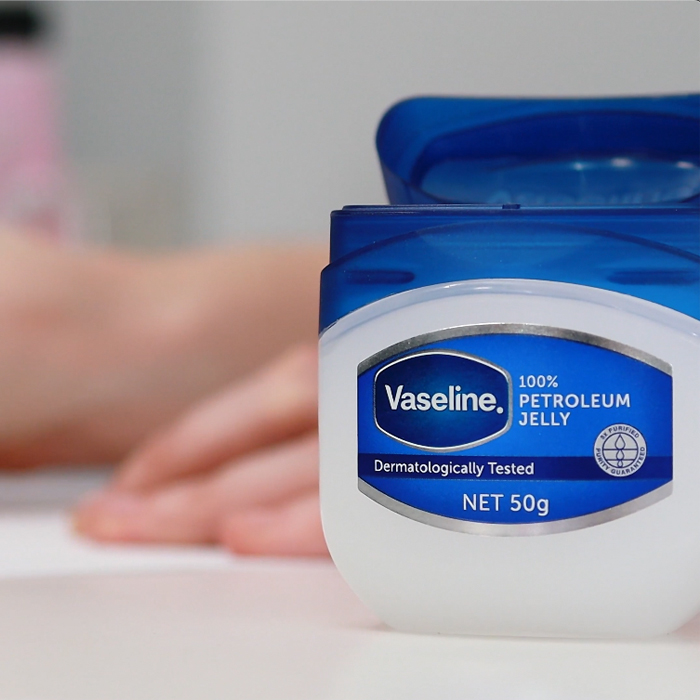
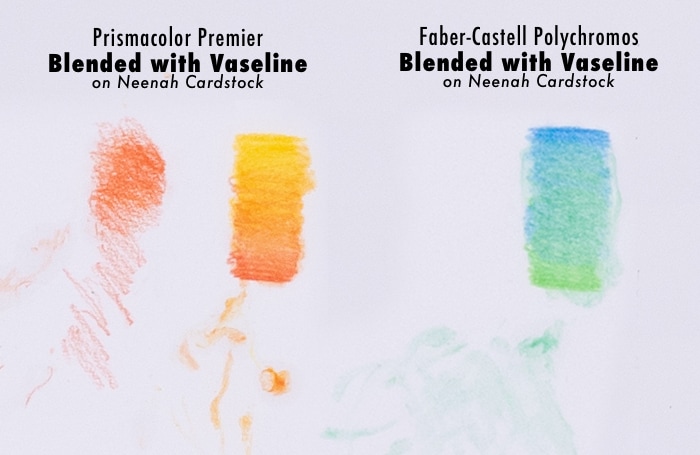
Vaseline
This was one of the first methods I heard recommended when I was a beginner, so it’s the first method I’m trying today. I know a lot of people recommend this, but it didn’t really work for me today, so maybe it was my method? Either way, I was underwhelmed!
Pros:
- Smooths out the colors easily
- Can be used on top or under the pencils
Cons:
- Messy to apply
- Learning curve
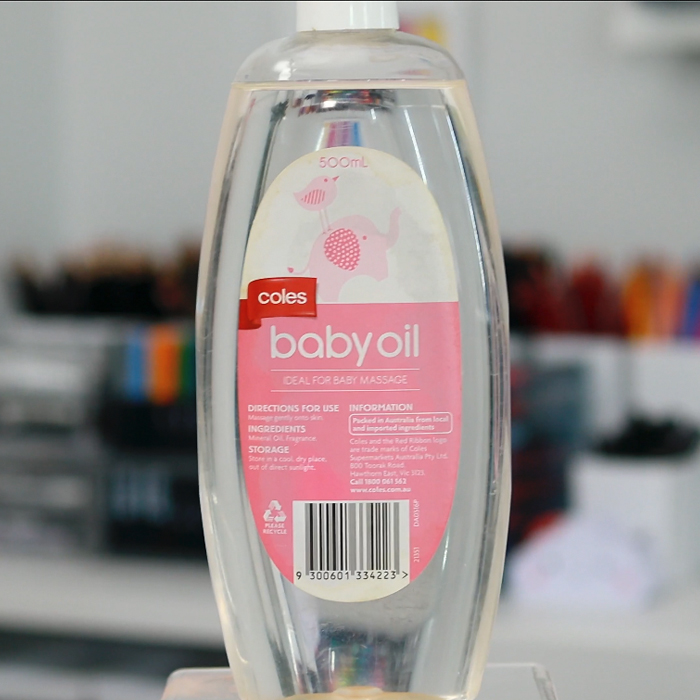
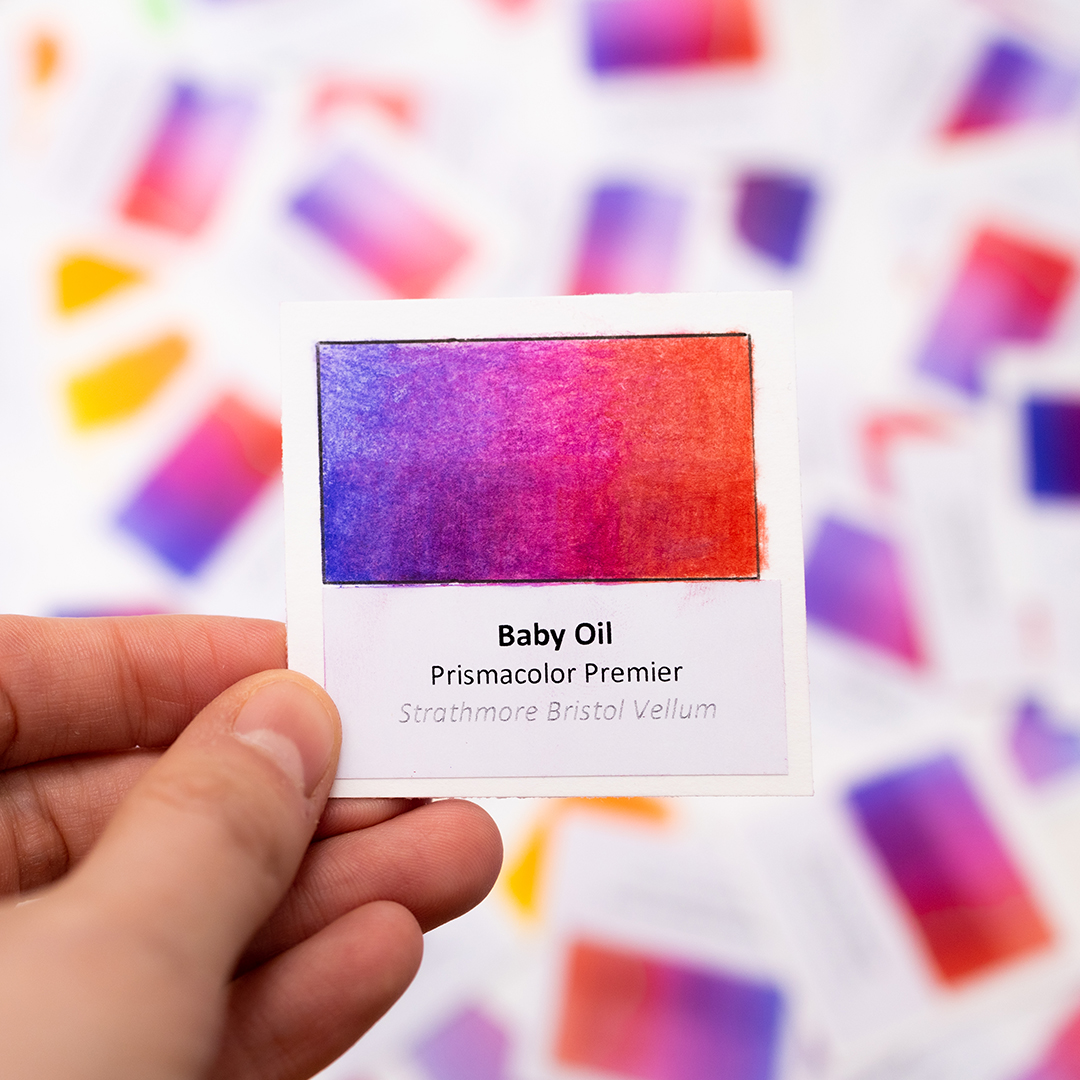
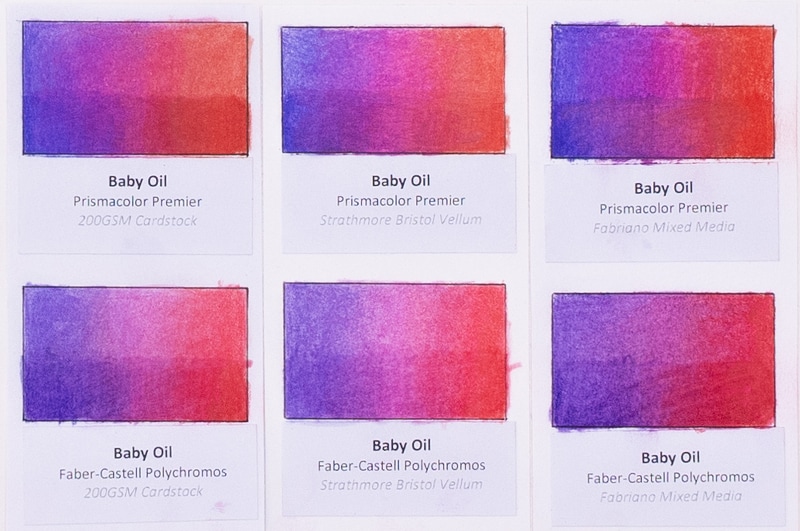
Baby Oil
This was actually the other method I was recommended as a beginner, but I didn’t have much luck because I used too much and found it messy. But today, I found it worked AMAZINGLY. So the trick is to use VERY small amounts, just like the solvents.
When applied properly, this seems to work better than some of the solvents I’ve tried!
Pros:
- Very vibrant colors
- Doesn’t move the color around as much
- Easy to apply
- Recommended by Faber-Castell
Cons:
- Gets greasy if you apply to much
- Easy to overdo
I did find the second layer of pencils felt quite different on both the vegetable oil and baby oil – even after leaving the baby oil to dry for 24 hours. But this didn’t seem to affect the overall results.
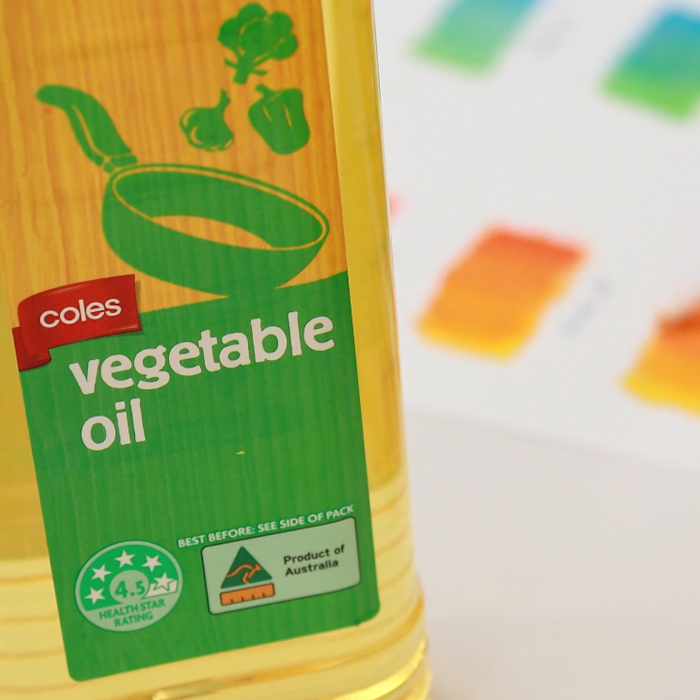
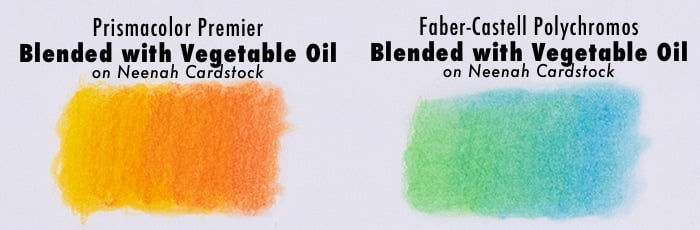
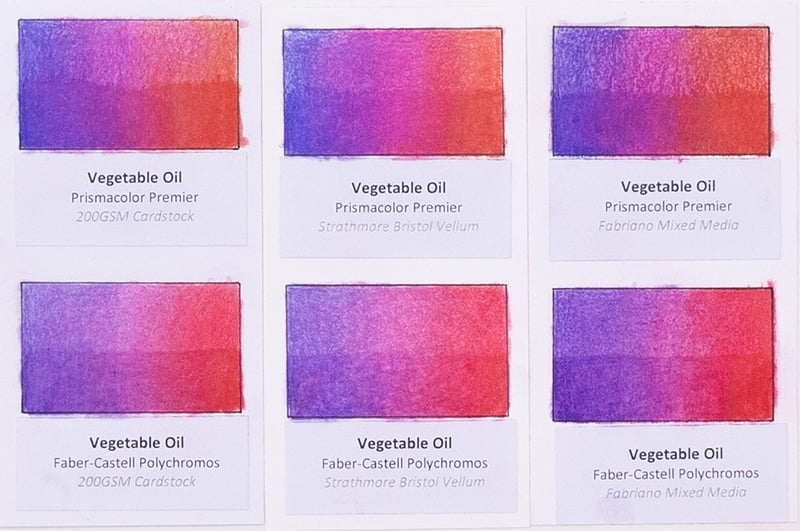
Vegetable Oil
This applies similar to the baby oil, and works well too. I’m applying everything with a cotton bud today, but you can also use a blending stump, which might actually make it easier because the stump will absorb more of the moisture. Ideally, you want to add as little oil as you can to achieve the best results.
Pros:
- Vibrant colors
- Easy to apply
- Works as well as many solvents, but without the smell
Cons:
- Gets greasy if you apply to much
- Easy to overdo
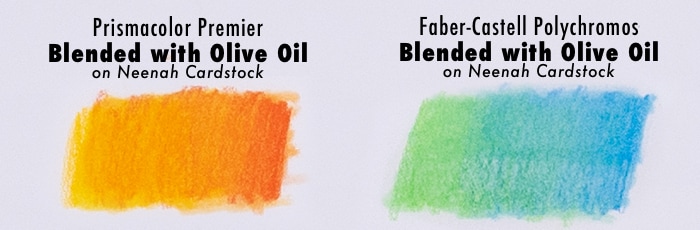
Olive Oil
Olive oil is similar again, however it has a noticeable color, so I wouldn’t recommend it as my go-to choice when there are so many other options available. It doesn’t break the pigment down quite as well as the other oils, but it still works!
Pros:
- Easy to apply
Cons:
- Gets greasy if you apply to much
- Easy to overdo
- Possible to stain your work
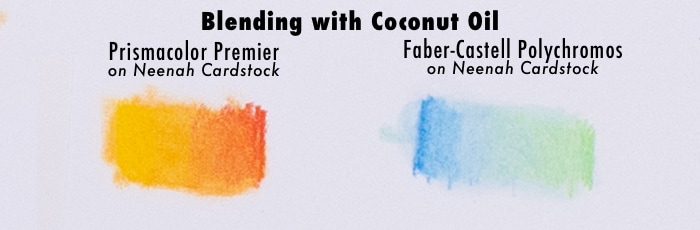
Coconut oil
Since we’re trending with these oils, I wanted to try one more, except I’m quite allergic to coconuts, so Shane is stepping in.
Despite not having much experience in coloring and blending, Shane was able to blend his pigment really well with the coconut oil, so this is possibly one worth exploring further!
I’m uncertain about the other ingredients so I don’t know about archival quality or how this will affect your work over time, but I was quite surprised at the initial blending results.
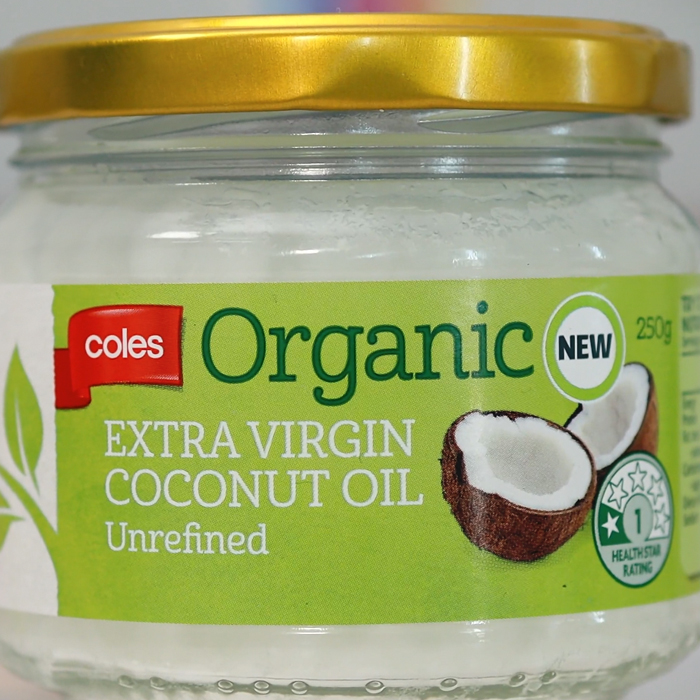
Pros:
- Very easy to use
- Blends really well
- Great colors
Cons:
- Unsure about long-term results
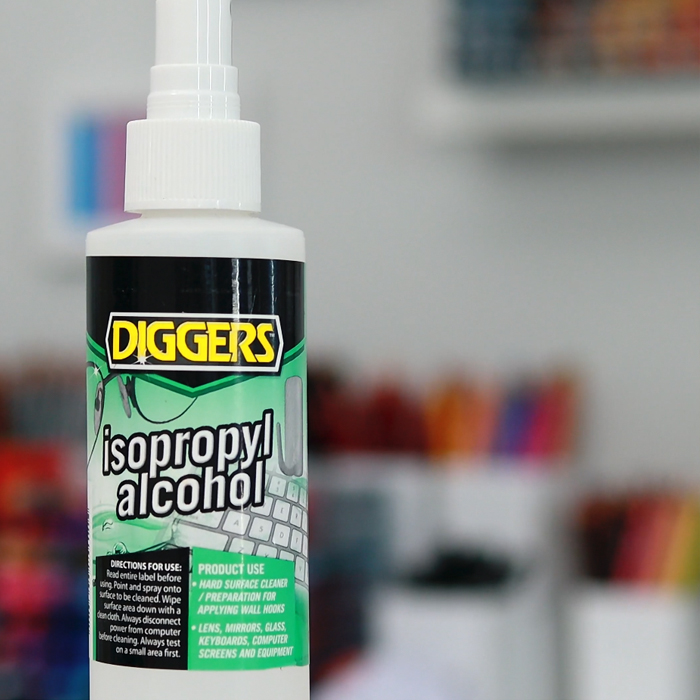
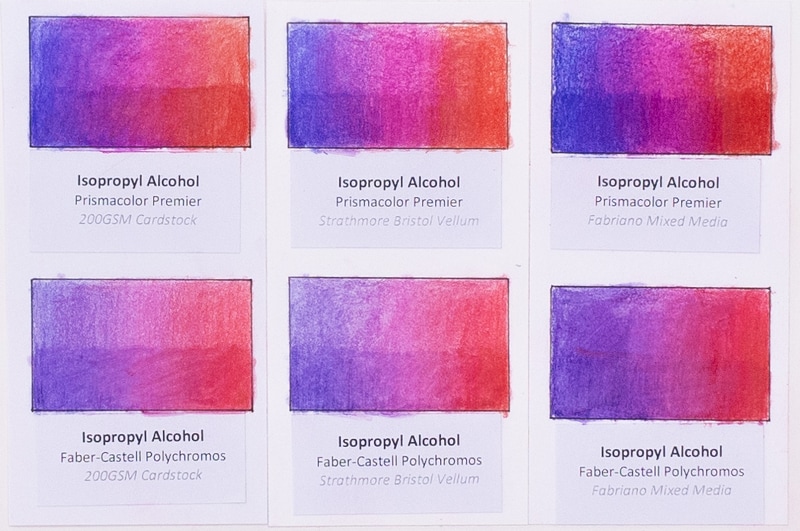
Isopropyl Alcohol (Rubbing Alcohol)
This is very similar to what you’ll find in your colorless blender, in fact, I use this with my alcohol ink art instead of blending fluid, because it’s much cheaper and works basically the same way. So I wasn’t surprised to see that this worked well on pencils as well. The results were fairly similar to our professional colorless blenders.
Pros
- Cheap alternative to alcohol marker blenders
- Blends the colors fairly well
- Easy to layer
Cons
- Strong smell
Nail Polish Remover
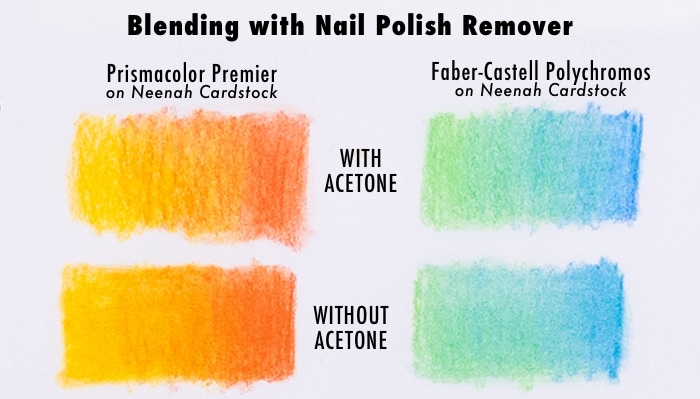
The nail polish remover also worked great, although I found that the acetone- free nail polish remover worked better than the nail polish remover with the acetone – which surprised me!
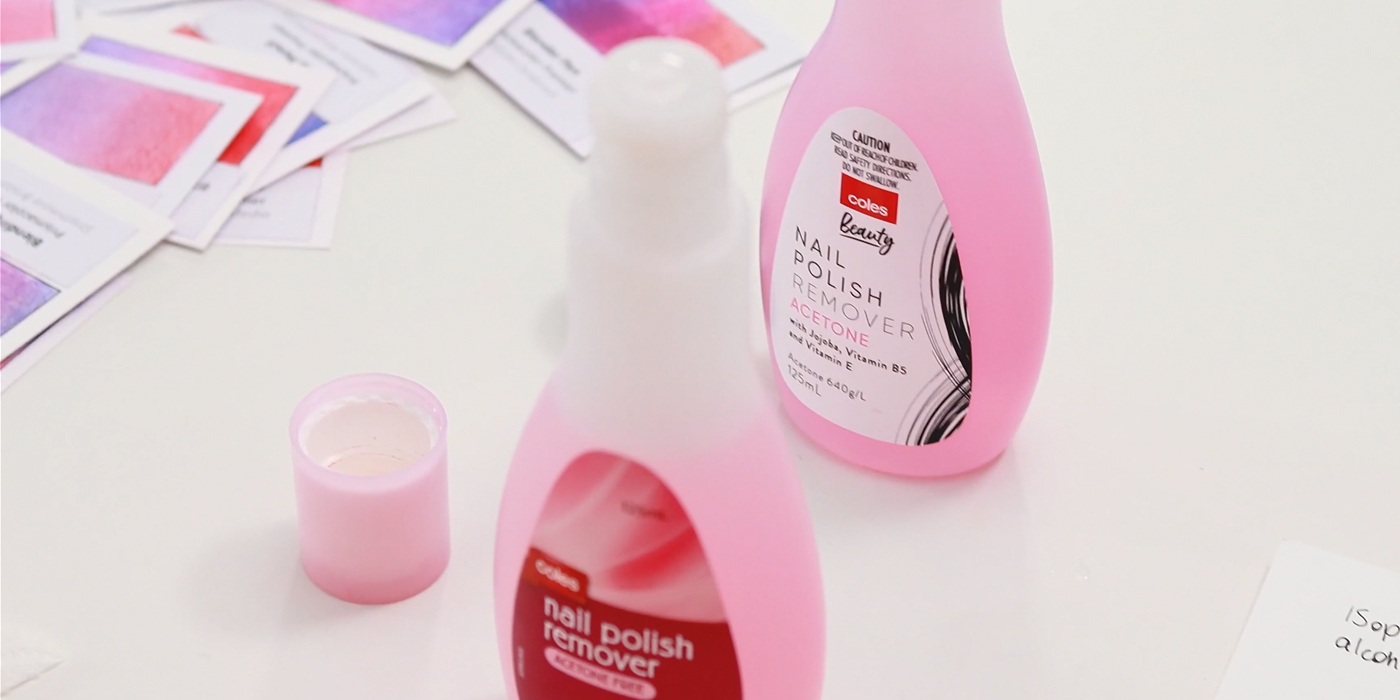
The acetone-free nail polish remover was comparable to many of the professional solvents, and worked surprisingly well.
Pros
- Comparable results to the professional solvents
- Easy to apply
Cons
- Really strong smell
Hand Sanitizer
I didn’t expect this to work, and I’ve seen a lot of people fail with this one, so I think you need to check the ingredients and test this out for yourself. Honestly, even though this worked for me, I wouldn’t recommend it.
Pros
- Everyone has hand sanitizer, right?
Cons
- Doesn’t work for every brand
- Sometimes a strong smell
- Unexpected results
Chapstick
This worked, but it wasn’t my favorite option, and it felt messy compared to may of the alternative suggestions.
Pros
- Easy and convenient to use
- Fits in your pencil case!
Cons
- I’m unsure about long-term results
- Waxy residue if used too much
- Not as effective as other options
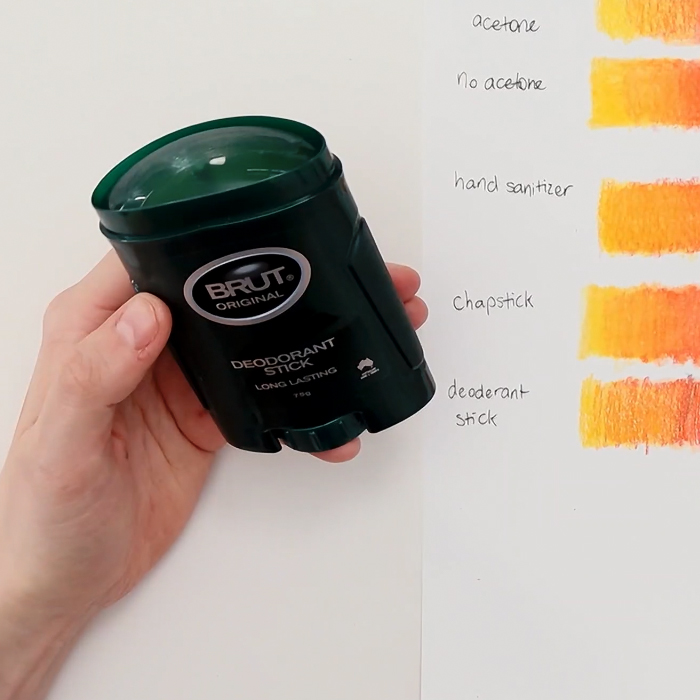
Stick deodorant
“So nobody can ever say your artwork stinks” – Dave
I don’t think I chose the right deodorant for this test, so I didn’t really do it justice, but you can decide for yourself.
Pros
- Convenient
Cons
- Not as effective as other methods
- Unsure about long term results
Pizza Stone (Heat Method)
This is a bit of my own DIY adaption of the Icarus painting board, which is a heated surface that you draw on, which slightly melts your pencils or crayons as you draw with them, allowing you to blend them more easily.
The Icarus Painting Board starts at around $350 – so it’s not cheap. But if this is a method you are genuinely interested in, it’s probably a better investment than trying to “hack” your way around this one in a dangerous way like I did!
Lindsay (AKA The Frugal Crafter) created her own DIY heated board for a similar experiment a few years ago for about $15 and saw some interesting results. Here’s a look at her video!
You can see my method in my video above, where I heated up a pizza stone to use under my page to recreate this method. It worked, but it definitely isn’t a simple process.
Pros:
- Interesting results
- Amazing blending abilities
- Almost like working in a new medium
Cons:
- Dangerous (risk of burns)
- Pizza stone won’t maintain a consistent heat for long
- Steep learning curve

Blending Colored Pencils: My Verdict
Most of these methods work pretty well, but my personal go-to will still be layering and burnishing above all else.
I love the bold color, and I love the control. But some of these other methods will definitely help to speed up my workflow and fill in the gaps on lower layers.
The blender pencils are naturally an easy addition to that. I can use them sparingly, for fine details, and alongside burnishing to spread my colors out.
The Caran d’Ache full blender was my favorite blender pencil on the cardstock and the mixed media paper, but the Prismacolor blender pencil performed slightly better on the Bristol Vellum. So both were great – for both wax and oil pencils – and I will probably keep using both until I can confidently choose a favorite.
The solvents definitely come with more of a learning curve. Because I was only applying small amounts, I didn’t have any trouble with the solvents leaking through my pages, although I would still recommend some paper underneath just in case.
The Zest Pencil blend performed slightly better in my tests that the other 2 solvents, but it was pretty close. And personally, the orange smell is really ruining the experience for me – but that might be super appealing for someone else.
The solvents and alcohol markers all worked great at removing the white grain. There is NO white left from the paper underneath, which makes these perfect to use as an underpainting or in the lower layers of your coloring – which saves a lot of time and pencils! Then, you can layer more pencil on top and even using a blender pencil or burnishing pencil for those top layers and fine details.

My thoughts on blending with household items
I do think some of these household items are great options to blend colored pencils – in particular, the baby oil, nail polish remover and isopropyl alcohol are all methods that can be used confidently, as these are not too different to the professional methods listed above, and are often recommended by professionals.
If you’re trying to keep to a budget and want one place to start, I’d suggest the baby oil. But remember to use it very sparingly!
No matter which method you choose, none of these tools are going to fix messy blending if you don’t learn how to have a lighter hand and blend your gradients smoothly. So keep practicing that first and start experimenting once you’ve got the hang of the basics.
Please let me know in the comments below if you found this helpful, and share it with a friend or save it to Pinterest for later!


thank you for helping to understand all the different methods.
I’m still not sure about the difference between burnishing and blending pencils – could you please explain?
Burnishing usually leaves a shiny finish. It’s used to finish a piece, whereas you can blend on lower layers as well. Once you’ve burnished your colors, you shouldn’t add more colors on top. Blending is something you can do at any stage during coloring, as long as you don’t use too much pressure.
I don’t use a burnishing pencil as much as I use a blending pencil.
This is great, thanks Sarah. My problem is now that my black pen (Coptic Multiliner) is bleeding into my colours Prismacolour). Have you done a post on which black pens work well, I love the way my current pens draw?
Thank you so much for this information.it helped me a lot
Awesome! Thanks so much, coloring goddess!
Thank you for doing all this work for us!! As a hobbyist new to colored pencils and art in general, i have no idea what to look for or what to expect. After trying burnishing tools , then mineral spirits, i then tried alcohol and am satisfied with that.
Just one comment… since you got “interesting” results with the pizza stone, you might also want to try a hair dryer? Not sure if it will work but it would certainly eliminate the burn potential!
Great information! I like using Isopropyl Alcohol…but may give the baby oil a try.
Thank you for taking the time to do this. You are so thorough and thoughtful.
Does the Vaseline mold after awhile or does it dry on the paper?
What about the oils ?
Do they stay oily on the paper or do they dry
I use Vaseline and wipe away all excess and of its in a book I leave a sheet of paper to protect the adjacent page, but within 24 hours it’s absorbed and dry. I then finish with clear matte coat.
Mold has never been an issue either.
Awesome article! Thank you!