

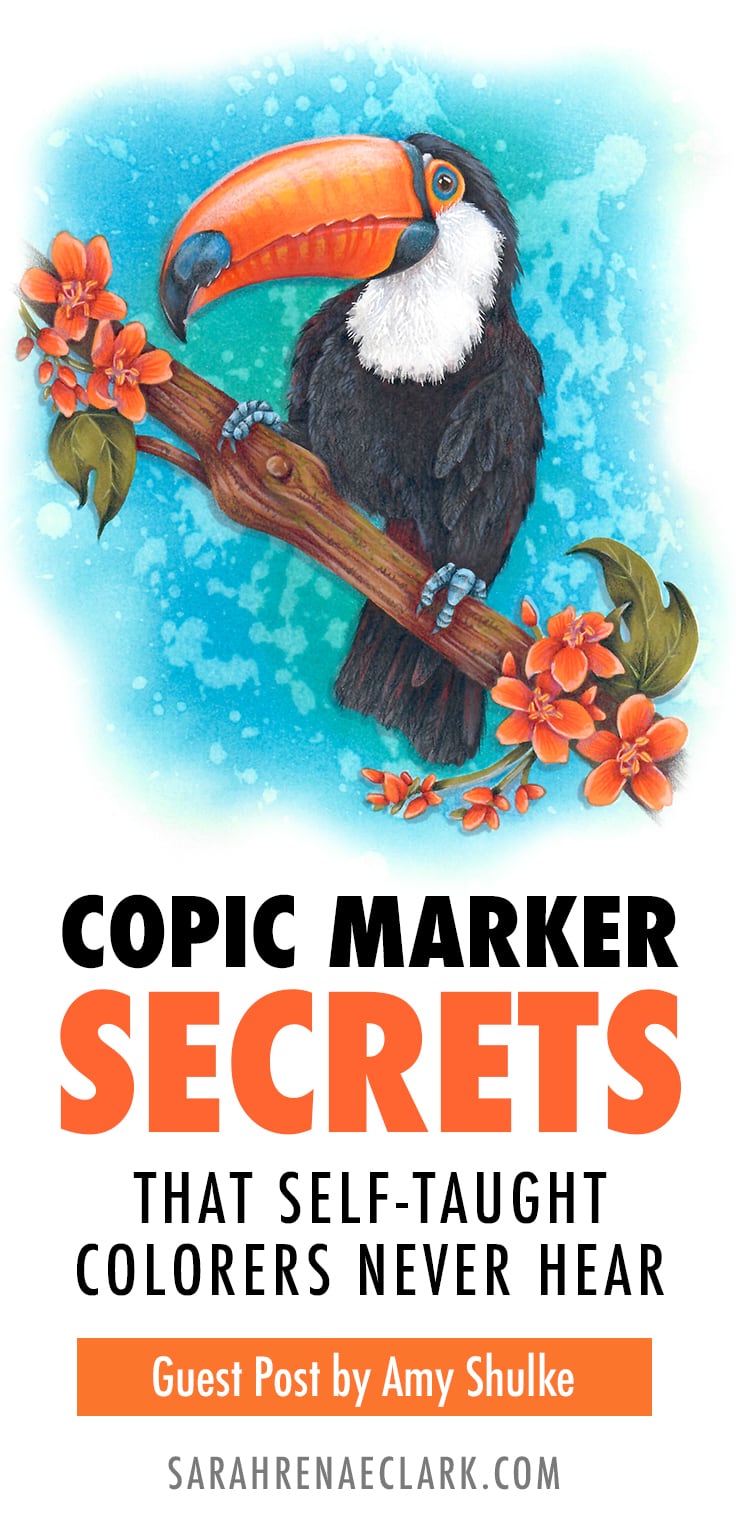
This article is a guest blog post by Amy Shulke from Vanilla Arts. When I first came across Amy’s website about a year ago, her Copic Marker tutorials gave me more useful tips than I could find anywhere else. When it comes to learning how to use Copic Markers, Amy is a great teacher. I love her style and was so excited when she agreed to prepare this article for us. As a self-taught colorer myself, I can relate to all the ‘wrong’ advice that she talks about below, and I’ve learned so much just in this one article! I hope you find these Copic Marker tips as useful as I have.
Over to you, Amy…
Note: This post contains Amazon affiliate links and I may earn a commission if you click them and make a purchase (at no cost to you).
The internet is a wonderful resource with tons of information about Copic and other brands of alcohol markers. With so much free information available, many people do quite well learning on their own without help from local classes or online courses.
Free is great if you’re simply coloring for enjoyment. But self-taught colorers need to know that the solo experience has its drawbacks. There’s no avoiding it, you absolutely will miss out on important resources and concepts that are rarely covered in free tutorials.
Self-study is a little like using your father’s old high school trigonometry homework to figure out advanced mathematics. There are things discussed in math classes and described in textbooks that you won’t find on dad’s tattered page of finished math problems.
Free Copic marker tutorials are like used math assignments. Someone learned to color a stamp. Someone figured out which techniques look best and how to finish the project efficiently. Tutorials and videos only show you their results. It’s what they did, not how they learned it.
I’ve taught Copic classes for a decade and I meet a lot of self-taught students in my challenge classes. Despite their advanced skills, the majority of them are shocked when they hear some very basic things for the first time; things we talk about constantly in beginner level classes.
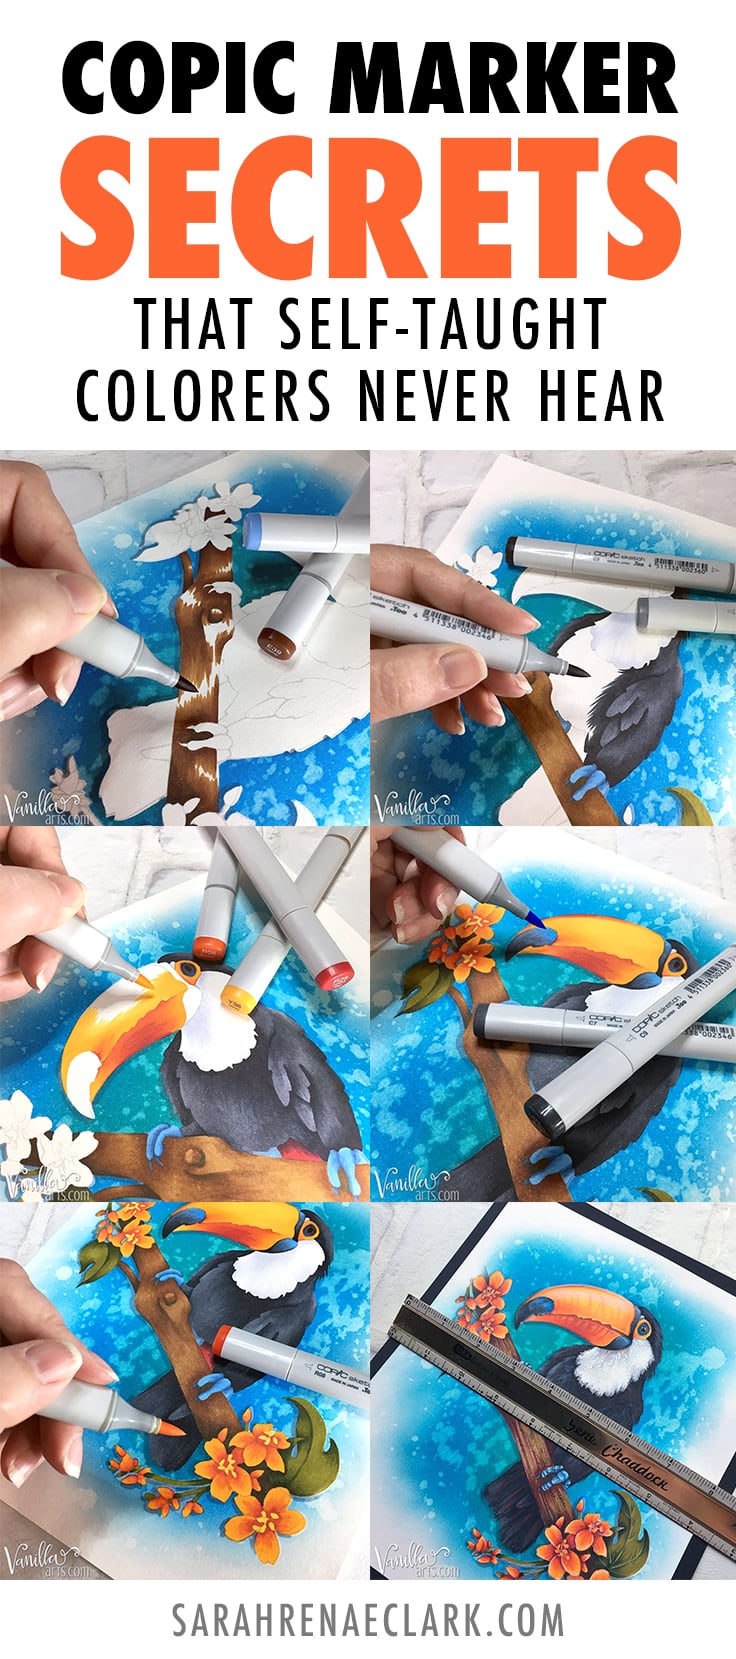
So if you’re a self-taught colorer or if you’re just starting the process of independent learning, here are five Copic marker secrets you probably won’t encounter on the free side of the internet:
1. Good marker paper is worth every penny
Have you ever painted bricks or plywood? These are thirsty surfaces and they absorb a ton of paint if you don’t seal them first with a coat of primer. Primers prepare the surface for paint.
Good marker papers and cardstocks are primed surfaces for markers. They make coloring easier.
Paper formulated specifically for ink blending does not immediately absorb ink. Instead, it keeps the ink sitting upon the surface of the paper allowing you to layer and blend your inks together.
Office grade coverstock and cardstock is the opposite of marker blending cardstock. Copy papers are highly absorbent by design. No one wants to grab a page fresh out of the printer and smear ink all over their hands. Office paper intentionally soaks up ink very quickly.
Most frustrated colorers do not have a blending problem. They have a paper problem.
There is a lot of bad information on the internet about marker paper, much of it written by crafters who have made due with mediocre grades, never knowing what good paper feels like.
The internet makes it seem as if all you need is a cardstock that won’t bleed through to the surface below. Online experts also place far too much emphasis on finding the cheapest resources. But you pay for inexpensive cardstock in frustration and wasted ink!
Sometimes solving your choppy blending is as simple as switching from the internet’s favorite Hammermill Coverstock to X-Press It Blending Card.
People are stubborn and I’m sure that several of you are on the edge of your seat, ready to argue with me. Many colorers will insist to their dying breath that paper from the office aisle at EverywhereMart works as well or better than artist-grade paper.
But my job as an illustrator and art instructor is to know markers and to know paper. I’m telling you this without any hesitation: You will never color your best on printer paper.
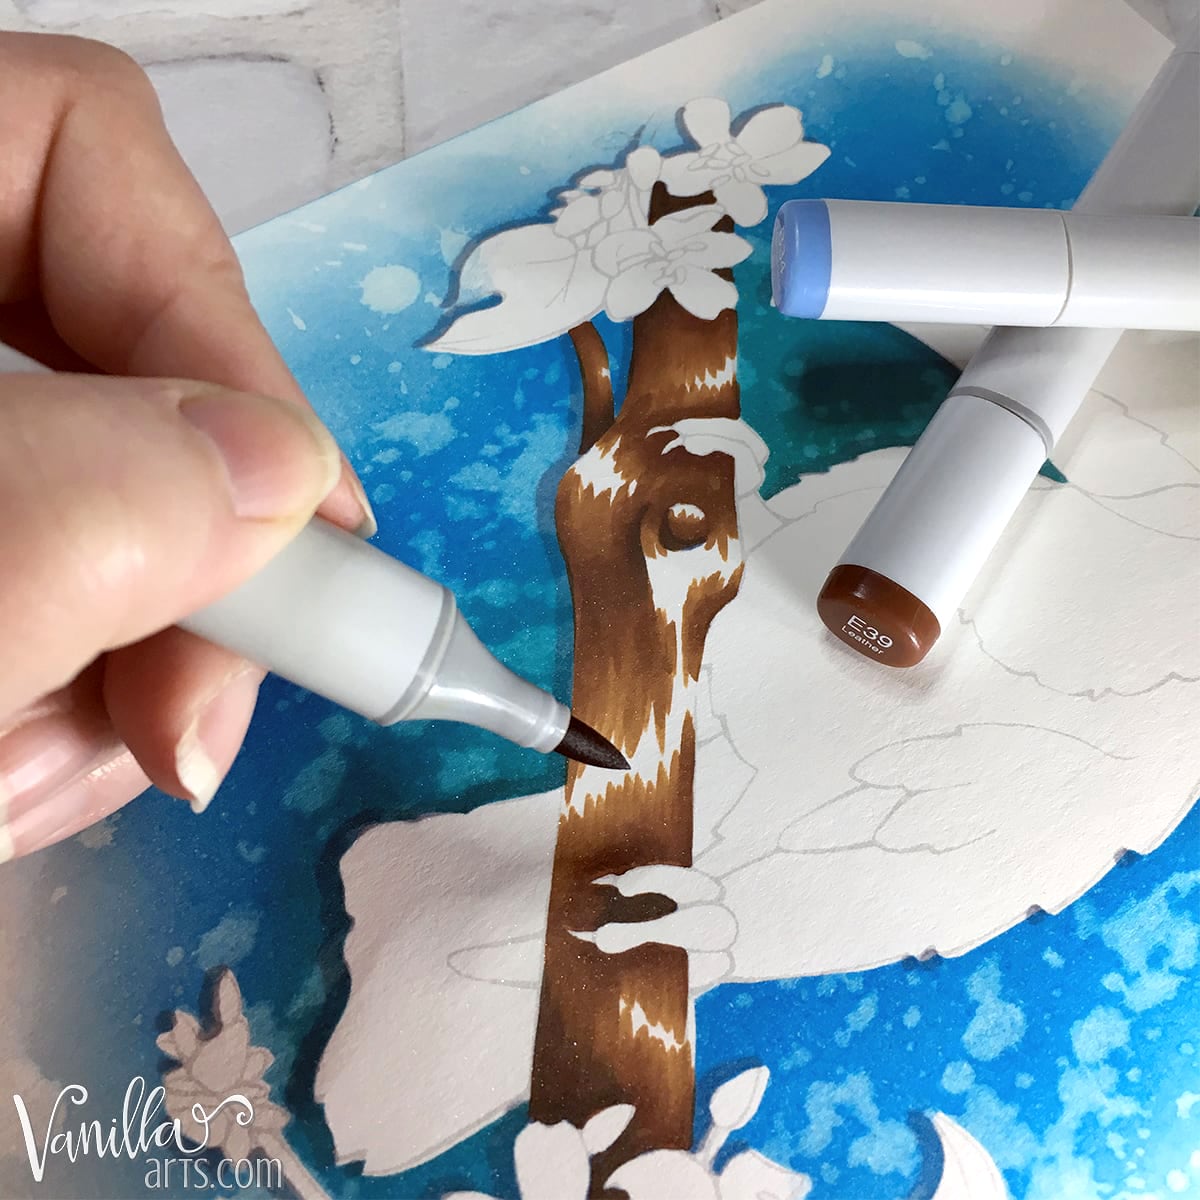
This Cryogen cardstock keeps the ink wet longer, allowing you to blend large areas smoothly. Plus, Cryogen has a subtle sparkle!
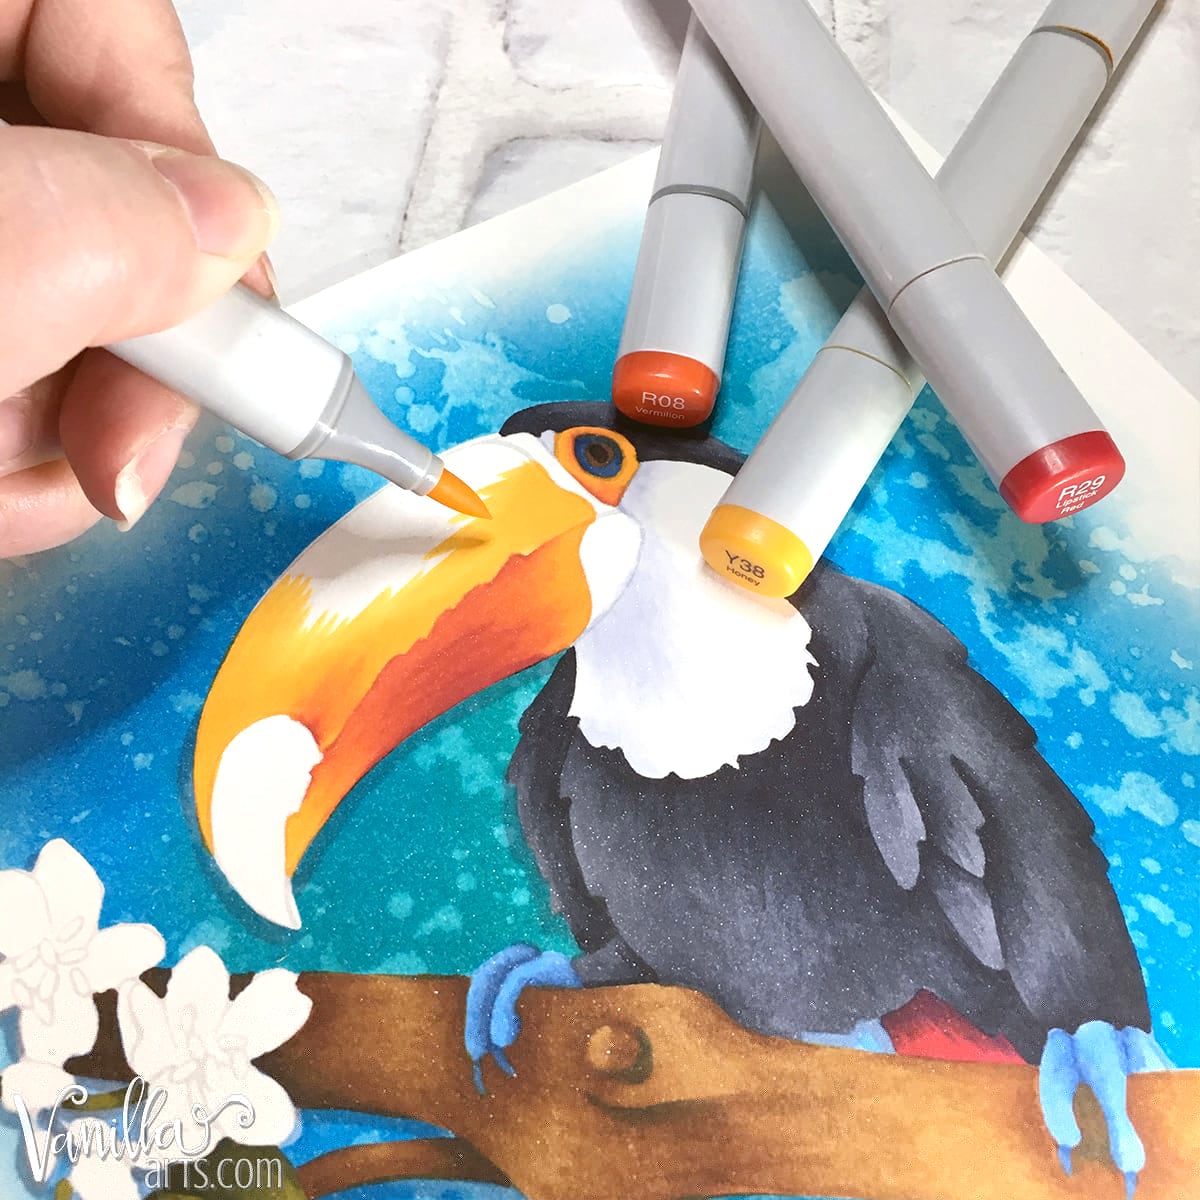
2. Marker nibs can make you feel stupid. Match the tool to the job.
It’s hard to ride a bicycle on the beach and you’d roll your eyes if I recommended fixing the leak in your swimming pool with masking tape.
Yet many of you are trying to make smooth blends with bullet nibs?
Match the tool to the job.
Copic Markers are not magic. The reason why they blend so easily is the brush nib. To color efficiently and effectively, you need a brush – and honestly, the brand of the marker isn’t nearly as important as that brush nib! It’s big, soft, and squishy- artists call that “responsive”. As you swish across paper, a brush nib releases a lot of ink. Brush nibs should be labeled “blending nibs”.
But an architect or a line artist doesn’t want ink oozing everywhere. Bullet nibs were invented for precision drawing purposes. They are hard and almost stingy with their ink flow. No matter how firmly you press, or what angle you use, a bullet nib gives you the same precise and controlled stroke, every time. They leave streaks when you try to color large areas; that’s not you, that’s the nib! Bullets are the wrong tool for smooth coloring.
I’m not saying you can never blend well with bullet nibs, but they certainly make the job a lot harder. Image size is also a factor, you can get away with a bullet nib on tiny images but even then, the lack of juiciness will always make blending harder than it ought to be.
Sometimes it’s not your technique, it’s the wrong tool.
The breast of this toucan measures almost 1.75 inches wide. I would never tackle something this large with a small bullet nib.
3. Friction is useless for blending Copic Markers
The number one false assumption about Copic marker technique is the scrubbing method.
I have a dog who will play fetch all day. We frequently hide the ball because he simply won’t quit. Ball. Ball. Ball.
Inks are the same way about blending. They want to blend: anytime, anywhere, with anybody! Blending is what an ink lives for. Blend. Blend. Blend.
Smooth blends happen at the microscopic level. We’re talking ink particles here, little blobs of colorful dye floating in a sea of wet solvent. When you layer one ink on top of another, if there is enough solvent for all the particles to freely move around… your inks will happily blend without any help from you.
You don’t have to stir the pot. Just give your little particles enough moisture and they’ll do their inky, blendy, beautiful thing.
A streaky or blotchy blend is a sign that you’ve disturbed the natural process. Either you didn’t provide enough moisture, you didn’t apply it evenly, or you didn’t overlap the inks.
Swishing, swirling, scrubbing? It doesn’t help. You can’t force a blend.
Scrubbing is just you getting in the way.
Every area gets an even and generous coat of ink, then I step back and let the inks blend on their own.
4. Smooth blends have nothing to do with magical marker combinations
Remember when I said that little ink particles want to blend anytime, anywhere, with anybody? I wasn’t kidding.
Marker companies like to sell markers in color sets or blending groups. They leave you with the impression that to use a medium blue marker, you also have to purchase the companion light and dark blue colors. They want you to think in combinations; this drives sales.
But ink doesn’t read the marker cap numbers. Inks are equal opportunity blenders.
Copic B66 ink will blend with B04. B66 will blend with YG05. It will blend with R30, Y28, or G-whatever! B66 will even blend with Special Black 110 if you provide enough moisture for the particles to mingle.
It’s all about the moisture, not the color.
Yes, markers from related number groups will blend easier but that’s because the colors are visually close, not due to any mysterious numbering voodoo. You are not locked into standard blending combinations.
There are no Copic cops; mix the colors you want to mix!
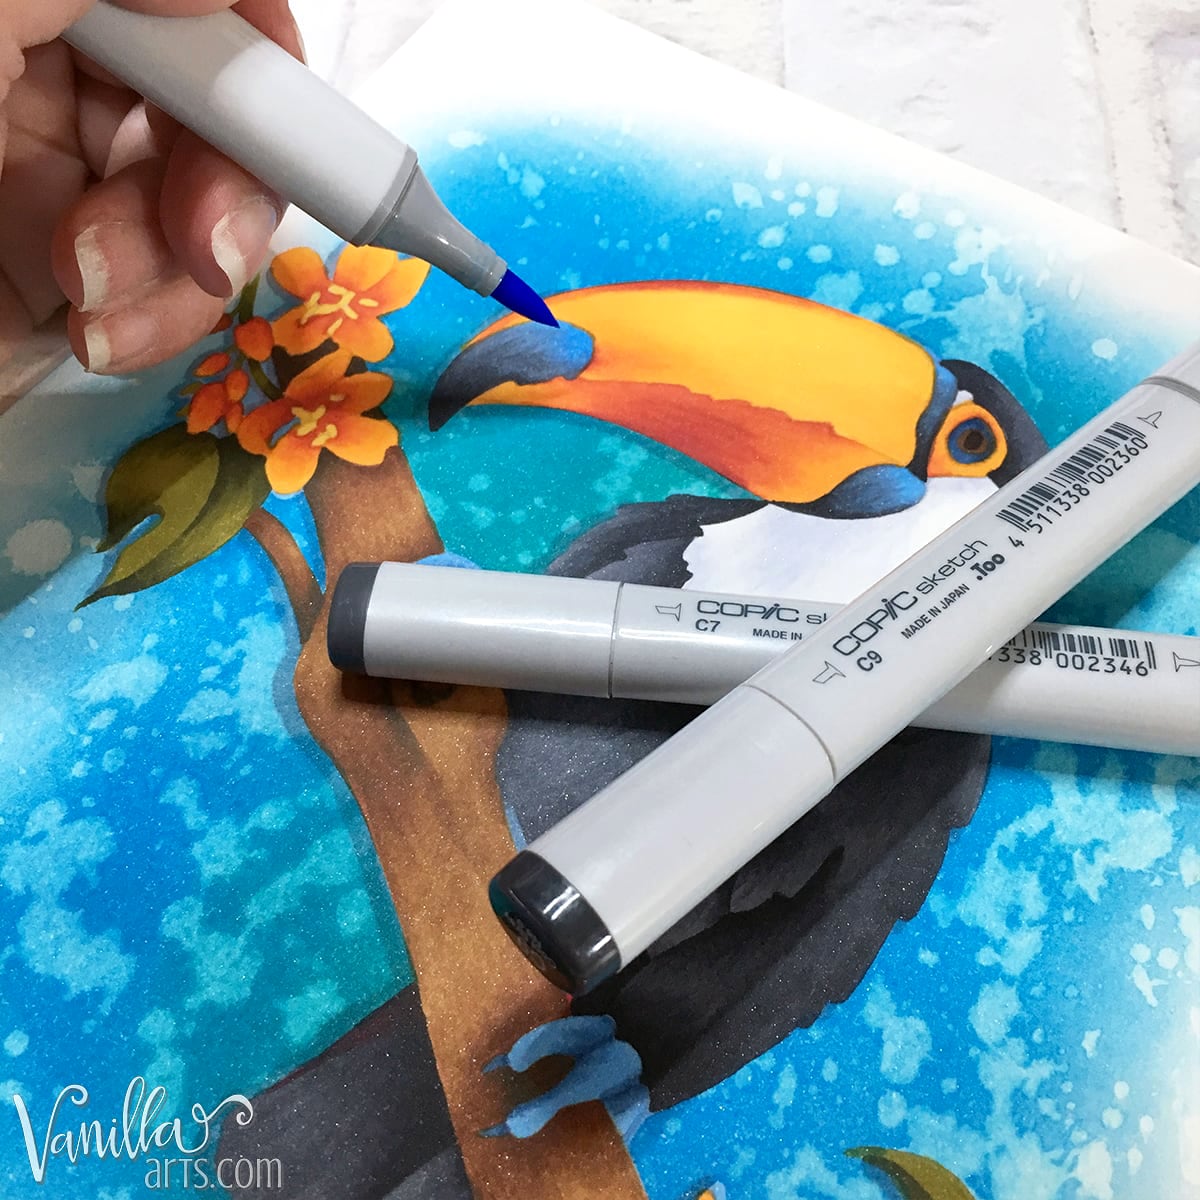
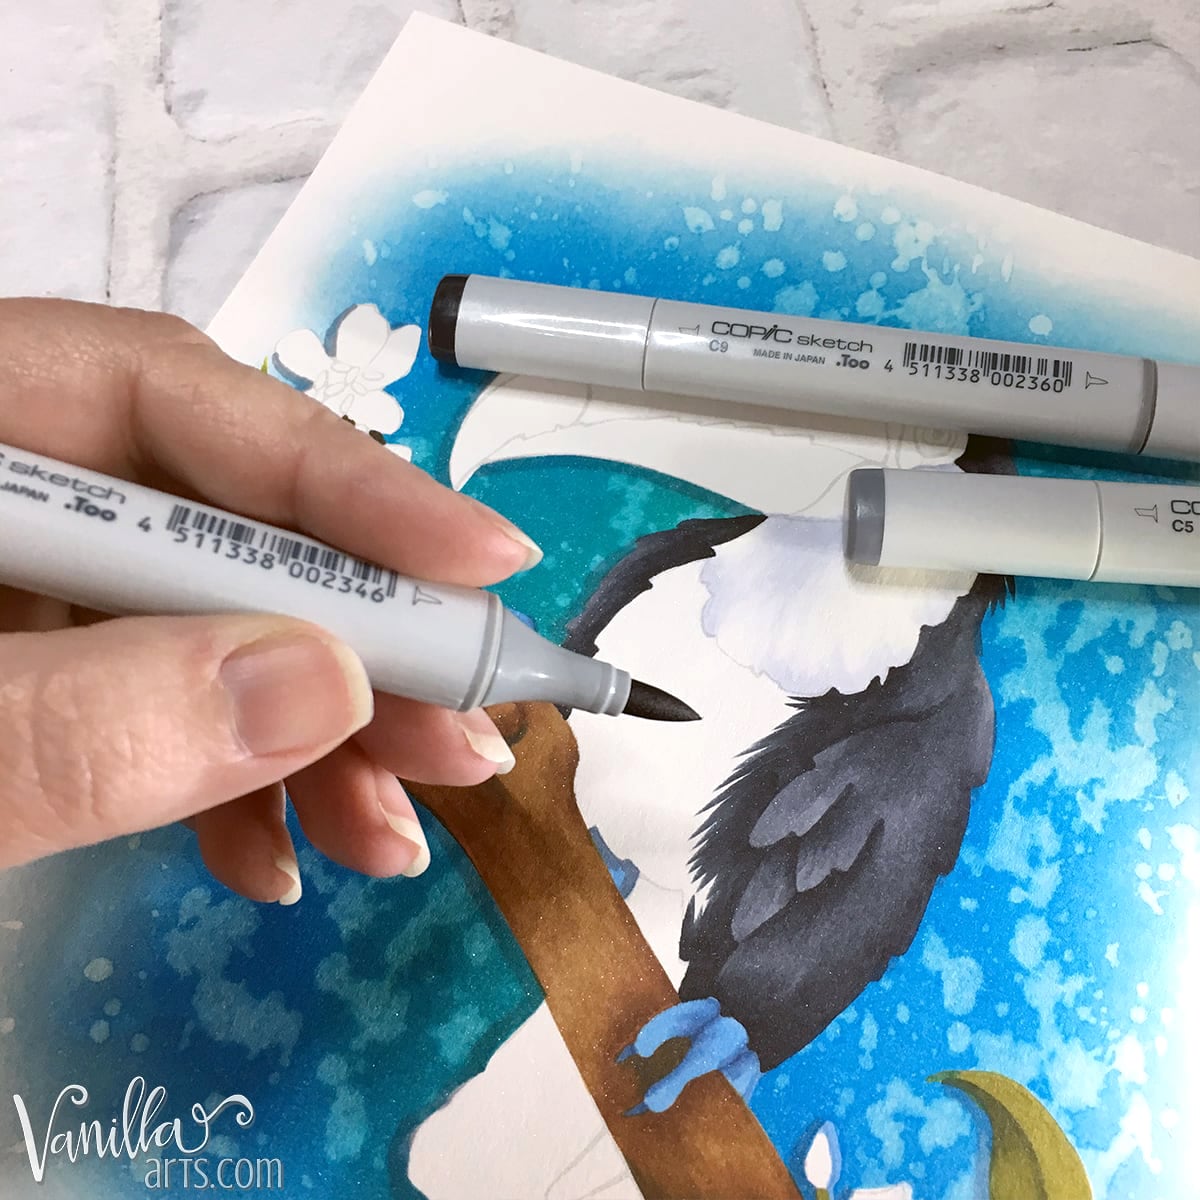
The Copic blending combination here is C9, C7, and B32. It breaks all the Copic marker rules and it looks beautiful!
5. Blending isn’t instant. The delay makes you pay
Little known fact: there is a 10 to 20 second blending delay when you color with Copic Markers.
Yes, it can take as long as 20 seconds after you apply an ink for the blend to chemically start. Timing depends upon the marker brand, the ink color, and the paper but there is always a delay.
Think about that. Twenty seconds is a long time in coloring.
So if you rub and scrub your project, coloring until you physically see the blend happen… by the time it shows up, you’ve already over-inked the area.
Don’t feel bad. The effect can be really subtle and internet mentions are pretty rare.
Give the area a coat of ink and then move on. After a minute, come back and check. If you’re not happy with the blend, give it a little more moisture. You don’t have to babysit.
Nursing your blends hurts more than it helps.

The top left flower cluster was colored first and I’ve just coated the bottom right set. Notice the difference in smoothness. Same process, the only difference is time elapsed. That’s the delay!
So did I catch you? How many of these concepts are completely new?
And hey, here’s a bonus point; something to keep in mind as you scour the internet for coloring information.
6. The way you view the internet distorts reality
Most of us access the internet from a tiny phone but other times you’ll look at the same sites from a tablet, laptop, or a large desktop.
Screen discrepancy makes it hard to understand the actual size of online projects. Even if the blogger includes props in a photo, when you view it on a 4-inch screen, you are not registering scale accurately.
Copic Marker coloring techniques are not universal.
What works at card scale rarely works on larger stamp images or in coloring books. This leads to massive frustration when you try to apply the tutorial to other stamps or use the same coloring technique on different projects.
Before you write yourself off as a no-good-talentless-hack, double check the project measurements. Size really matters!
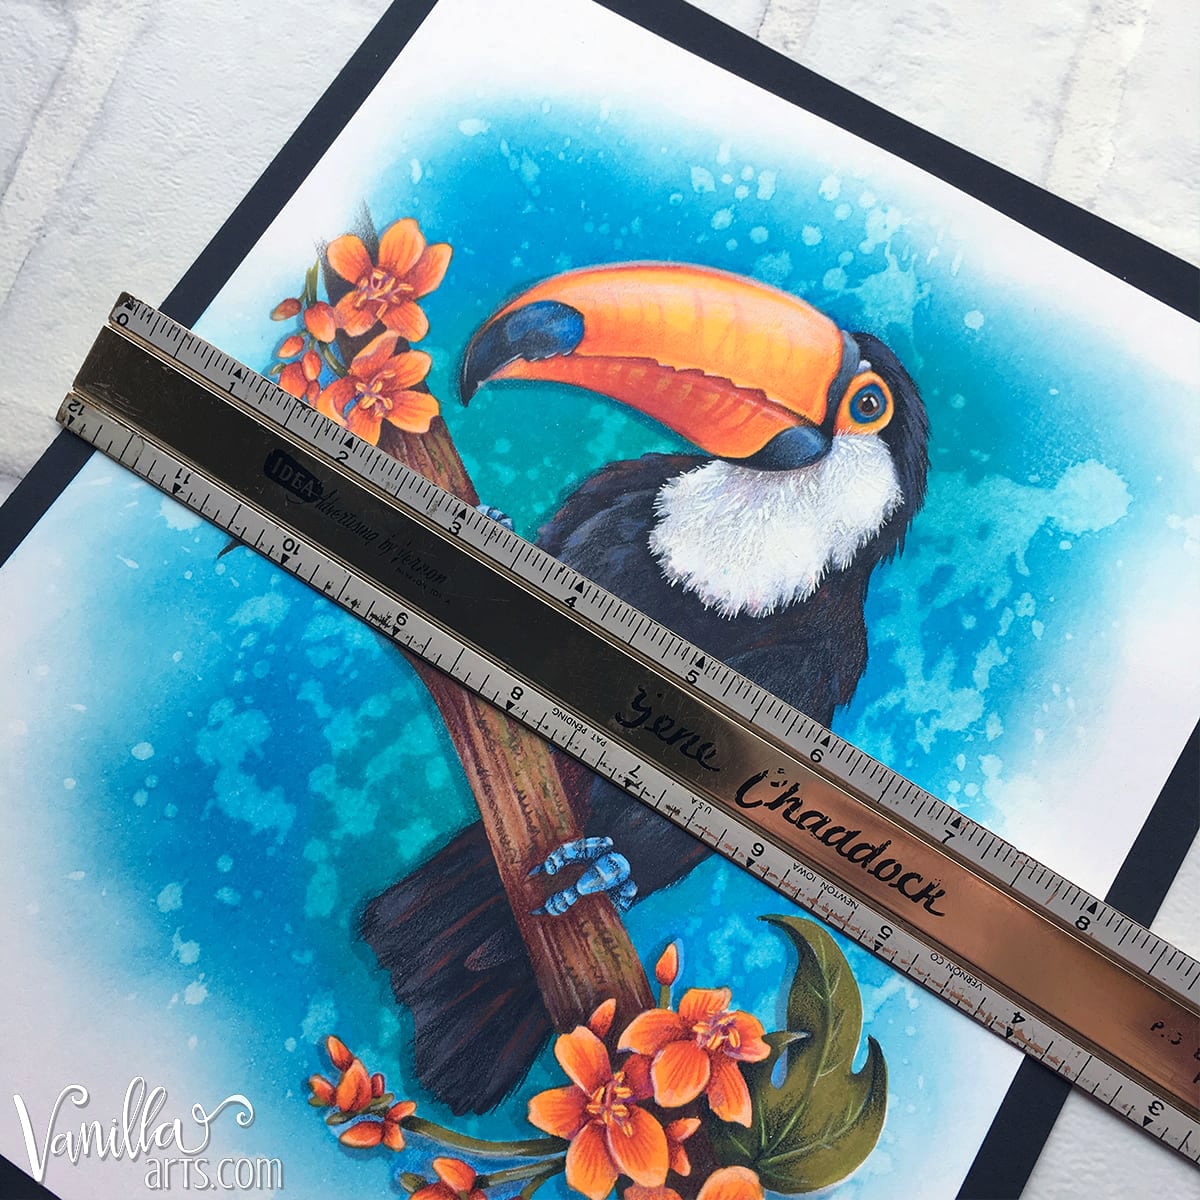
At 7 x 7 inches, this toucan is not card sized. Coloring large has unique challenges and card coloring tutorials will not work.

So for all of you self-taught colorers: keep on coloring, keep learning all you can from blog tutorials and free videos…
…but know that eventually you’re going to hit a wall. Free can only get you so far.
Blogs and free videos are designed to attract your attention, drawing you deeper into the website or video channel where the author earns click-based revenue or tries to sell you something.
Free information is an appetizer, not the main course.
Don’t mistake project demonstrations for real lessons.
About the Author

Amy Shulke is an artist from Lake Orion, Michigan. Amy has a BFA in Illustration and has taught adult art classes since 2001. She specializes in teaching realism techniques using a mix of Copic and colored pencil. Amy’s most used Copic is B60 but her dog Finnegan thinks BV08 tastes better.
Visit Amy’s website: VanillaArts.com
Studio Journal & Free Digi Club: VanillaArts.com
Facebook Group: facebook.com/groups/vanillaartschat
Coloring Tip of the Day: instagram.com/vanilla.arts.co
Speed Coloring Videos: youtube.com/amyshulke


Amy’s teaching style is “Flawless and Funny”. She’s relentless at getting the most from you. If you don’t learn from Amy it’s not her fault or yours. She is the best teacher on the internet. I’m in process of the Colored Pencil Plus class. Wow I’m learning at my own pace. Her prices are “spot on” for what you learn! Thank Amy! Pressure is so important in pencils!!!!
Awww, thanks Jean! You’ve been so great about practicing, I’ve really loved working with you. And hey, loosen up on that pencil grip!
What a great post from Amy! I love her classes and how she makes everything seem so simple with her explanations.
Thanks, Darcy! I can’t wait to see what you do with that Geranium stamp!!!
Amy is a fantastic teacher that has taught me to rethink a lot about my beloved Copics. If you’re thinking of taking Copic classes, hers are the ones to take!
How did you make the blue background? It’s beautiful!
Please adjust the title. Colorers is not a word, colorists is the correct form of color.
Hi Linda! Thanks for the feedback. Both “colorer” and “colorist” are words. “Colorist” is just the more commonly used word.
Actually, “colorist” is a term co-opted from actual artistic movements having nothing to do with coloring books or stamped images. Because colorist already refers to a specific styles of art, I prefer not to use the term when describing coloring as a hobby.
Wow I didn’t know any of this! I am just collecting some copics and really want to learn to use the effectively. I didn’t realize I could take classes online. I need this in my life!
I’m glad you’ve found the article helpful!
Thanks for such an awesome set of tips in such an honestly funny and raw commentary 🙂
Thanks, Deirdre!
Thanks for the tips! I consider myself a beginner in the Copic world. I have a start on my collection. I went out to your website and signed up! I looked at your 42 starter kit and checked my collection. I have 11, so only 31 to buy! Woo Hoo! (This gives me an excuse to grow my Copic collection!)
Hi Debbie- I’m a little late in replying to this but I did want to warn you.
The 42 starter kit is a generic list of useful colors.
If you decide to take any of my classes, they will each have their own supply list. I use my mighty 42 colors a lot but most of my classes encourage you to branch out and learn the characteristics of other colors not on that list.
And hey, I’d love to see what you do with your set of 42! Feel free to join the Vanilla Chat & Support group at Facebook. https://www.facebook.com/groups/vanillaartschat/
I think the most humorous and ironic thing about this is the whole “free can get you so far on the internet”… Well, this is the internet and it’s free. Lol also, as a studio artist, graphic designer, and illustrator, I found that I’ve learned more from self experimenting than just taking people’s words for it. To assume that individuals will not advanced or even excel by only using free materials is a little closed minded. Art can be made with any materials and be astounding. Yes, this advice will help those who wish to mimic a style, but in terms of creating your own, it’s slightly condescending and short sighted, but then again, I create upcycled arts, recycled materials, and my own inks, paints, etc to go beyond what stores sell. Rich colors can be made from your own back yard if you’re dedicated and yearn for a more environmentally friendly (and free) resource for art. All you need is ideas, preserverence, hard work, and a love for art.
This is just my opinion, of course. I’m sure most people prefer the easy and quick way of stores then what I do lol.
Hi Sanchu-
It sounds as if you’re very talented and dedicated to self-study. Not everyone has that same adventurous spirit. To say this is not condescending or short sighted, it’s realistic.
For someone picking up art later in life, the learning curve can be a great impediment. Self-education only works if you have the capacity to never get discouraged. You seem fortunate to have been blessed with that rare ability. Perhaps someday you’ll realize just how rare your gift is.
Where can I go to find lessons taught by you two ladies?
Hi Susan! You can find Amy’s classes here: https://www.vanillaarts.com/live-classes
All of my own tutorials are listed under “Learn to Color” at the top of this website.
-Sarah
When I first came across Amy’s website about a year ago, her Copic Marker. This article is a guest blog post by Amy Shulke from Vanilla Arts. I hopefully guarantees that you are going to find something you like in this post. I did a post like this last year, and I’ve had several people tell me it was really helpful.