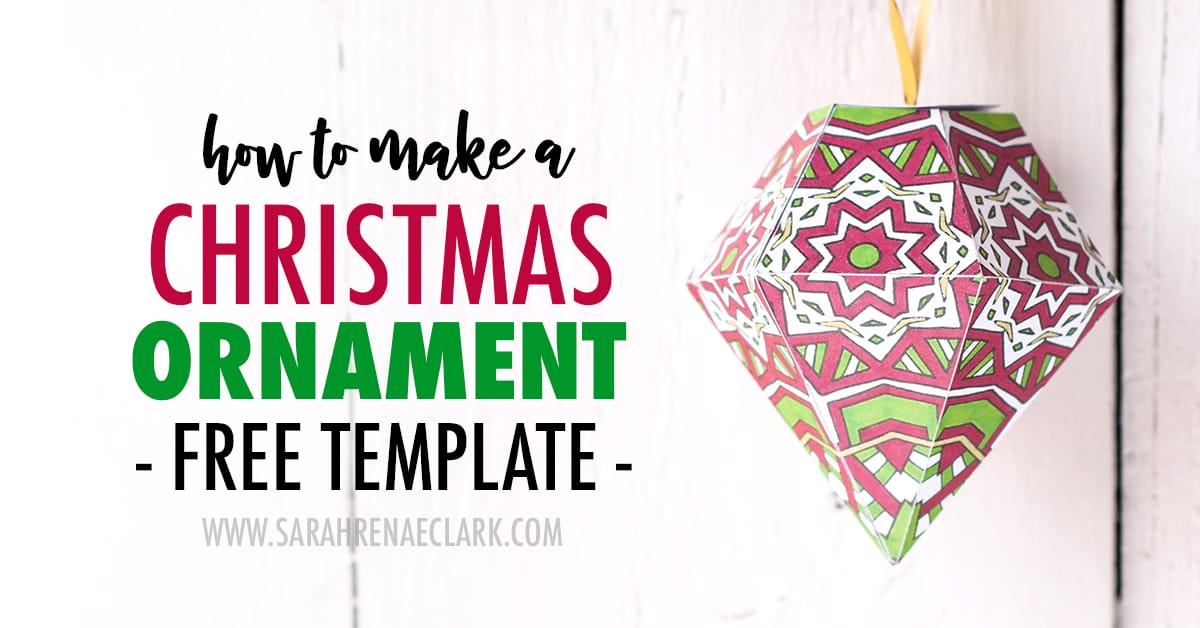
In this tutorial, I’ll show you how to make your own paper Christmas Ornaments using the free DIY Christmas Ornament Template that you can download HERE.
I’ve included a full video plus step-by-step photo instructions below.
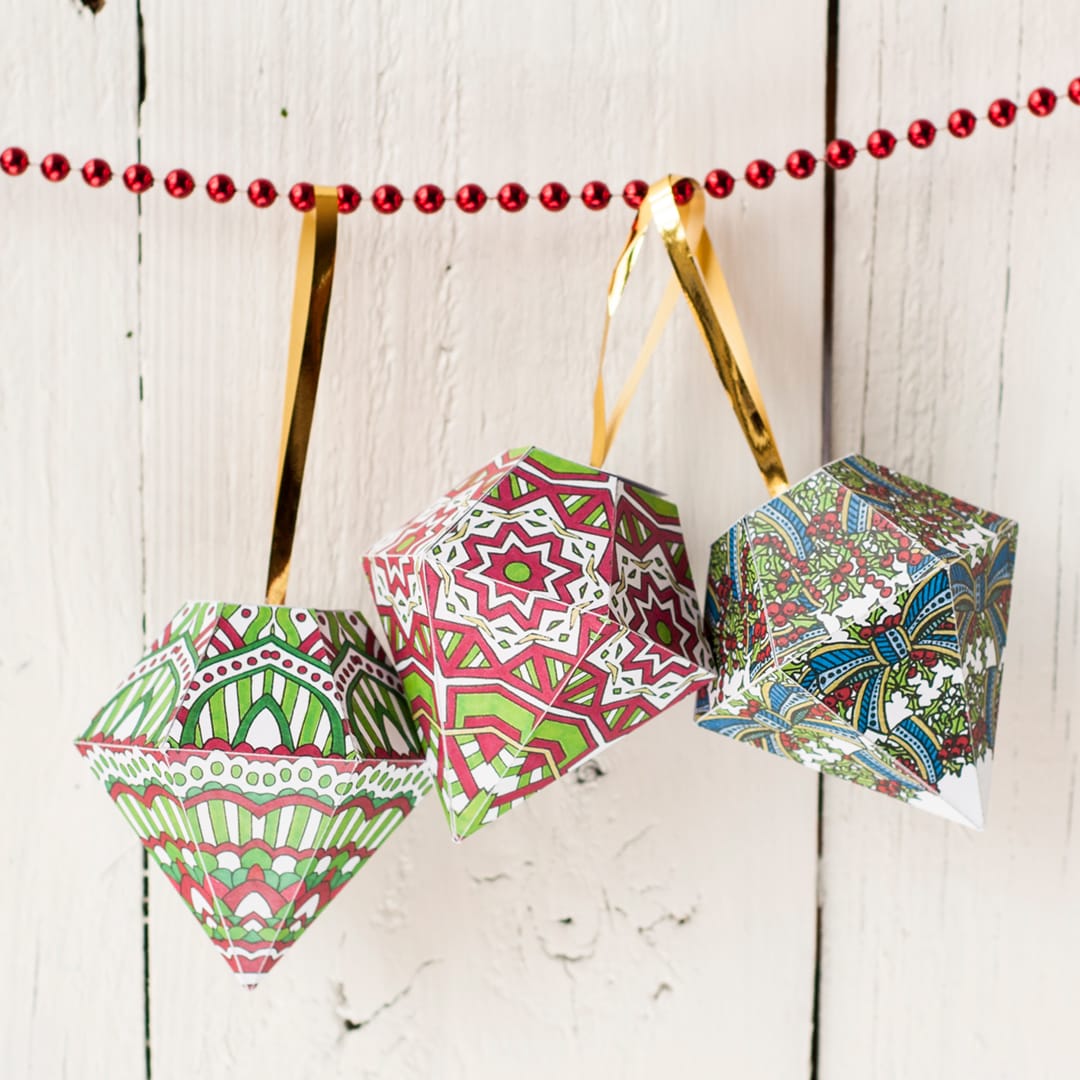
This ornament is a part of my pack of 10 printable Christmas coloring ornaments (pictured below) and is also included in my Christmas Coloring Bundle.
A quick thanks to Emma Turnbull for coloring all these ornaments for me!
How to make your own coloring Christmas ornament – Video Tutorial
Supplies I’ve used in this tutorial:
- Free Christmas Ornament Template. (Download)
- 200GSM Card stock
- Scissors
- Glue stick
- Ribbon or string (to hang from the tree)
- Scoring equipment or ruler and paperclip (Buy on Amazon – affiliate link)
- Gold Sharpie Pen or other coloring supplies (Buy on Amazon – affiliate link)
How to make your own coloring Christmas ornament – Instructions
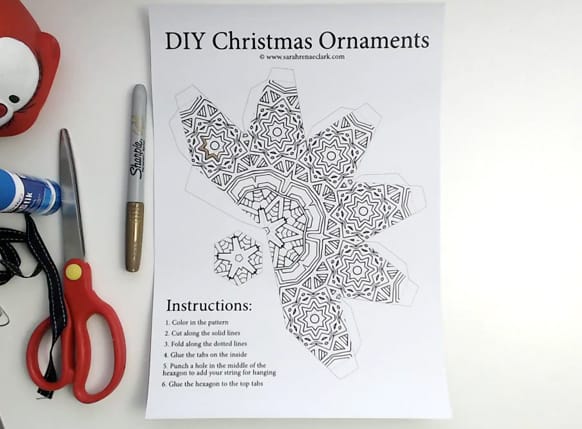
Download my free Christmas ornament template. Click “Add to cart” and then view your cart to check out. The template will be emailed to you and will also be available in the “My Account” tab at the top right of the screen.
If you would like a different design, you can get the pack of 10 ornaments HERE.

Print out the Christmas ornament template onto thick card stock. In this example, I’ve used 200GSM card that you can buy from most stationary supply stores.

Color in your template. I’ve just used a gold Sharpie in this tutorial, but you can use any colors or mediums you like. You could also print the template onto colored paper. Don’t forget to color the small hexagon!

Next, cut along the solid lines until you’ve cut out the whole template. Do not cut along the dotted lines – these will be for folding later. Also be careful not to cut off any of the tabs on the sides.

Once you’ve cut out the whole template, it should look like this. Don’t forget to cut out the hexagon too.

Now we are going to score along the dotted lines to make them easier to fold. You can use scoring equipment like a Martha Stewart scoring board or a bone folder. I don’t have either of these, so I’ve made my own scoring equipment using a ruler and bent paperclip. Run the paperclip along the dotted lines (on the patterned side) enough to score them without cutting through.

Once you’ve scored along all the dotted lines, fold them inwards. This includes the lines between each panel, plus each of the small tabs on the sides and top.

Next, fold each panel and glue or tape the tabs on the inside. It’s easiest to start from the base tab (closest to the pointed end).

Continue folding and gluing each of the tabs together until your ornament starts to take shape!

Once all of the sides are joined, your ornament should look complete except for a hole in the end like this picture. This is where we will connect the hexagon, but first we need to add our ribbon!

Punch or cut a hole in the middle of the hexagon and thread the center of your ribbon through to create a loop. Make sure you tie the other end of the ribbon to hold it in place. If you are using string, you can use a paperclip or something small to tie around so it doesn’t slip out of the hole.

Glue or tape the hexagon to the final tabs on your ornament.

And you’re done!

I hope you’ve enjoyed this tutorial. Will you give them a go? I’d love to hear from you in the comments!
Please don’t forget to share this post or save it for later on Pinterest.
If you want to make a range of different ornaments, make sure you check out my pack of 10 different designs HERE.
More Christmas printables you’ll love…
Please stop by my store to check out my other Christmas activities, or save 50% on all Christmas printables when you purchase the Christmas Coloring Bundle!
More Christmas Crafts: How to Make a Christmas Cracker // How to Make a Christmas Gift Box


Gracias, gracias, gracias……. Dios t bendiga
These Christmas ornaments are fantastic!
Thank you for this great template and idea! My art kids will love it!