
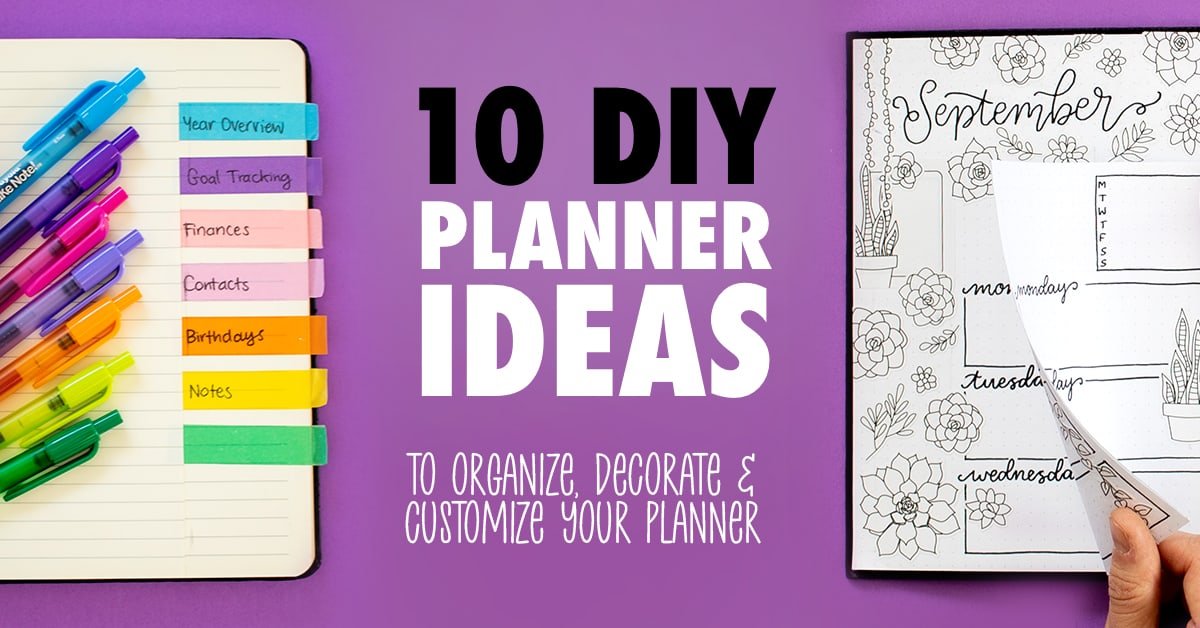
I love showing people how to be more creative in their everyday life, and one of the ways that I love to do that is with planners.
Whether you’re creating a DIY planner from printables, or customizing your planner you’ve bought, these planner tips are easy for anyone to try and can make your planner more functional and more creative. They work in any kind of planner or bullet journal, and take just a few minutes each to create!
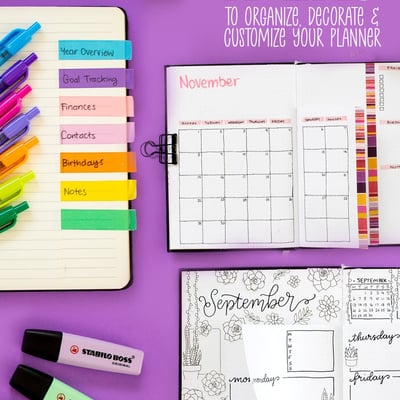
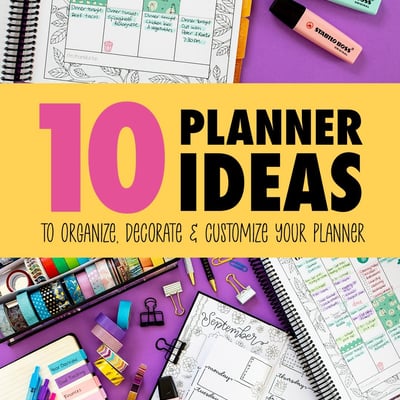
These easy (and cheap) planner ideas will help you organize and decorate your planner to create a full customized planner that works for you!
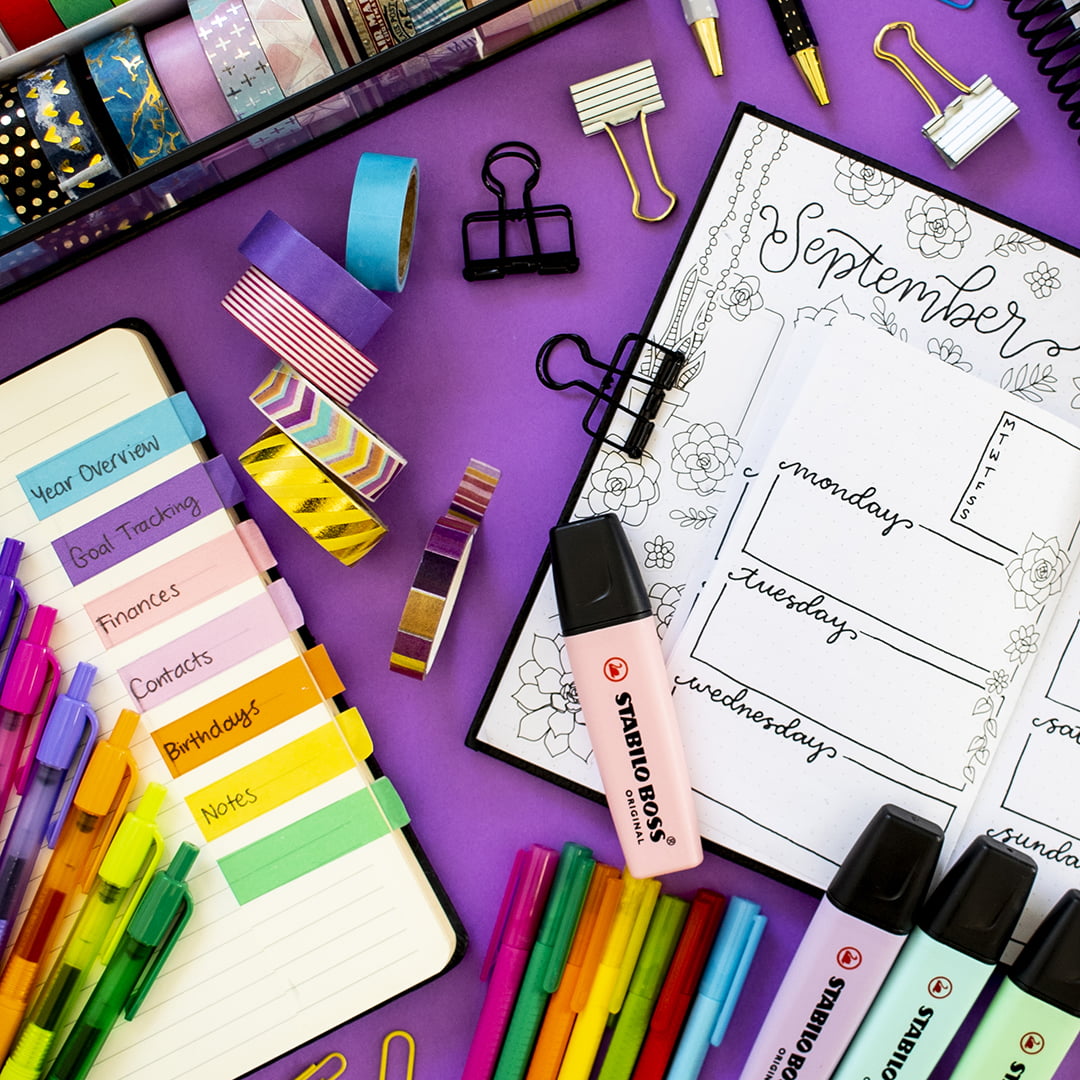
Supplies I’ve Used in These Planner Hacks
I’ve used the 2021 Coloring Planner and some general dot journals (from Kmart) in these examples, but you can use any type of planner. Find out more about this years planner here!
I’ve also used some other supplies, some that I’ve purchased, and others that were given to me by the generous small businesses mentioned in my video, all located in here in Australia. My video was not sponsored (and I am not affiliated with these brands in any way) but I wanted to use them because I really liked what they sent and I love to support small businesses when I can! You can check out their websites below, and tell them I sent you!

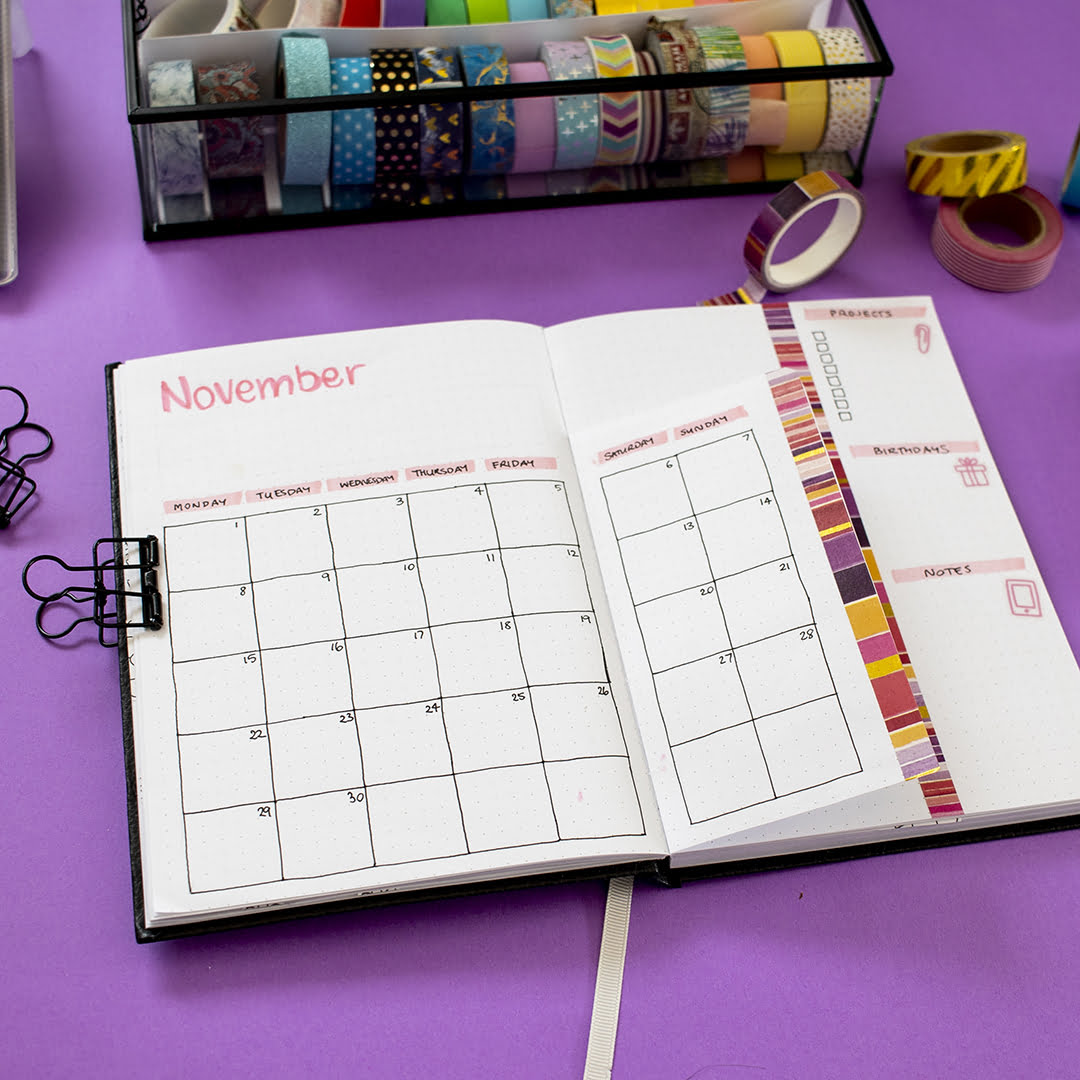
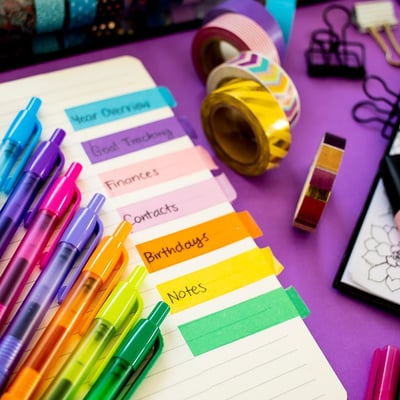
Planner Hack #1: Make Planner Tabs with Washi Tape
Now, if you love planners, then I’m sure you love washi tape as well! So, of course, my first DIY planner tip had to include using washi tape in your planner.
You can add washi tape down the side of your pages as a decoration, but it can also be a practical way to mark specific dates or certain months, and gives you the ability to quickly access those pages when needed.
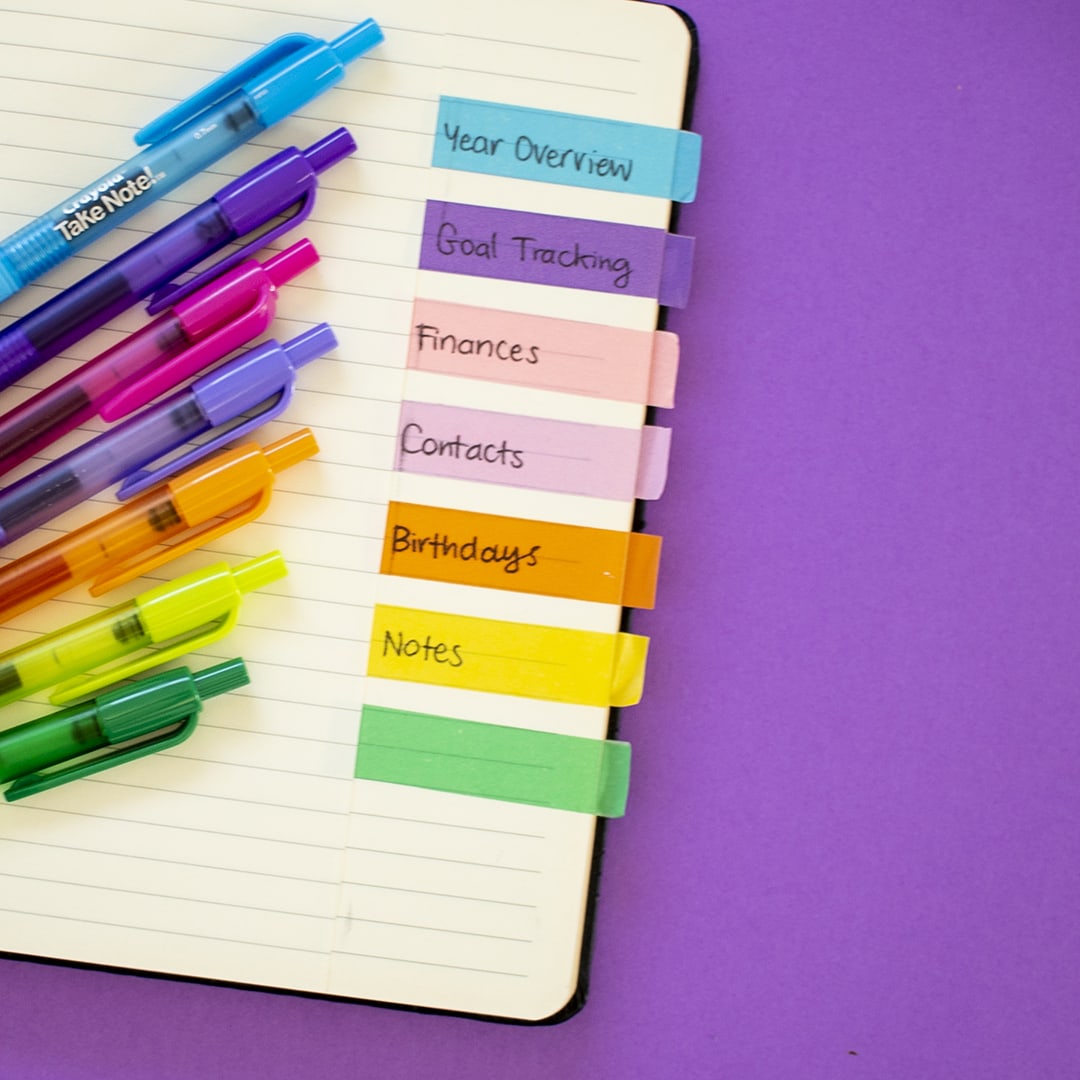
If your planner doesn’t have tabs (or you want to create more of them), you can also make tabs down the side of your planner with your washi tape. I have done this in my planner, and then created a key in your planner to help you know what each of the tabs are for.
This is a good way to highlight special dates like a birthday or maybe a special event that you really want to be able to access quickly. You can also use it to mark your monthly goals or your budget tracker or some other section of your planner that you find yourself flipping to frequently.
Watch my YouTube video above to learn how to do these.
Planner Hack #2: Color Code your Planner
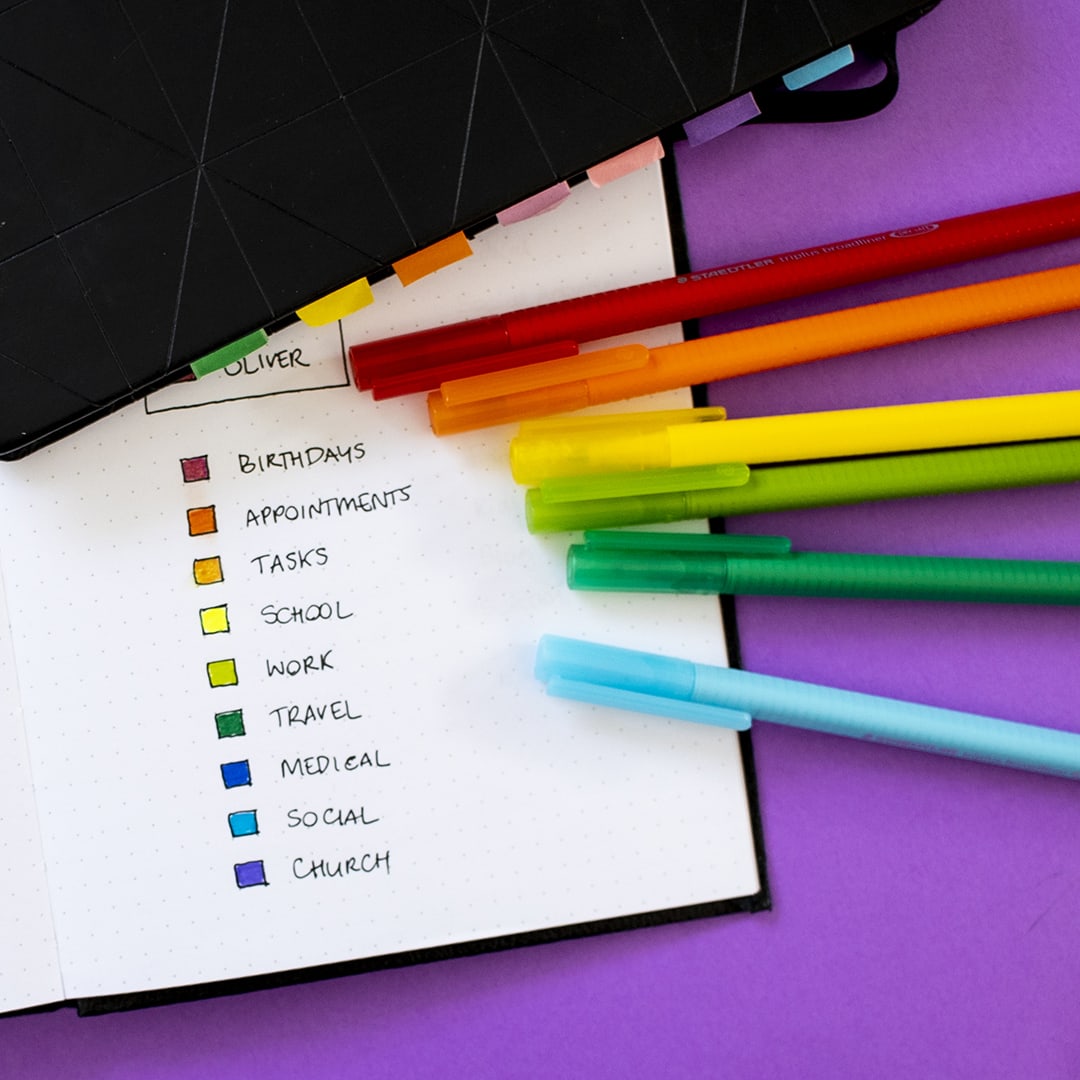
In the example above, I’ve already done some basic color coding by color coding different sections on my tabs.
But we can take that a step further and actually apply color coding to everything we do to make things way more practical and a little bit prettier.
So when it comes to color coding, you can do it in whatever way you want. You can use stickers, you can use your markers and actually write in the different colors, you can use your highlighters, you can even color code by getting broadliners or felt tip pens in all different colors. You could even just do bullet points or washi tape. And you can create an easy key in the front or back of your planner for quick reference.
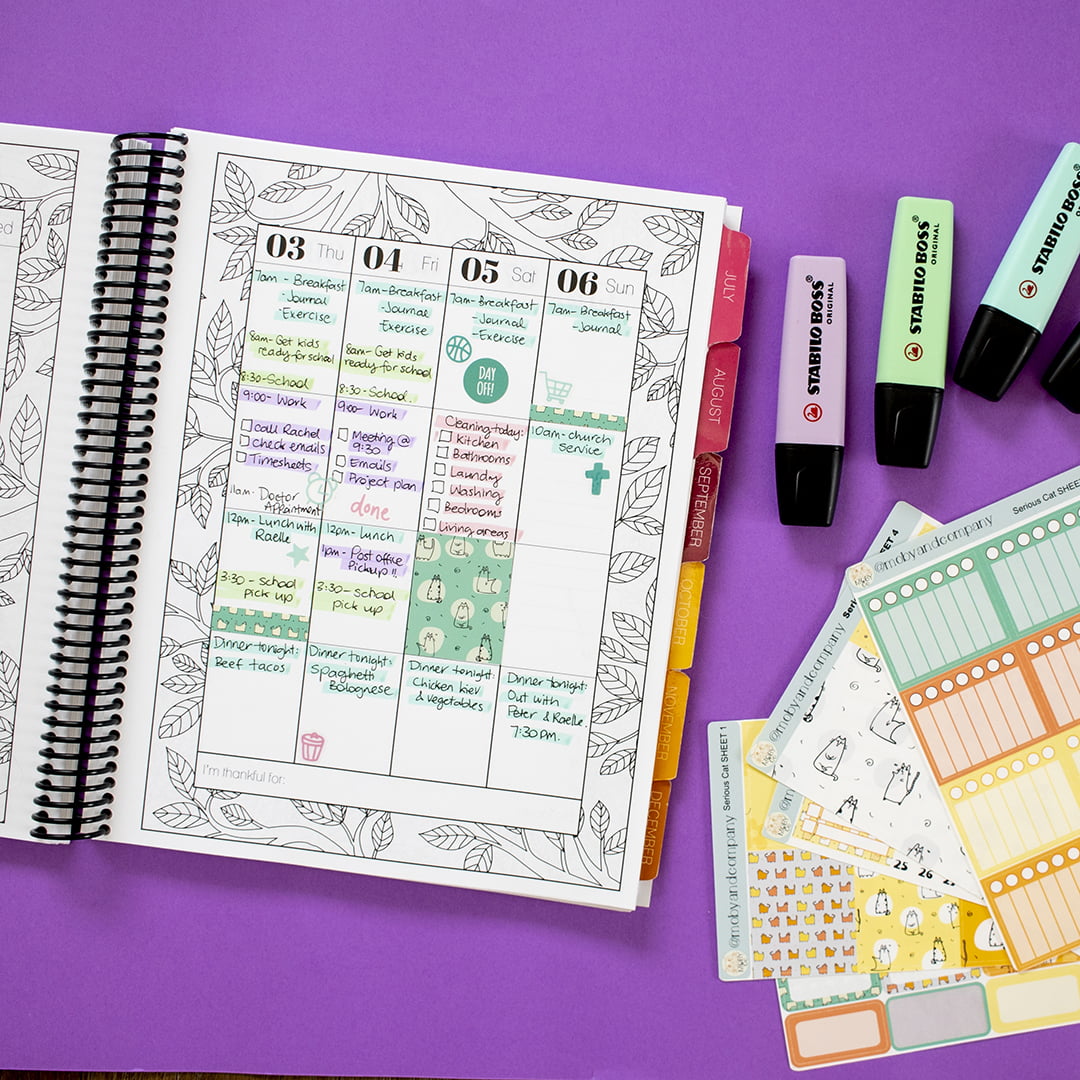
In the example below, I’ve just simply used a highlighter for different categories. The kids and school is in green, work related stuff is in purple, then I’ve got my house related stuff like emptying the bins and cleaning in pink.
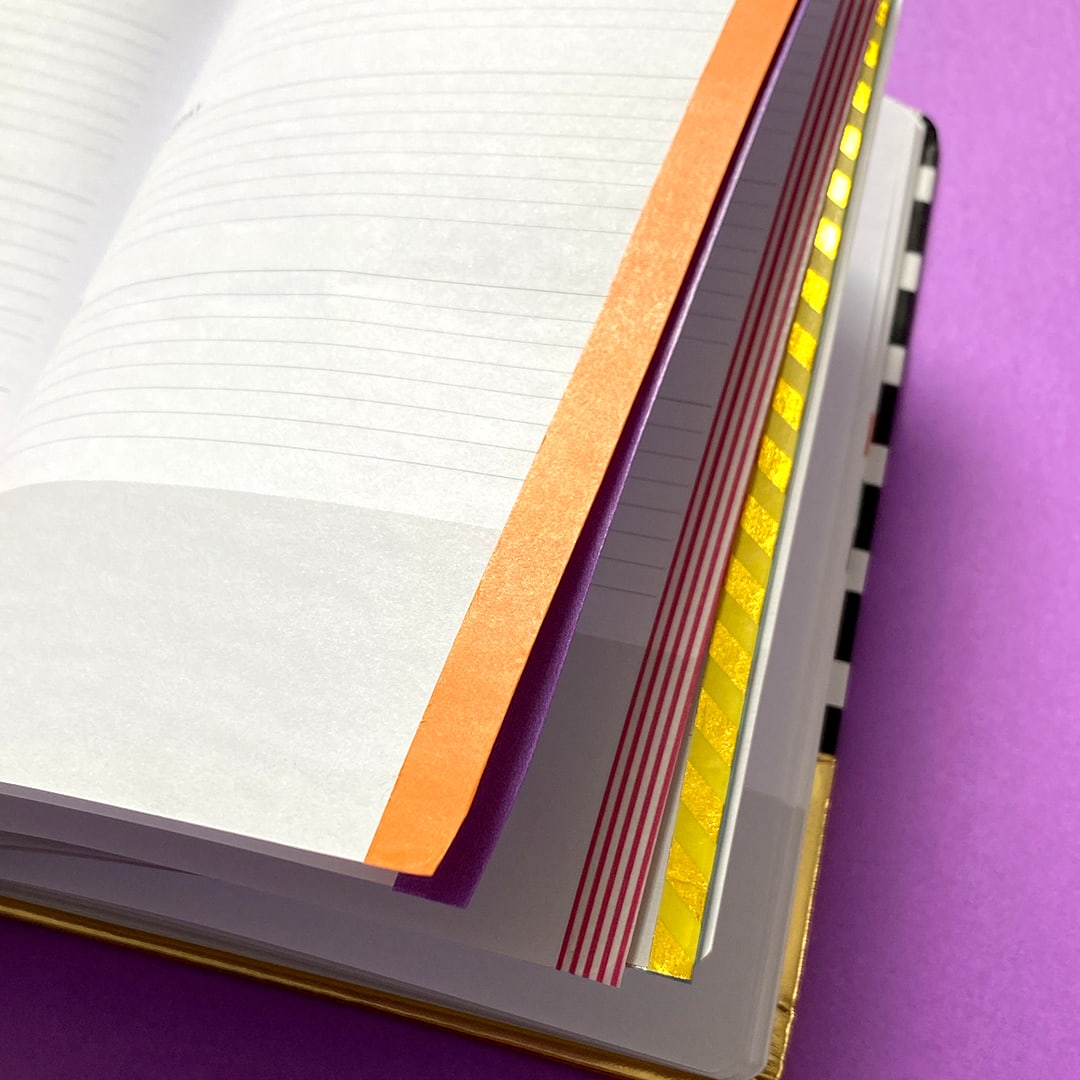
Planner Hack #3: Make Fold-Out Sections in Your Planner
Planner hack number three is to create your own fold-out sections.
You can create more space in your planner, customize your layouts, add your own templates and get incredibly creative with fold-out panels in any kind of planner. In the video above, I even created a fold out key in the back of my planner, to go with our color coding idea!
Let me show you a few other examples.
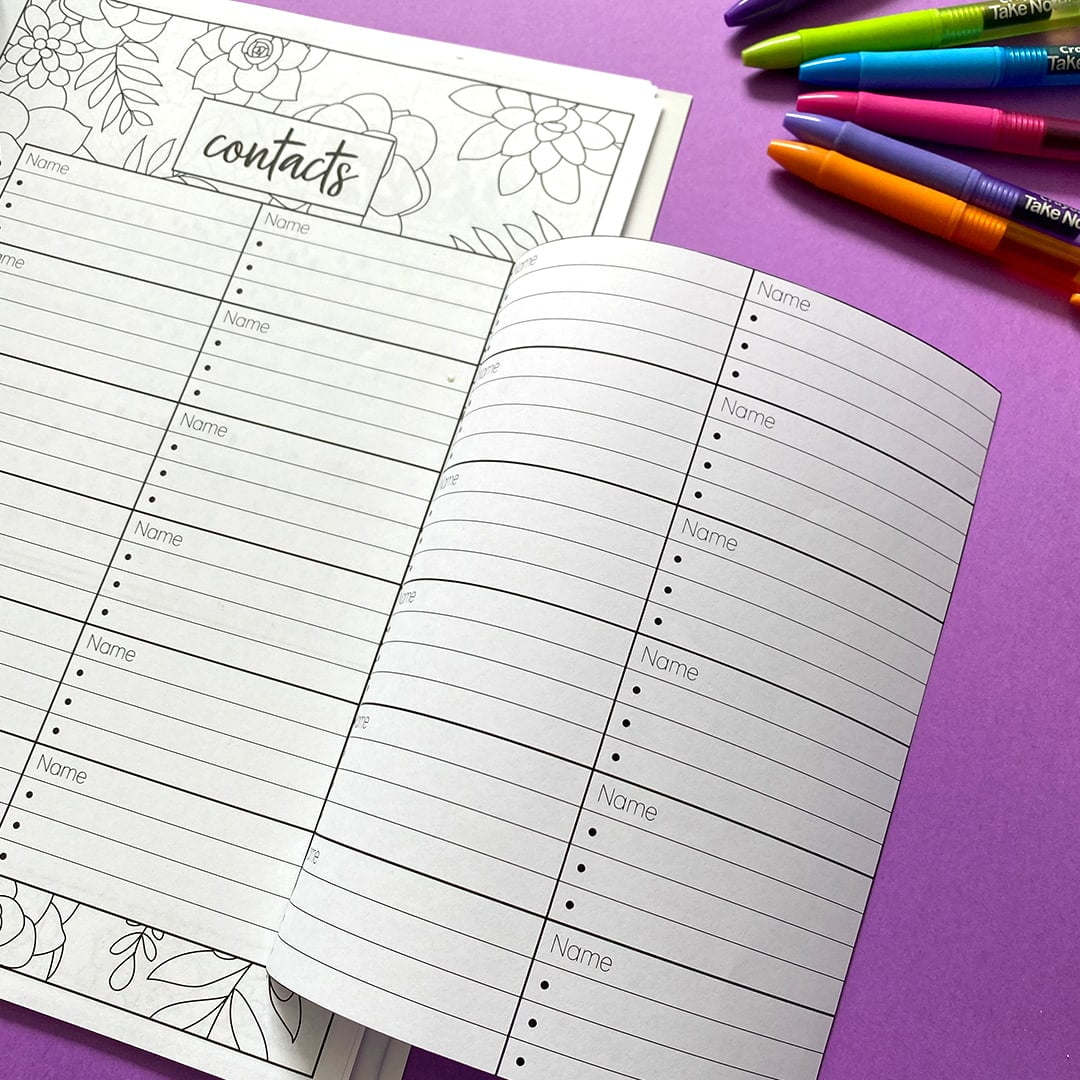
Here, I have printed another copy of the contacts page from my printable planner (you could photocopy the contacts page from your planner if it doesn’t have a printable version),and have added it to the side so that it can fold over.
I only wanted a few more names, which is why mine overlaps, but to add more spaces, you could move it further over.
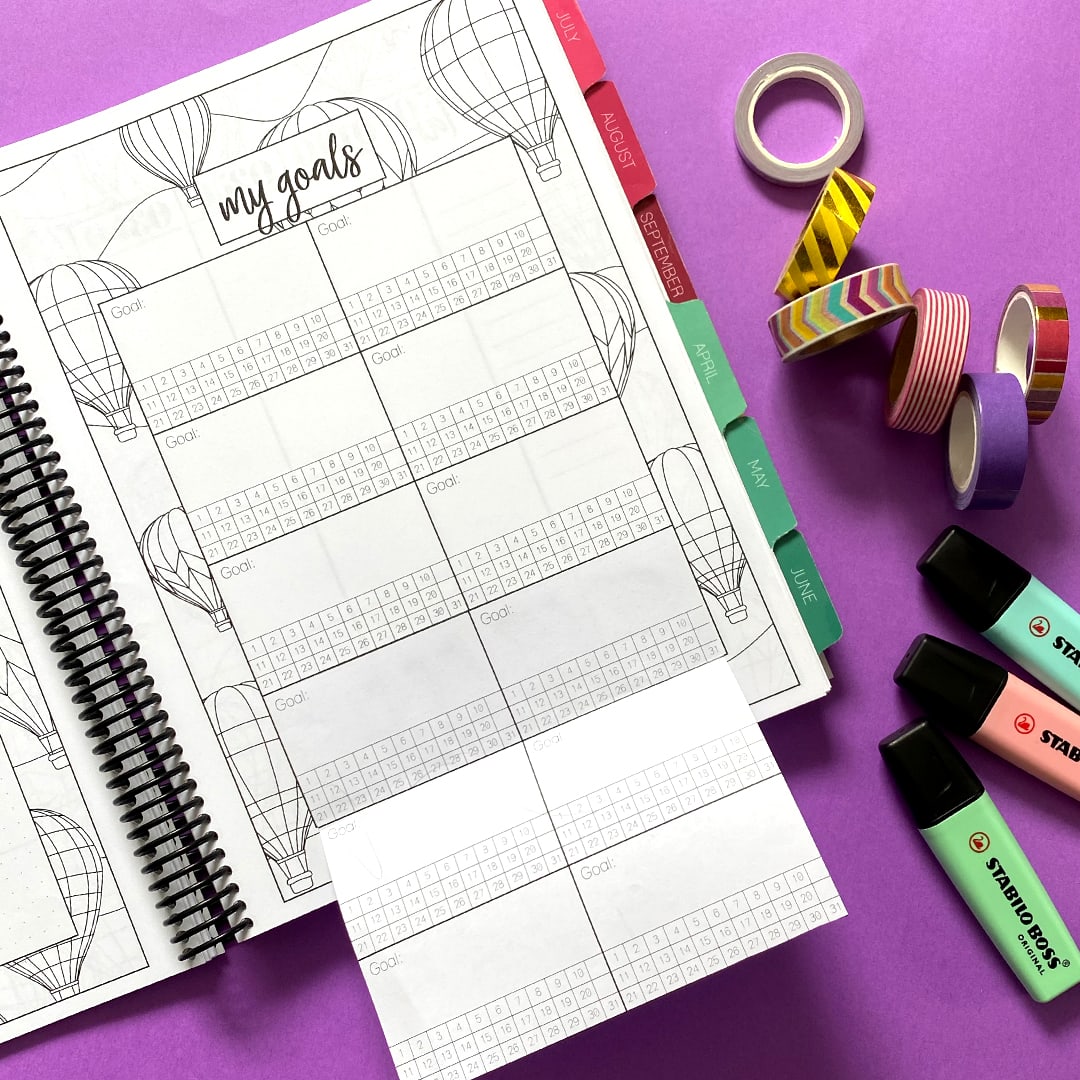
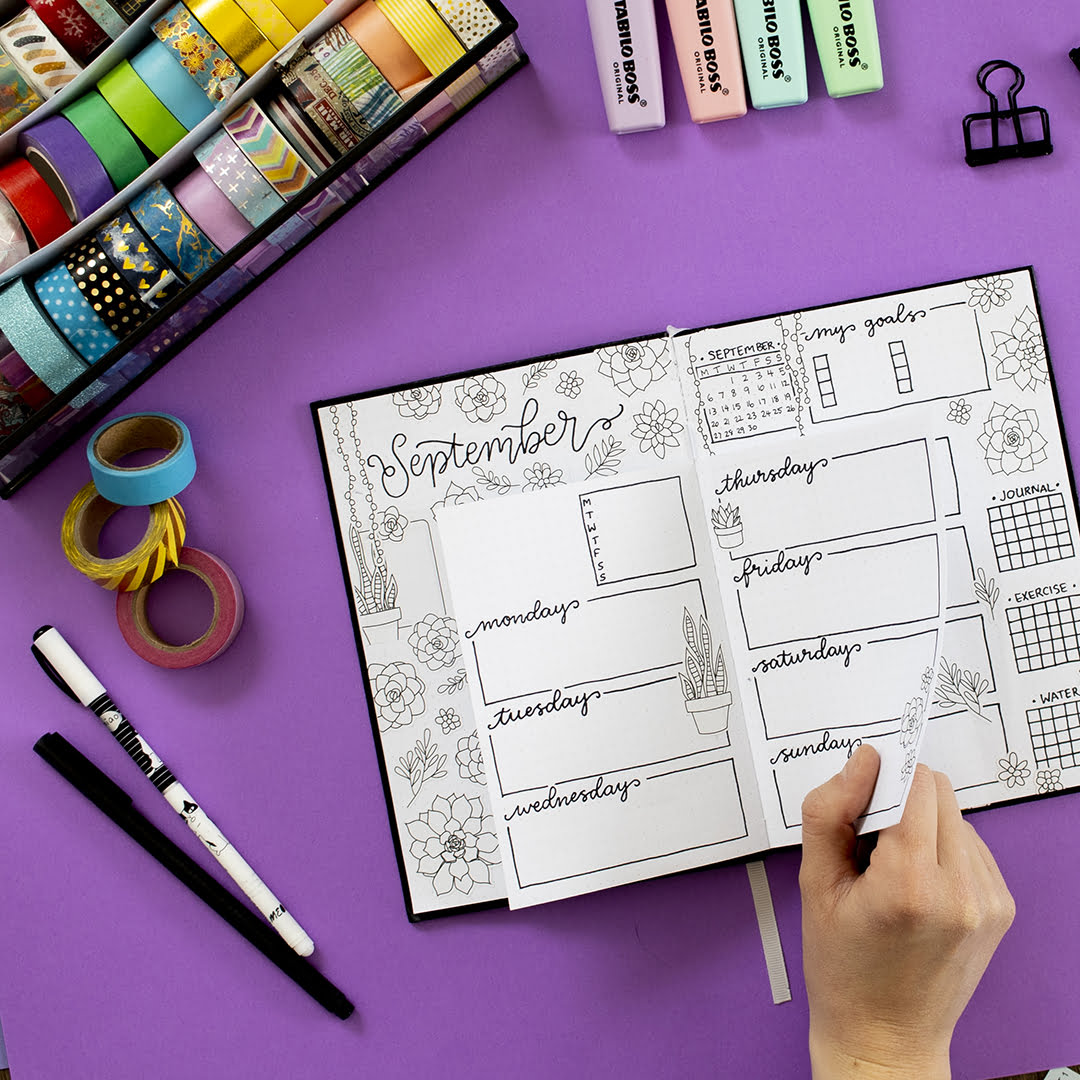
In my previous examples, I’ve used sticky tape to attach my fold out section, but for my goals page, I’ve used glue instead.
I’ve glued it over a section of my planner which I didn’t need, and that allowed me to create a neat fold out section at the bottom to add in more goals.
When you’ve folded the page in, you’ll notice you also have lots of room to draw a picture, add stickers or to even add a motivational quote to help you with your goals.
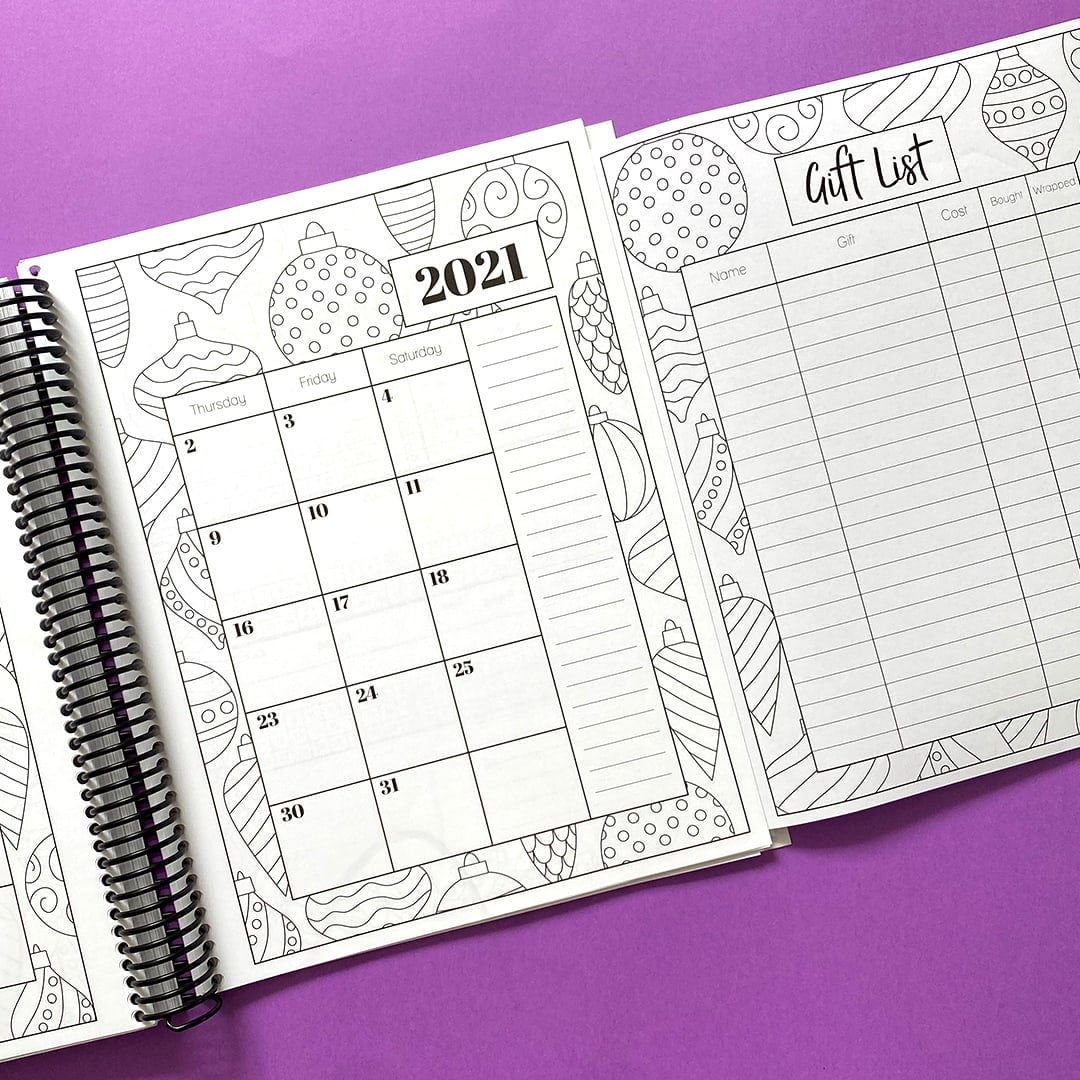
Next, I’ve added a gift list and attached it to the start of December – right in time for Christmas!
In this one I’ve used some Christmas-themed washi tape to attach the page, which doubles as a handy little way to see where December is in my planner when it is closed! And again, on the back of this page, you could draw a Christmas drawing, stick on another coloring page or picture, or print the page double-sided for more gift list spots!
In my examples, I’ve printed out a page from my Printable Coloring Planner to attach to my planner.
Not all planners give you a printable version, so alternatively you can get yourself a planner which has 90% of what you need, and then you can look on Etsy, or find free printable budgeting trackers, finance sheets, gift lists etc. online and print them out to attach to your existing planner.
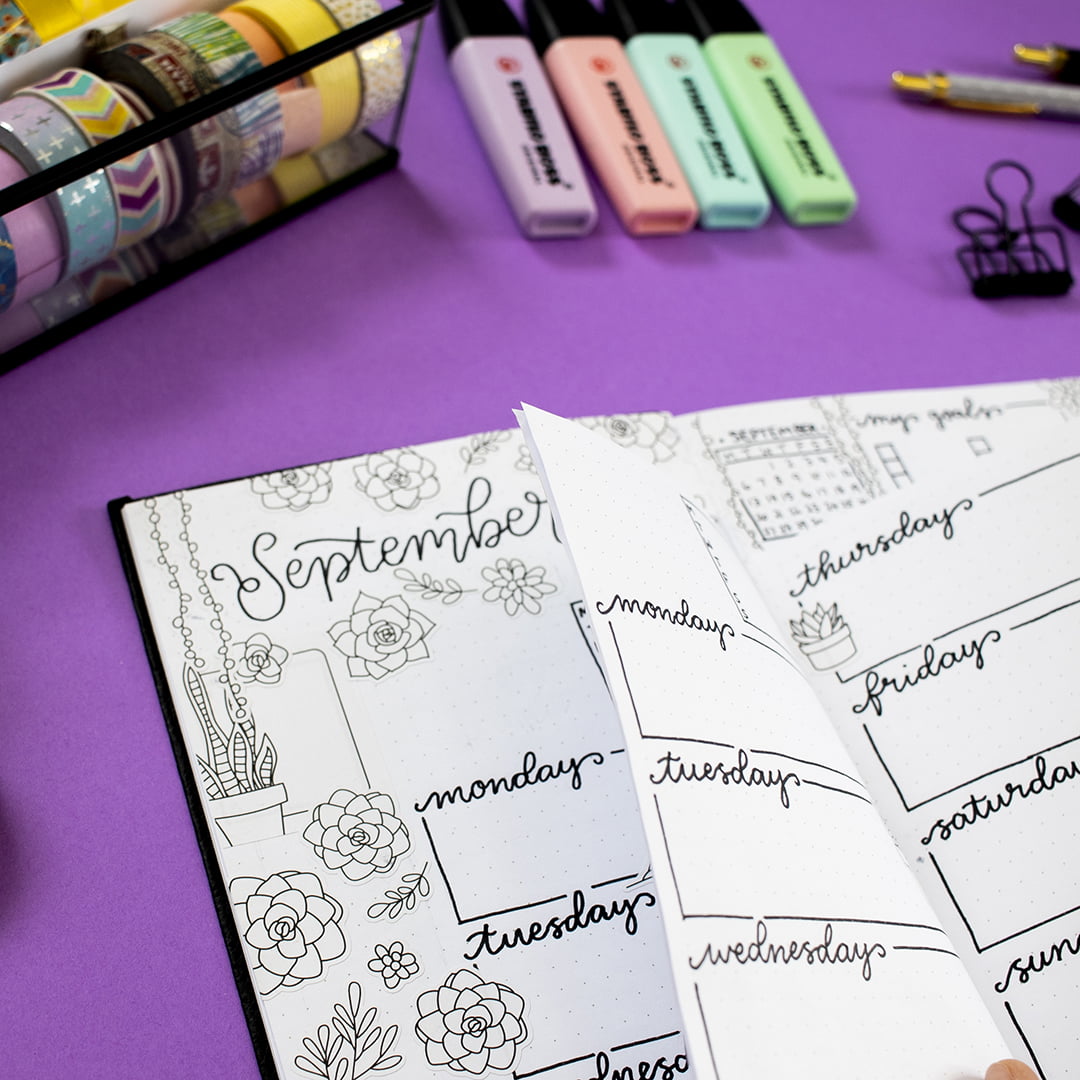
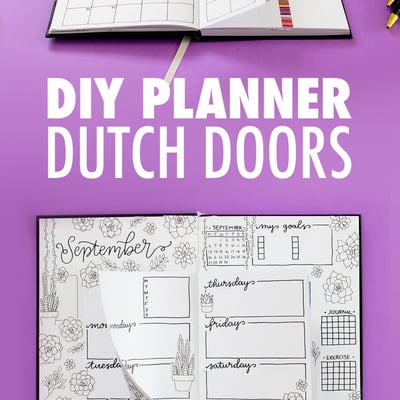
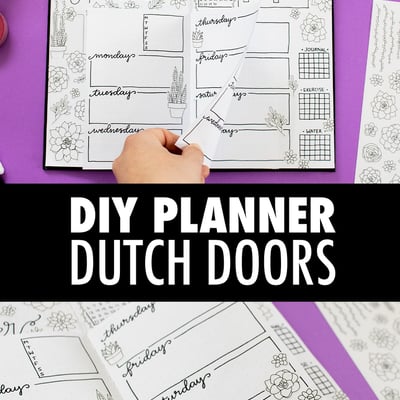
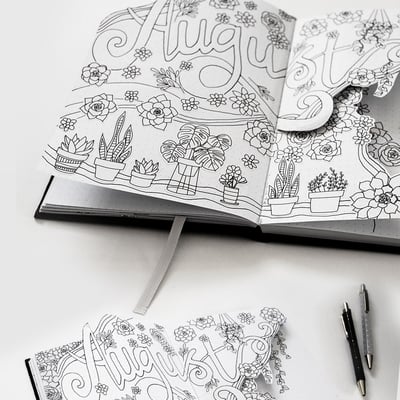
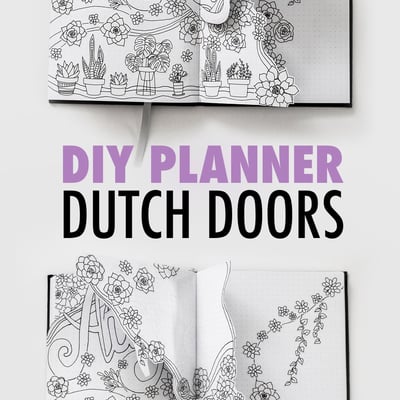
Planner Hack #4: Make a Planner Dutch Door
So if you thought fold-out sections were kind of cool, you’re going to love this next planner hack – this is what’s called a Dutch Door.
Traditionally, when I think of Dutch doors, I think of those old doors in houses (that I used to think were really cool as a kid!) where there was a split in the middle so you could just have the bottom closed and have the top open.
This is actually something we can do in our planner too! I’ve included a tutorial in the video at the top of the post. Here are some examples of different ways you can use the dutch door method in your planner:
Planner Hack #5: Use Sticky Notes to Draft Ideas in Your Planner
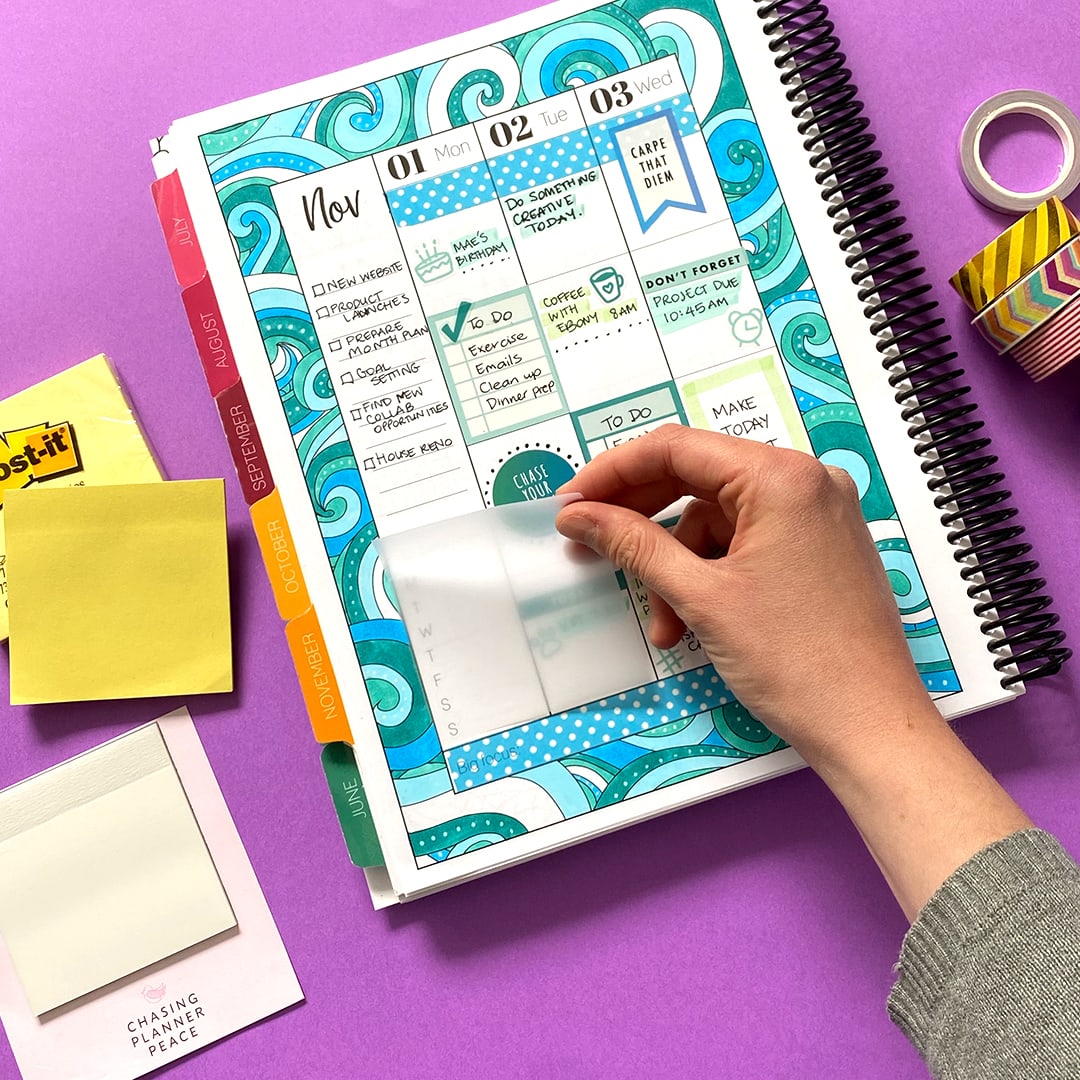
Using sticky notes might feel obvious because you can put a sticky note in your planner and you can remove it. You can write a shopping list on it, get rid of it, just take it with you to the shops, all that kind of stuff, but there are a few other little ways that you can use sticky notes notes and in particular, you can use clear sticky notes like these ones that I was sent by Chasing Planner Peace.
Now, the bonus of a clear sticky note is that you can see everything behind it, so not only can you use it for things like your shopping list, they come in a range of prettier colors than yellow!
The other benefit of the clear sticky note is that you can test stickers because they actually have a bit of a plastic kind of finish to them. You could probably also use wax paper or tracing paper for the same kind of thing. Pop it down on your page and then you can test out your stickers before committing to a position on your planner page.
Planner Hack #6: Create Your Own Planner Pockets
If you’re looking for a way to keep important things where you know you’re going to be able to find them, adding a pocket to your planner is essential.
There are a few ways you can do this:
- You can buy pre-made planner pockets from your local stationery store, which are cut, folded and have adhesive already applied to it – so all you need to do is stick it in!
- Most people have spare envelopes laying around the house. It’s not the prettiest option, but if you’re looking for something cheap, easy and practical, you can simply stick them in with glue, sticky tape or washi tape.
- My favorite option, which I show you in my second planner hacks video, is to make your own – and it’s easier to do than you think!
In my video, I created both a pocket version and an envelope version using nothing but a piece of paper and some sticky tape!
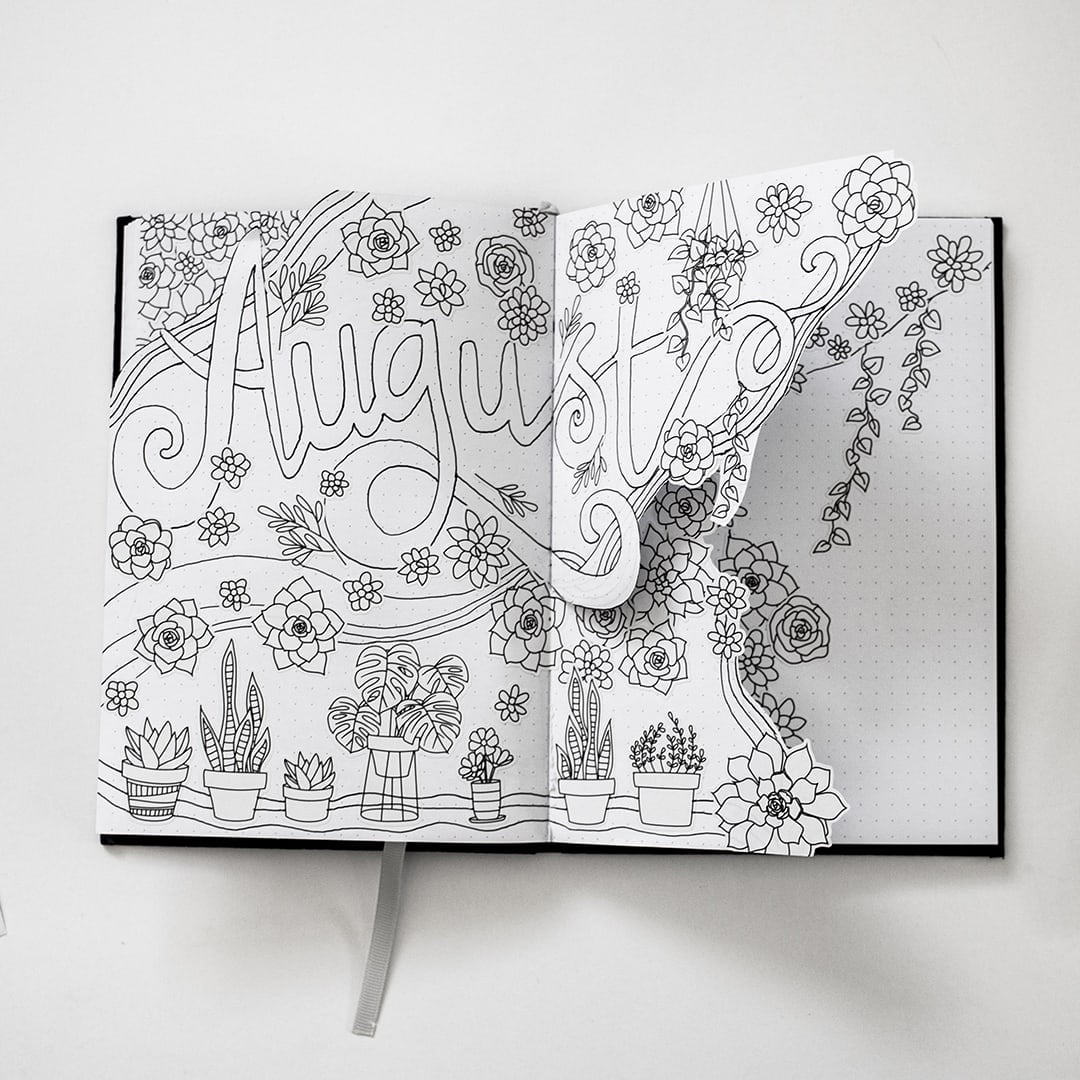
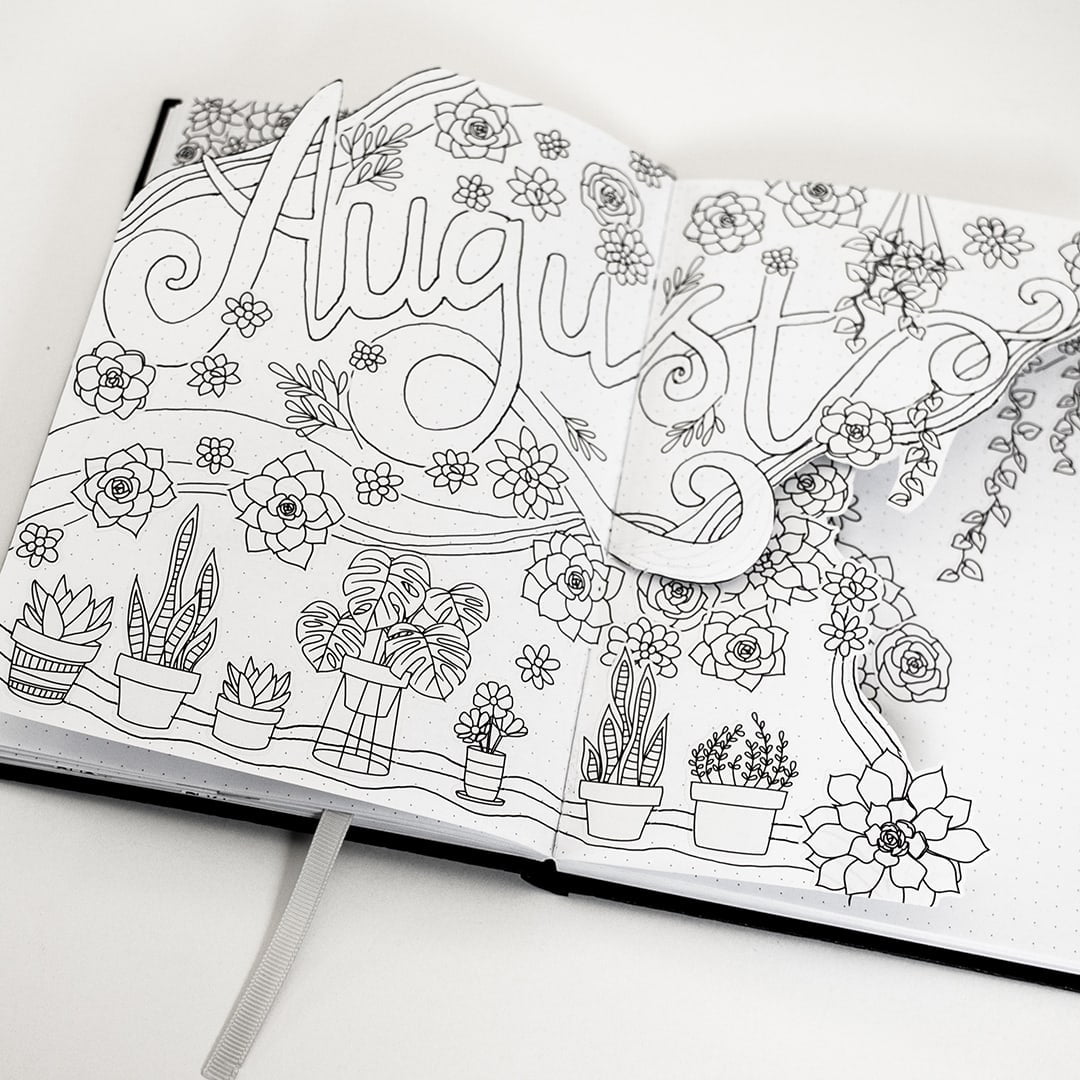
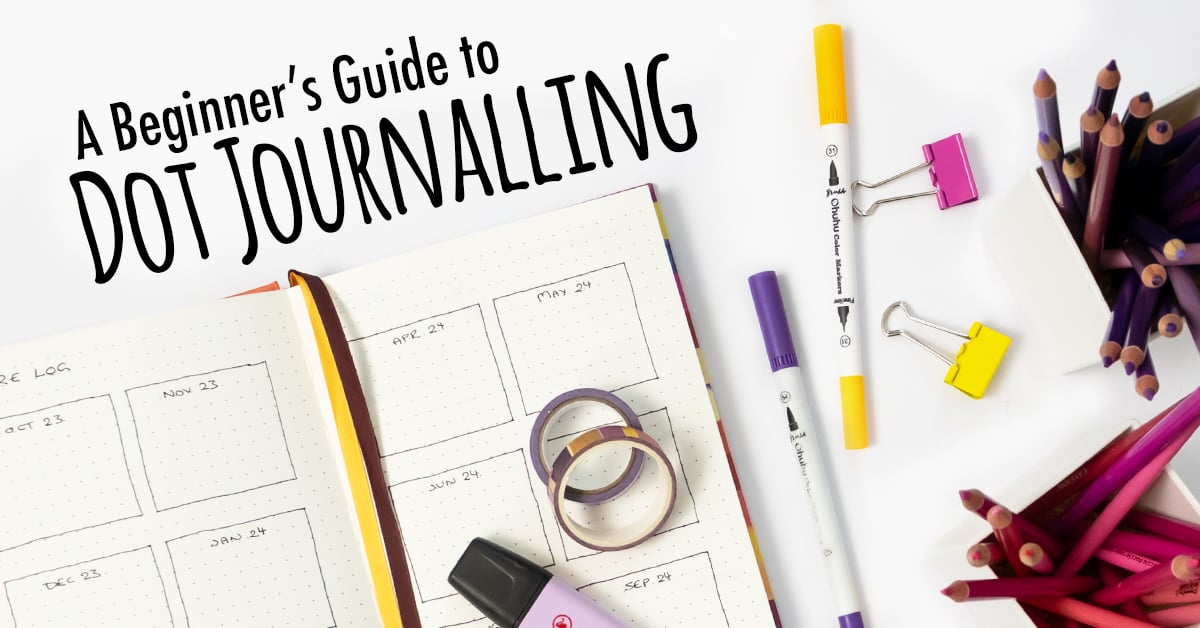
Planner Hack #7: Draft Your Layout With a Pencil
Have you ever been using a bullet journal and started drawing up your calendar only to find out you didn’t count the spaces correctly? It’s so frustrating!
You can avoid mistakes like this in any planner spread by drafting your layout in pencil first.
In fact, I go as far as to draft my entire layout in my own Coloring Planner (stickers, headings, appointments and all) before putting everything down so that I know I’ll be happy when I’m done.
And it means that if I do make a mistake, I can rub it out and re-draft it before doing it in pen.
Planner Hack #8: If You Still Make a Mistake, It’s OK!
If you do happen to make a mistake, it’s OK – it happens! There are a few creative ways to cover mistakes in your planner without making it too obvious.
– You can cover the mistake with stickers
– White pens (you can learn more about my recommended white pens here)
– You can use correction tape
– You can use washi tape!
Planner Hack #9: Print Your Own Stickers
If you find that you go through a lot of stickers (like me), then at some point, you might be looking for a more cost effective option at some point.
If that’s you, printing your own stickers might be a good option, because there are many sticker sellers online (including me!) who sell the digital files that you can print yourself.
There are a few options for printing and using your own stickers:
1. You can print the image on regular printer paper and cut them out with scissors, then glue them into your planner.
2. You can print the image onto sticker paper (from your local stationery store), then cut them out with scissors – and stick them into your planner.
3. Or if you’re like me, you could invest in a sticker cutting machine which lets you load the cut files for your stickers, and it will cut them out for you. These can be quite expensive, however many of the sticker sellers you’ll find on Etsy use these same machines!
Planner Hack #10: ANYTHING Can Be a Sticker
My final planner hack is that ANYTHING and EVERYTHING can be a sticker!
If you are sick of normal stickers, or you just don’t have enough of them, there are some other great options. Think of it as a chance to get creative, as in scrap-book level creative, for your planner.
Some examples of things you can use in your planner are:
- Photos
- Tickets from a holiday or event
- Cards
- Wrapping paper cut intro strips, shapes or panels
- Greeting cards (such as Christmas or birthday cards)
- Foil paper
- Quotes or pictures from Instagram
- Bookmarks
- Postcards
- Gift tags
- Adhesive scrap book paper
- Fabric
- Ribbons
- Stamps
- Coloring pages (colored or uncolored)
- Paintings or other artwork
So these you have it – ten simple hacks that you can use in any planner, no matter what kind of planning you’re using, whether you are a bullet journaller or whether you have the Coloring Planner or whether you have another planner completely.
If you have your own planner hacks that you’d like to share, please leave a comment below or post them in my Facebook Group. if you use #sarahrenaeclark or tag me on Instagram, I might share your beautiful planners in my stories.
I’d love to see your favorite planner ideas or planner decorating tips in the comments!

If you’d like to grab the brand new 2024 Coloring Planner, it’s available for Pre Order Now! Find out more and order now so you don’t miss out (Once stock runs out, that’s it!)
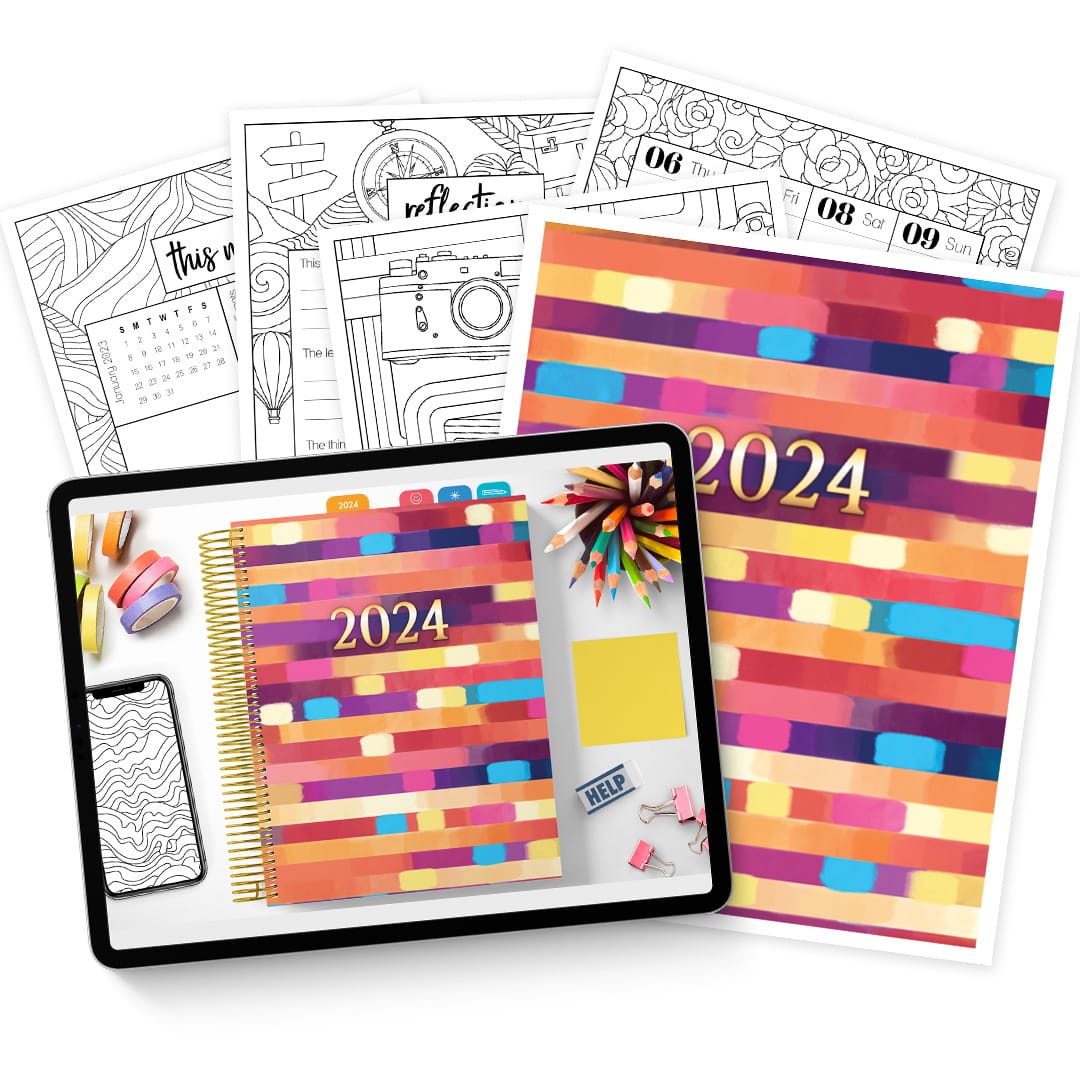
If you prefer digital planning on your iPad, or would like to print your own planner (or print pages to include in your existing planner, like some of the fold out sections in this blog post) you can download the digital and printable bundle of the 2024 Coloring Planner – just like the real coil-bound planner, but downloadable!
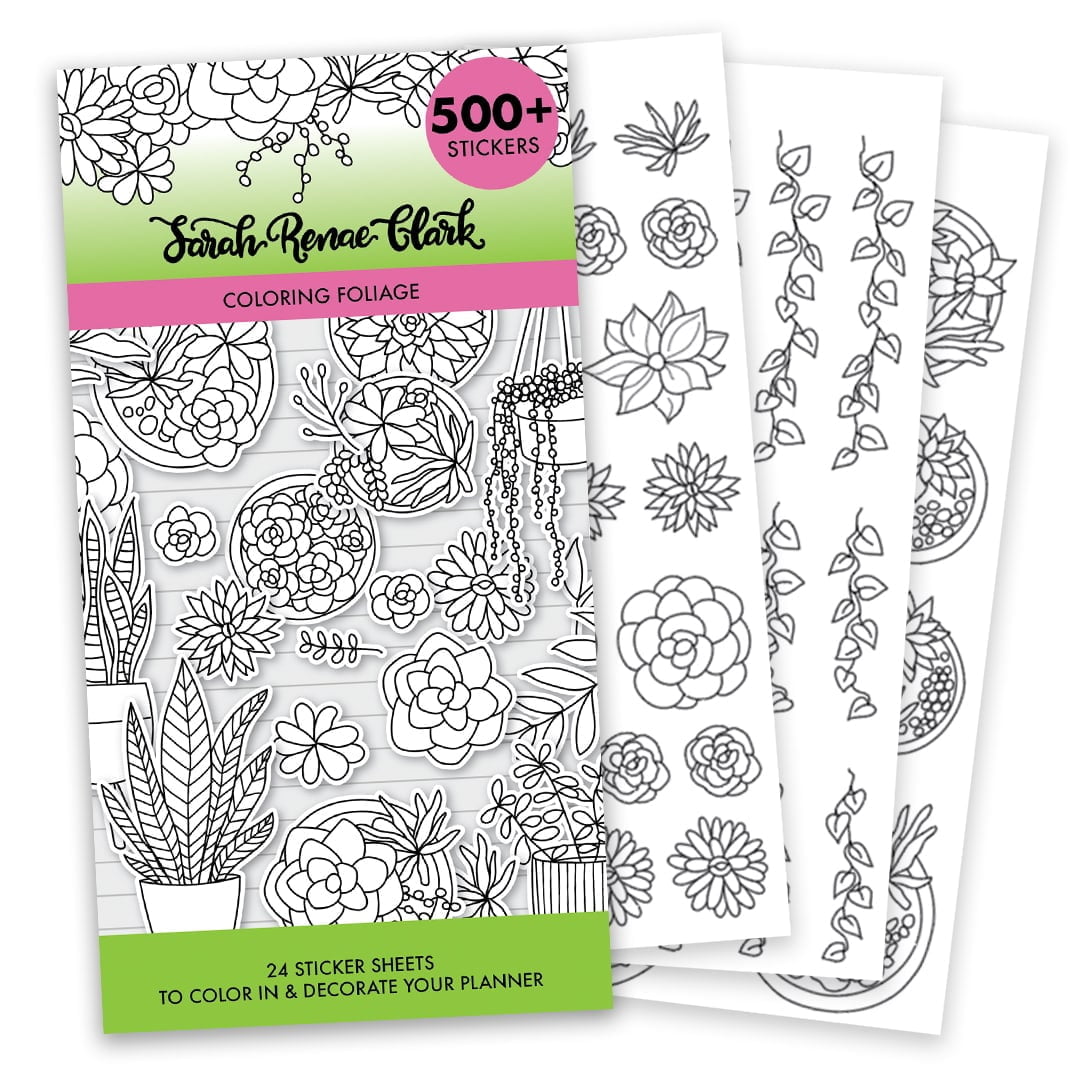
No matter what planner you have, no planner is complete without STICKERS!
Bring your planner to life with this range of beautiful and functional planner stickers! Printed, printable and digital versions available.


Please consider making your planners have more lines, dot grids or UNDATED I have the last 2 years & I would love to be able to mix & match or move around some of the coloring images.
I tried to get used to using a planner… but I failed =/
hahahah
I started it very well, but then it began to get boring… I don’t know… I have a thing with them. LOL
great tips thx u so much my. planner is so disorganised!!before=,now=