
If you love coloring your furry friends, you’ll probably relate to the frustration of not knowing how to draw realistic dog fur or cat fur on your coloring pages.
To bring you the best tips on drawing fur with colored pencils, I decided to bring in a good friend of mine and skilled pencil artist, Carrie L. Lewis.
If you haven’t already seen Carrie’s work, make sure you check out her website. Her horse and landscape colored-pencil drawings are amazing! She also has a series of beginner colored pencil tutorials, so if you’re just getting started with colored pencils, check them out here.
Without further ado, let’s jump into Carrie’s pencil tutorial on drawing realistic fur. If you find it useful, please share with your friends and leave a comment below!
Note: This article includes product affiliate links, where I may earn a commission if you choose to click through and make a purchase, at no cost to you.

Download the coloring page used in this tutorial to follow along! Or please check out my other coloring pages in my free and under $1 section.
Alternatively, you can choose a coloring page you’re already working on to apply the techniques used in this tutorial.
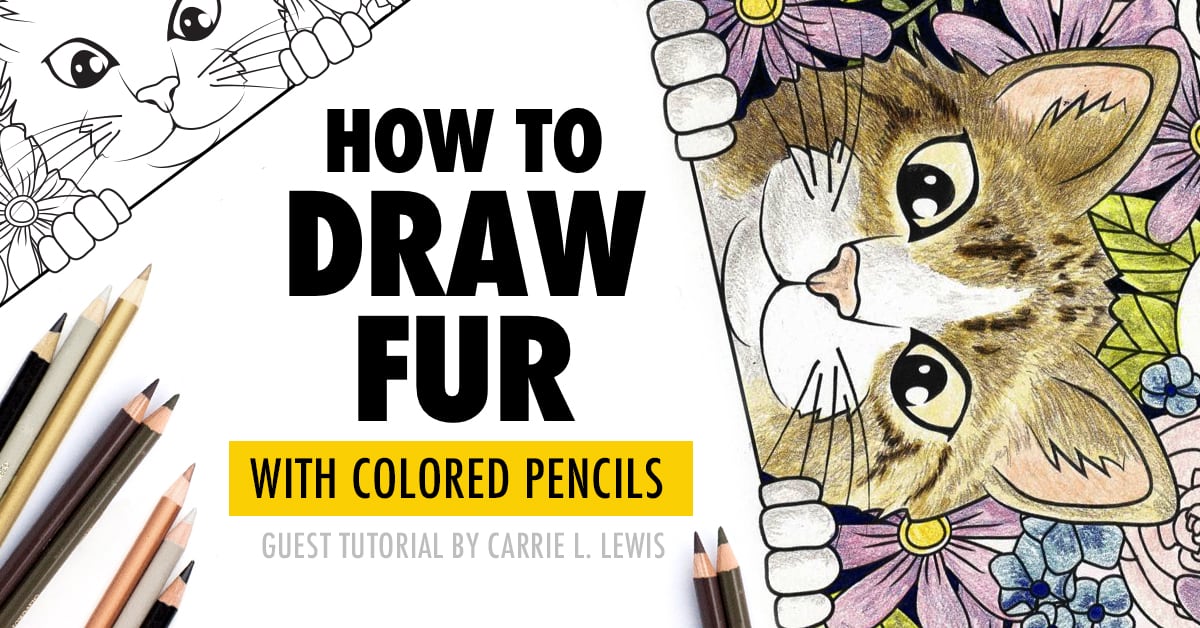
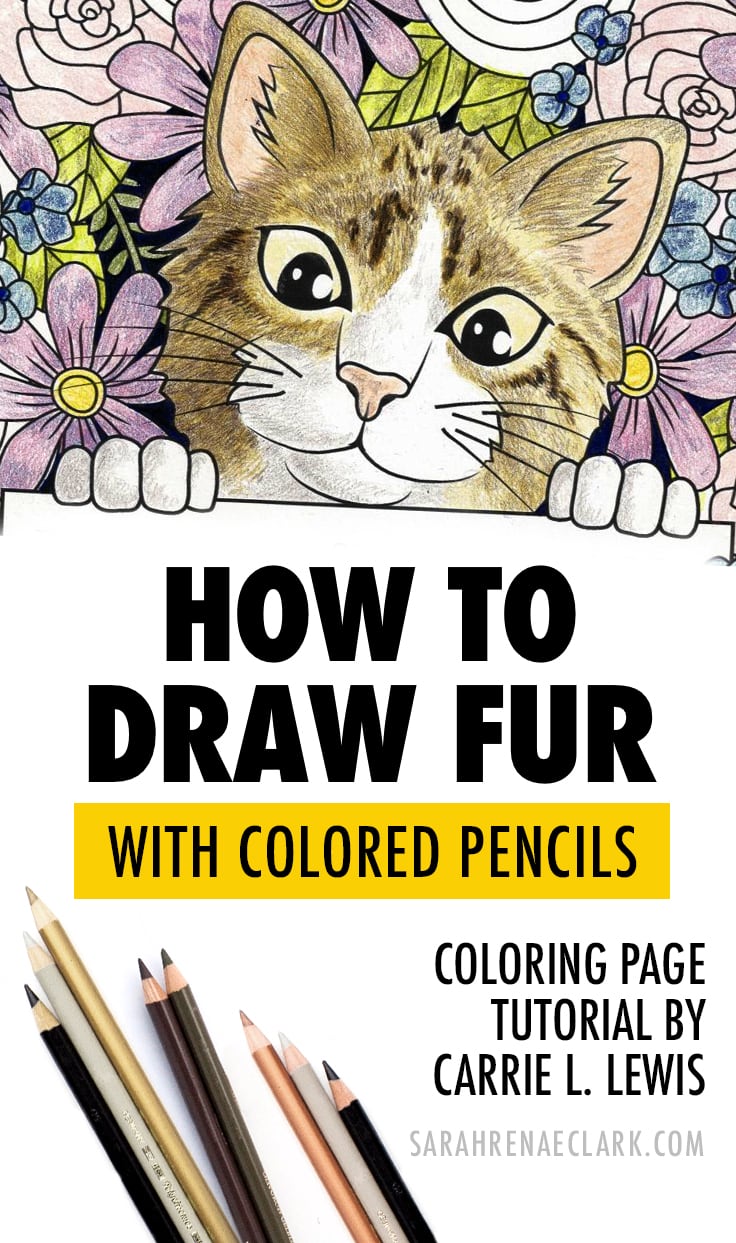
How to Draw Fur: Colored Pencil Tutorial
by Carrie L. Lewis
Drawing fur doesn’t have to be intimidating or time-consuming. If you remember a few simple guidelines, it can be fun and pleasing.
What are those guidelines?
One: Don’t draw every hair. That’s a certain path to frustration.
Two: Stroke in the direction that fur grows naturally.
Yes. It’s as simple as that.
How to Draw Fur with Colored Pencil in 6 Steps
One note before we begin: The type of paper you use makes a difference in how your work turns out. The smoother the paper, the easier it is to draw detail. But smooth paper cannot take as many layers of color, so you have to make every layer count.
Papers with a little more tooth (or surface texture) hold more color so you can add more layers. But they may be more difficult to draw detail on. Not impossible, but more difficult.
If you’re working in a pre-printed coloring book, you have to use whatever paper the artist chose. You can look for books printed on better paper, and perhaps even find some printed on drawing paper.
If, on the other hand, you’re printing pages individually, you can experiment with papers to see how they handle colored pencils. What do I recommend?
Bristol is a very smooth, sturdy paper that can take enough layers to blend, and still allow you to draw details fairly easily.
Stonehenge is softer and a little more textured. It’s great for blending by layering and for drawing detail.
Canson Mi-Teintes is also good for layering and detail, but it’s quite textured, so it takes more effort to draw detail.
All three can be trimmed to fit most printers and are capable of producing crisp, clear line drawings. So if you’re feeling adventurous, give them a try. Use white the first time though, since the color of the paper affects the way a drawing looks.
I used ordinary card stock for this demonstration piece. It’s smoother than Stonehenge, but not as smooth as Bristol and you can buy it already cut to standard printer sizes.
Unless otherwise noted, I used Prismacolor Premier Soft Core pencils.
Now for the tutorial.
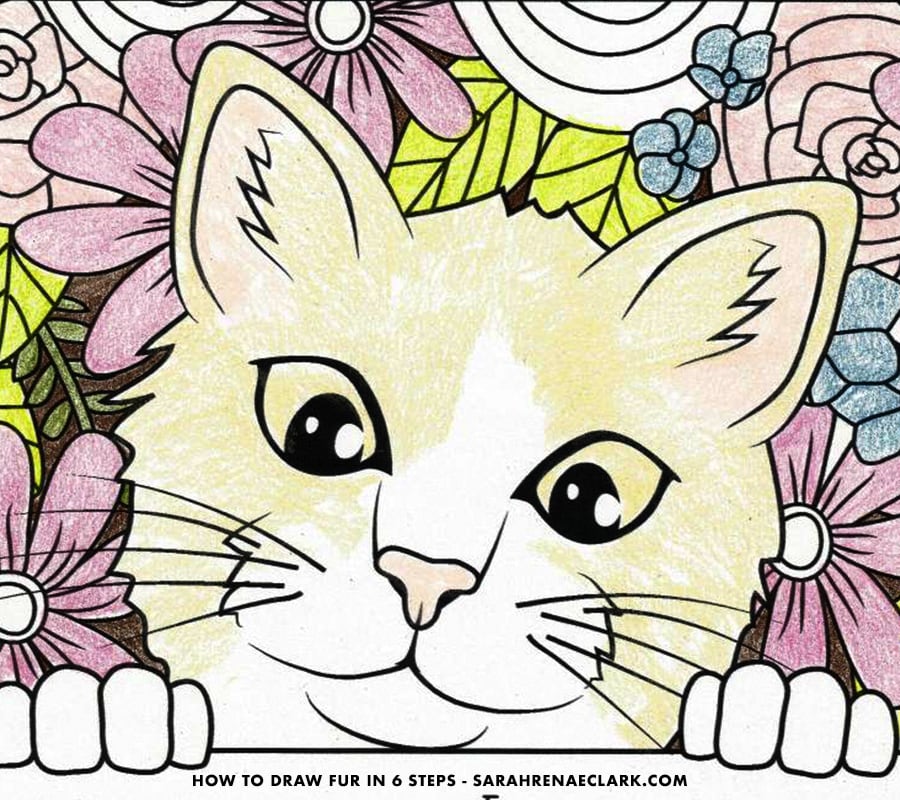
Step #1: The Base Layers
The base layer “sets the stage” for the rest of the drawing.
Base layers are generally a color that’s similar to the final color, but lighter in value. For example, draw a gray and white cat with a base layer of very light gray. Use a light earth tone as the base color for a ginger or brown cat, and so on. (You can use other light colors if you wish, but that’s probably an article for another time!)
Whatever color you use, draw smooth color for the base layer. Use a sharp pencil and light pressure with small, overlapping circular strokes. Cover every area, including any highlights you might want to draw later.
For my sample, I used Ginger Root to for the fur. I worked around the white markings I want my cat to have, but layered color everywhere else.

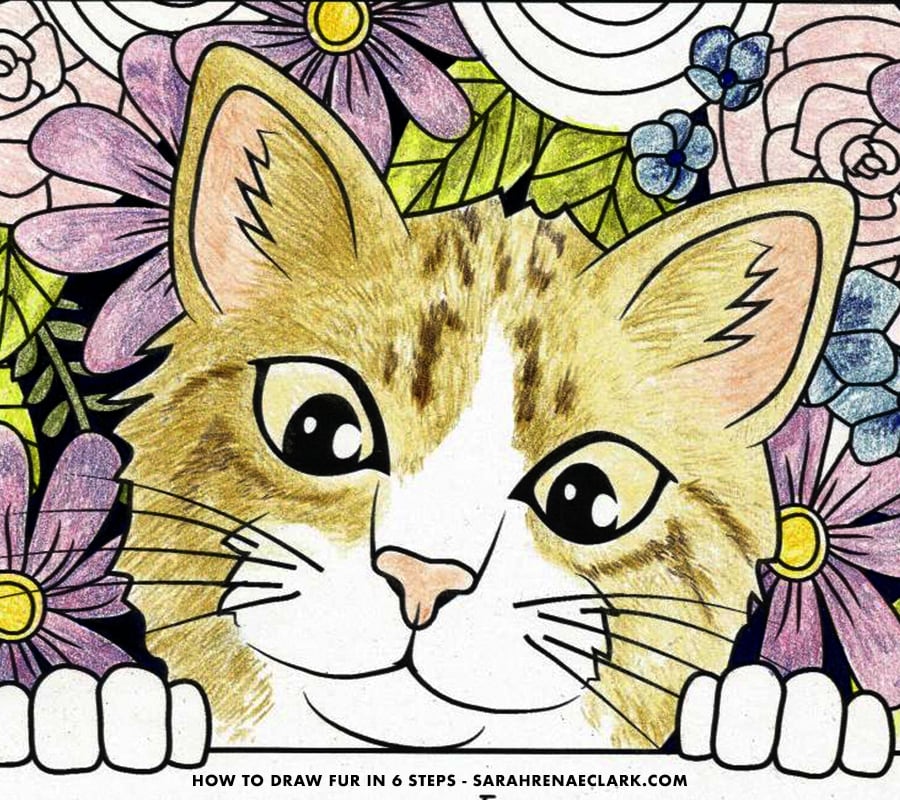
Step #2: Darken The Base Layer and Begin Adding Larger Details
Choose a slightly darker version of the base color to plot out any stripes or other darker markings you want in the fur. I chose Artichoke.
With a very sharp pencil and short, flicking strokes, “sketch” in the markings. Draw in the direction the fur grows. For short fur, use short strokes. For longer fur, use longer strokes. I used very short strokes around the cat’s face and longer strokes inside the ears.
Put strokes closer together or overlap them to draw darker values. In the lighter areas, keep the strokes further apart, but continue to stroke in the direction of fur growth.
TIP: If you have a cat, take a look at the way the fur grows on it. You don’t have to get every stroke correct and you don’t have to draw every hair, but seeing in real life how the fur changes direction is very helpful in creating realistic looking fur in your art.
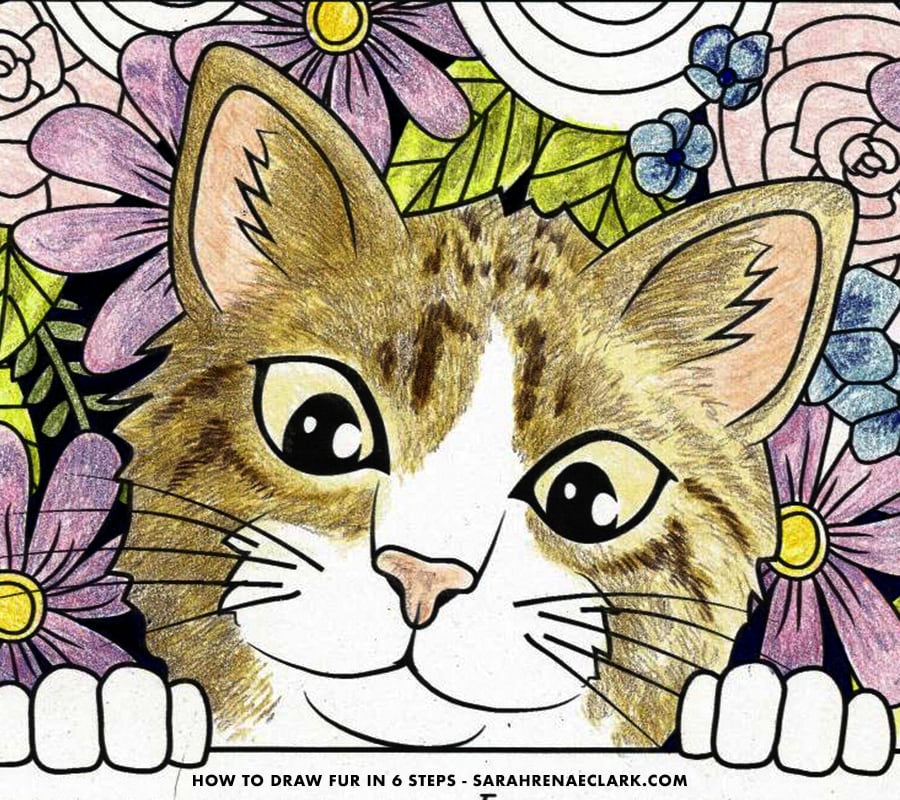
Step #3: Darken Details and Shadows
I want to draw a more realistic cat, so I’m going draw shadows on the left side of the cat’s face. Layer Artichoke over the left side of the head with short strokes that follow the direction of fur growth. Overlap strokes to avoid creating unwanted or unnatural looking edges. Keep your pencil sharp, and the pressure light. Remember, it’s far better to add more layers with light pressure than to do one or two layers with heavy pressure, especially if you want to blend by layering.
Don’t cover that side of the head entirely; there should still be some base color showing when you finish with this layer. But it should also be noticeably darker than the opposite side of the face.
Step #4: Blend with the Base Color
Next, blend all of the fur (except the white fur) with the base color. Use a slightly dull pencil and circular strokes applied with light pressure.
Then blend with the next lightest color. Again, use a slightly dull pencil and layer smooth color, but this time, layer only over the shadowed side of the face, and the parts of the ears and around the eyes that are in shadow.
TIP: Check a reference photo for lighting to see where you should put shadows.
Step #5: Continue Adding Layers of Color
Continue adding layers until the fur is the color you want. You can either continue alternating through the colors you’ve already used, or you can add additional colors if you want to draw darker fur, or if you want to change the color slightly.
For example, my cat wasn’t very dark, so I added Dark Umber to the stripes, then to the rest of the fur, and finally again to the stripes.
Then I blended with light pressure on Dark Umber in the shadows.
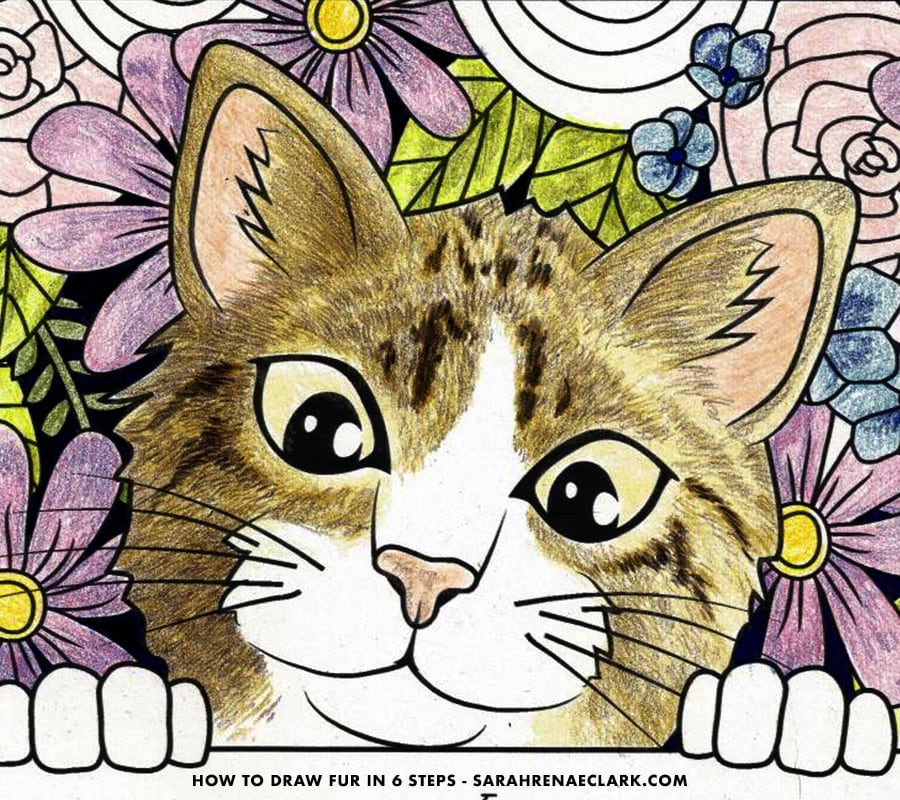
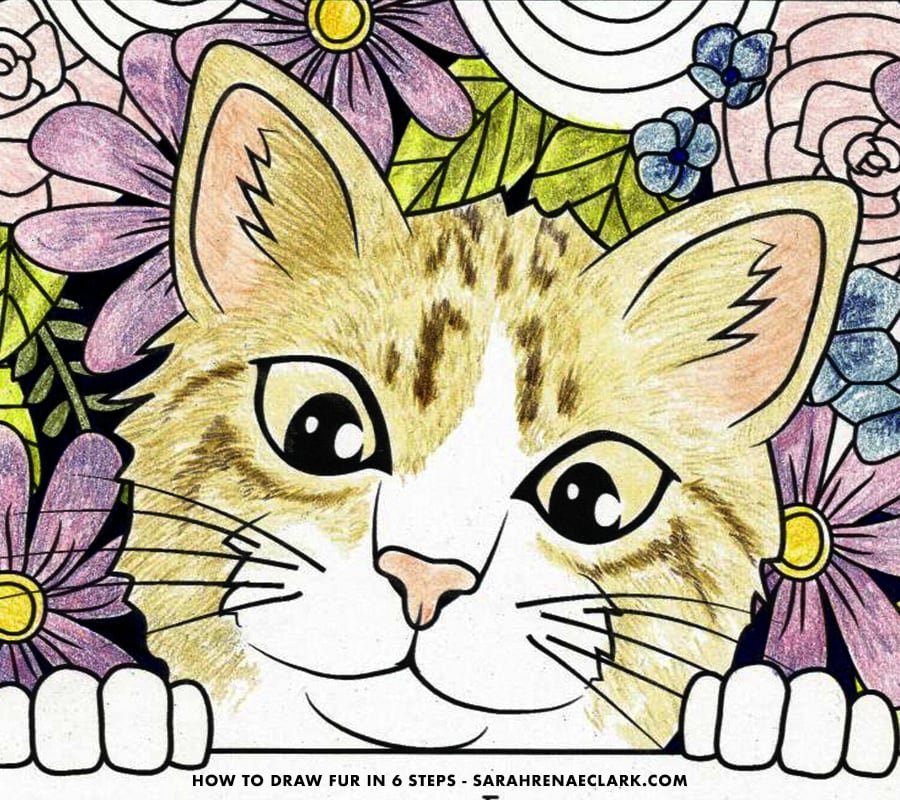
Step #6: The Detail Layers
To finish, add more strokes to mimic the look of fur. Remember to keep them darker (closer together) in the shadows and lighter (further apart) in the lighter values.
I darkened the shadows on the left side of the face with Dark Umber, darkened all of the stripes with Black, and worked around the highlights on the right side of the face with Artichoke and Ginger Root.
What About Those White Markings?
Follow the same steps to draw that. You won’t be drawing the highlights on white paper, but you can add a touch of realism to those white patches by adding a few shadows. Just follow the steps above, but use a collection of grays.


Conclusion
You don’t have to draw every hair to draw fur that looks like fur. Instead, focus on the hair groups, and the places where fur changes from one color to another or from shadow to light.
About the Author

Carrie L. Lewis has been painting and drawing since she was old enough to hold a crayon. In the late 1990s, Carrie began doing more colored pencil work, which is now her primary medium. Her focus has shifted from portrait work to teaching through her blog.
Website & Blog: https://www.carrie-lewis.com/
Follow Carrie: Facebook | Twitter | Pinterest


I found this post to be very helpful and informative. I follow Carrie and all of her information is spot on I always enjoy the info I get from each of you.
Thank you for your sharing, this has been very helpful.
This video was very helpful But I used the prismacolor pencils you picked and my cat turned out slightly green.from the artichoke and gingerroot. Any idea on what I I did wrong?