
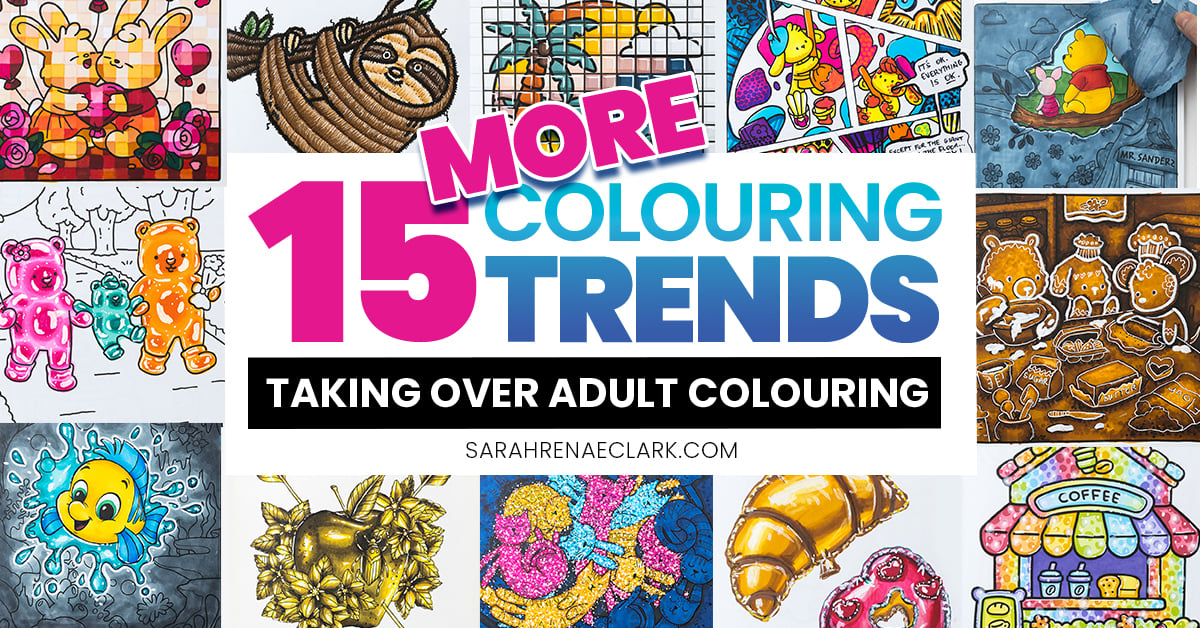
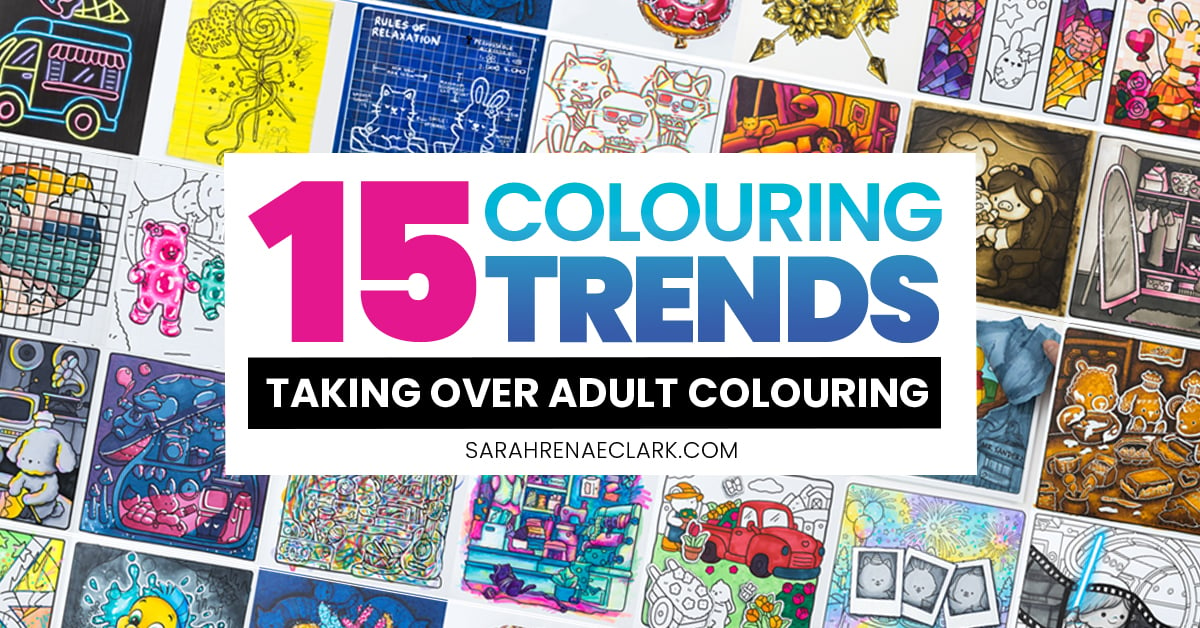
I’m trying every adult colouring book trend I can find, and here are the next 15 on my list!
You can check out Part 1 of this list in my first post or check out the video below to see all 30 I’ve tried so far. Many of these use alcohol markers and are done in the “cosy” colouring books that are popular in 2026, but you can adapt these methods to work with any art supplies or in any colouring books.
You might also enjoy my best alcohol marker recommendations and favourite art supplies… or grab a free colouring book by joining my email list!
Please note: This post includes affiliate links. If you click on them, I may earn a small commission (at no extra cost to you). I received some of the supplies used in this blog from the brands, but they are not sponsoring or endorsing this post or the related video. These include supplies given by Ohuhu, Meeden, Sakura, OLO, Copic, Sharpie, Windsor & Newton, Creative Paula and Luchetti.
Colour Splash Colouring Effect
Technique Difficulty: Medium
Colouring Book: Disney Animals Cosy Colouring Book by Autumn Publishing
Supplies Used:
Prismacolor Coloured Pencils: PC1027, PC906, PC105, PC1034
OLO Alcohol Markers: B 0.5, B0.3, Y 1.4, Y 0.3, YO 0.4, YO 0.2, B 1.5, B 1.3, BG 2.5, BG 1.6, BG 1.0, BG 0.2, BG 5.5, BV 0.0
Meeden Acrylic Paint Markers: 12
Artline 210 Fineliner Pen: Black Medium
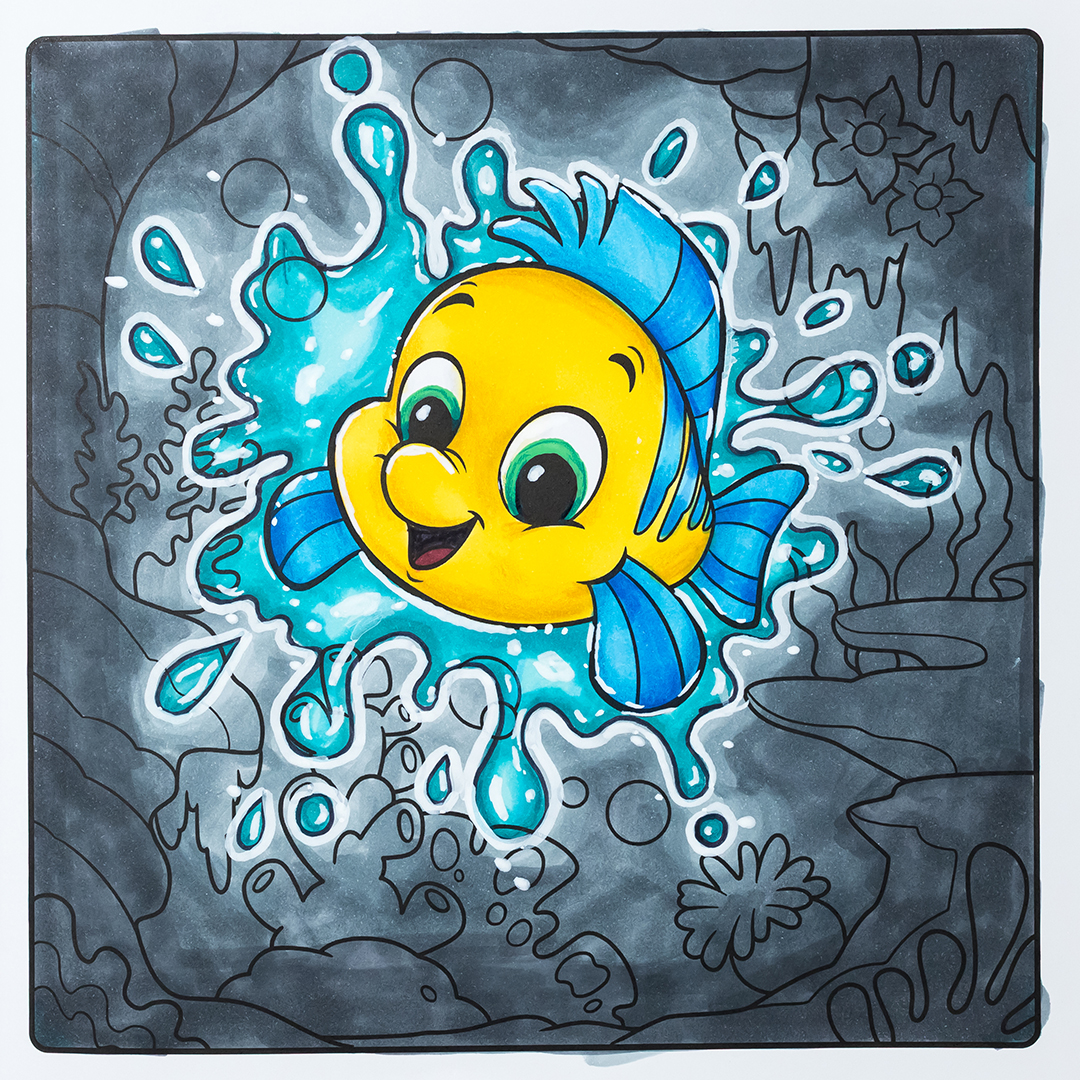
In my previous blog post, I shared a few different ways to break your page up into sections and colour each section differently. This is similar – draw a paint splatter shape, and use that to colour the splash in one style, and the background in another.
If you’re feeling ambitious, you can try this with a coffee spill or paint spill – let the coffee or paint run wild and then trace around whatever shape it makes!
For Flounder, I did my favourite colouring method of just using alcohol marker for the base and some coloured pencils for light shading and details on top.
And I used the white paint pen to add some fun highlights and an outline to my water splash.
I’m not totally happy with my decision to just make the background dark – and I might come back and work on this again more at a later time, but I still love the overall effect, and I always love an excuse to add lots of white highlights!
Glitter Colouring Technique
Technique Difficulty: Advanced
Colouring Book: Cute & Cuddly Animals Everywhere by Hinkler Books
Supplies Used:
Meeden Acrylic Paint Markers: 76, 18, 65, 12
Ohuhu Honolulu Alcohol markers: Y111, Y213, YR313, B08, B111, B114, RV111, RV311, RV314
White Copic Acrea Acrylic Paint Marker
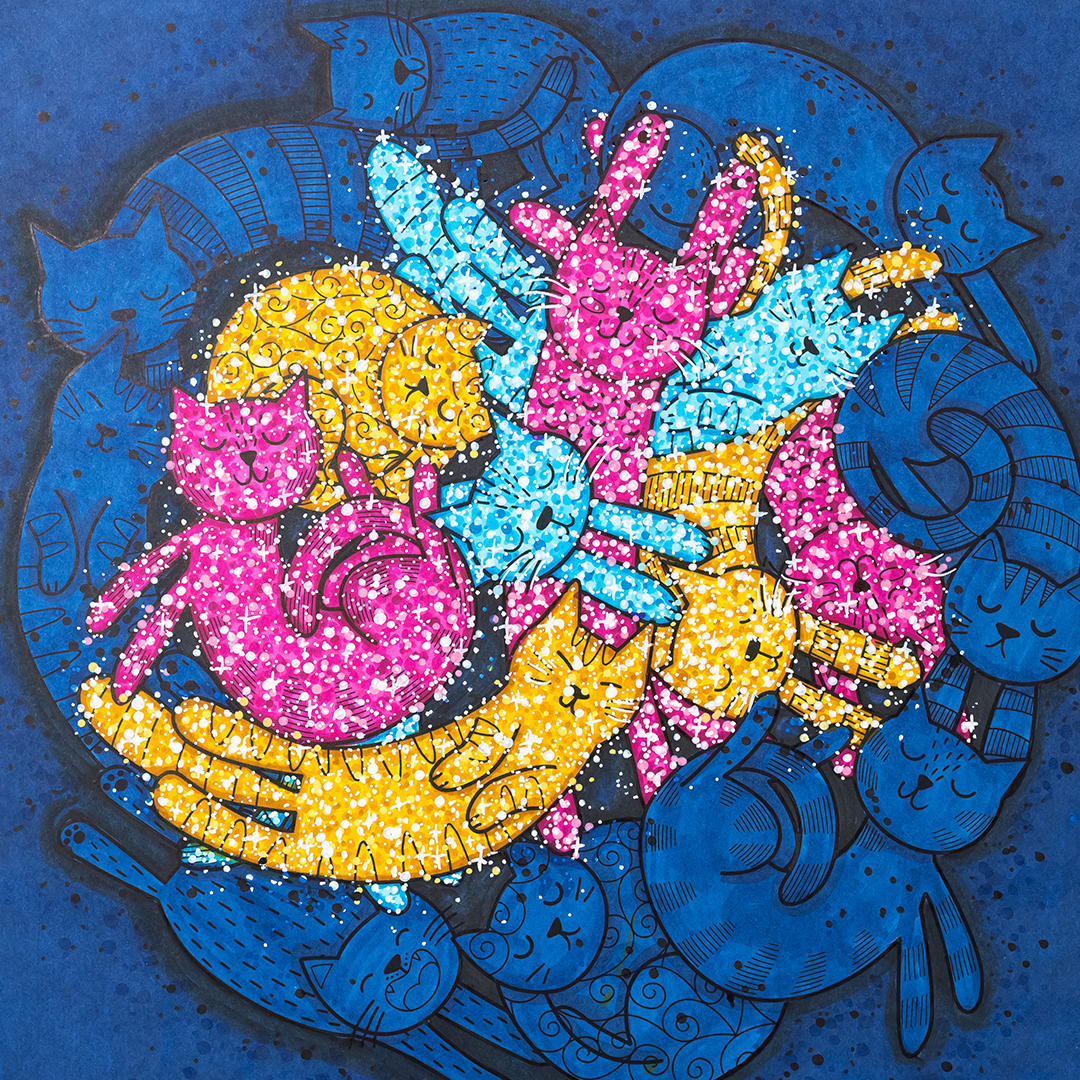
Drawing glitter isn’t quick, but it is fun. and once you’ve learnt the technique, you can use it to add sparkles on any page. It’s not a complex concept, but getting the right balance of dots can take some practice (that’s why I’ve listed it as “advanced”)
This was definitely a technique that I wanted to practice first. And after a few weird results, I finally found a simple tutorial from Elizabeth Home Colours and decided to switch to a marker that had a fine tip instead of my usual go-to brush tip.
The glitter effect really works when you just keep adding more dots – in all different sizes, different light and dark values, and a LOT of white to finish it off.
I found a finer bullet tip was better than a brush, and I really liked the Copic Acrea white pen to finish because it’s got a great opaque fine tip.
This is another book with beautifully thick paper, and I really like how the thicker paper feels, even though it’s probably soaking up a lot more ink! But these cats are cute. And now they’re sparkly too.
Inspired by: @Lizabeth_Home.colors on TikTok.
Marker Foil Balloon Effect
Technique Difficulty: Advanced
Colouring Book: Cozy and Cute: Bold Easy Colouring Book by Coco Wyo
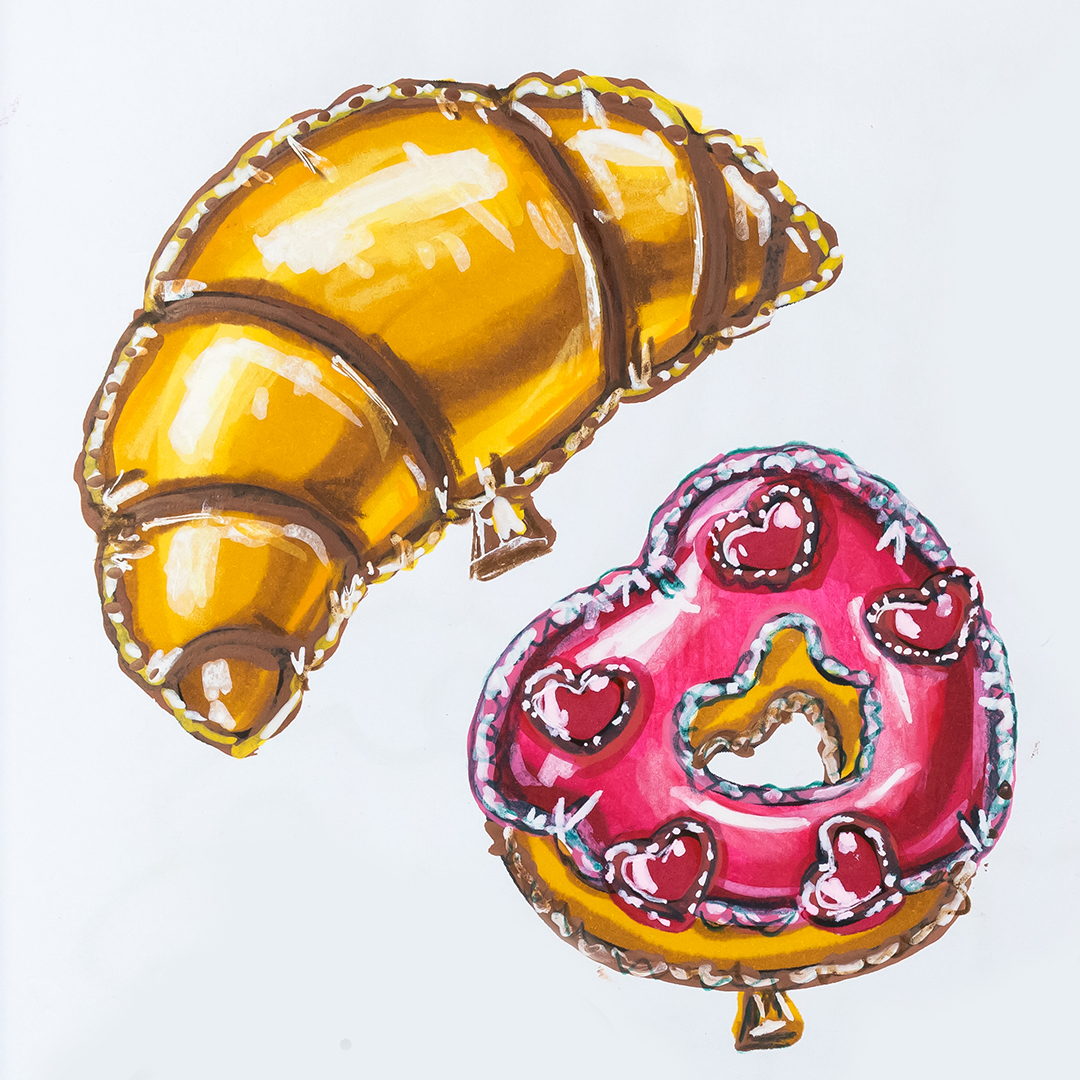
I don’t have a good tutorial for this one because I overcomplicated it, and wasn’t happy with how hard it felt during the time, even though the end result came out well.
I tried to work from some reference photos, and found my colour range was especially limiting for the pink donut.
I think I pushed myself by trying to do this with markers, when pencils may have been a better comfort zone for me, at least without more practice.
I’ll give it a go again at some point. I love drawing shiny things but it won’t always be easy!
All Gold Colouring Page
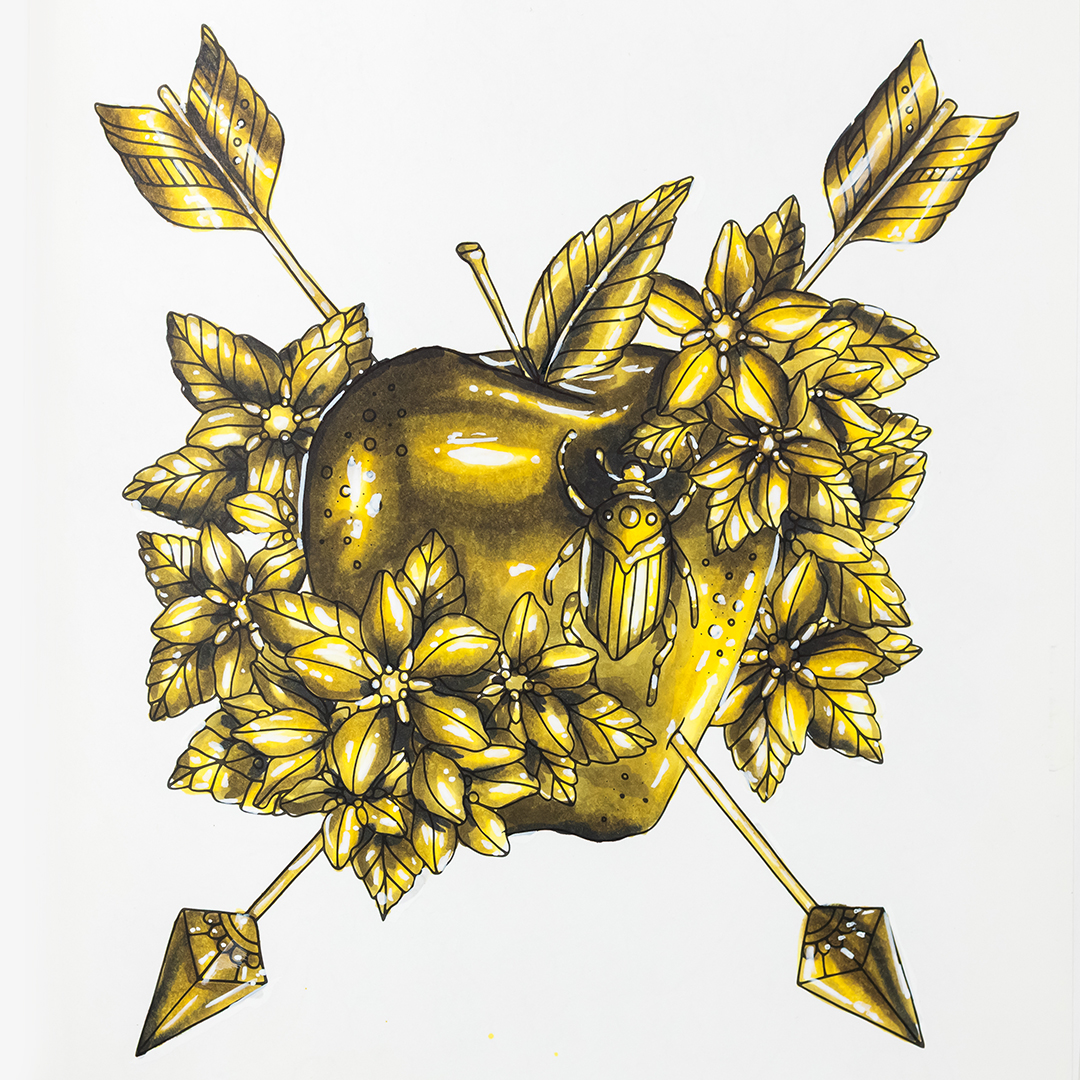
Technique Difficulty: Advanced
Colouring Book: Fairy Tales & Folklore by Emelie Lidehall Oberg
Supplies Used:
Meeden Acrylic Paint Marker: 12
OLO Alcohol Markers: K, Y 1.2, Y 8.6
I had a similar struggle with my ALL GOLD page. Instead of just treating it like a simple gradient, I got so focused on trying to make accurate reflections and realistic texture that I overcomplicated it, spent far too long… and although it turned out ok in the end, it wasn’t fun. And I could have achieved a similar gold effect with much less stress.
Since this page, I’ve done a live class on YouTube where I took a completely different approach to colouring gold and other shiny things, and I think it’s a much better approach! You can watch that class here.
Stained Glass Colouring Technique
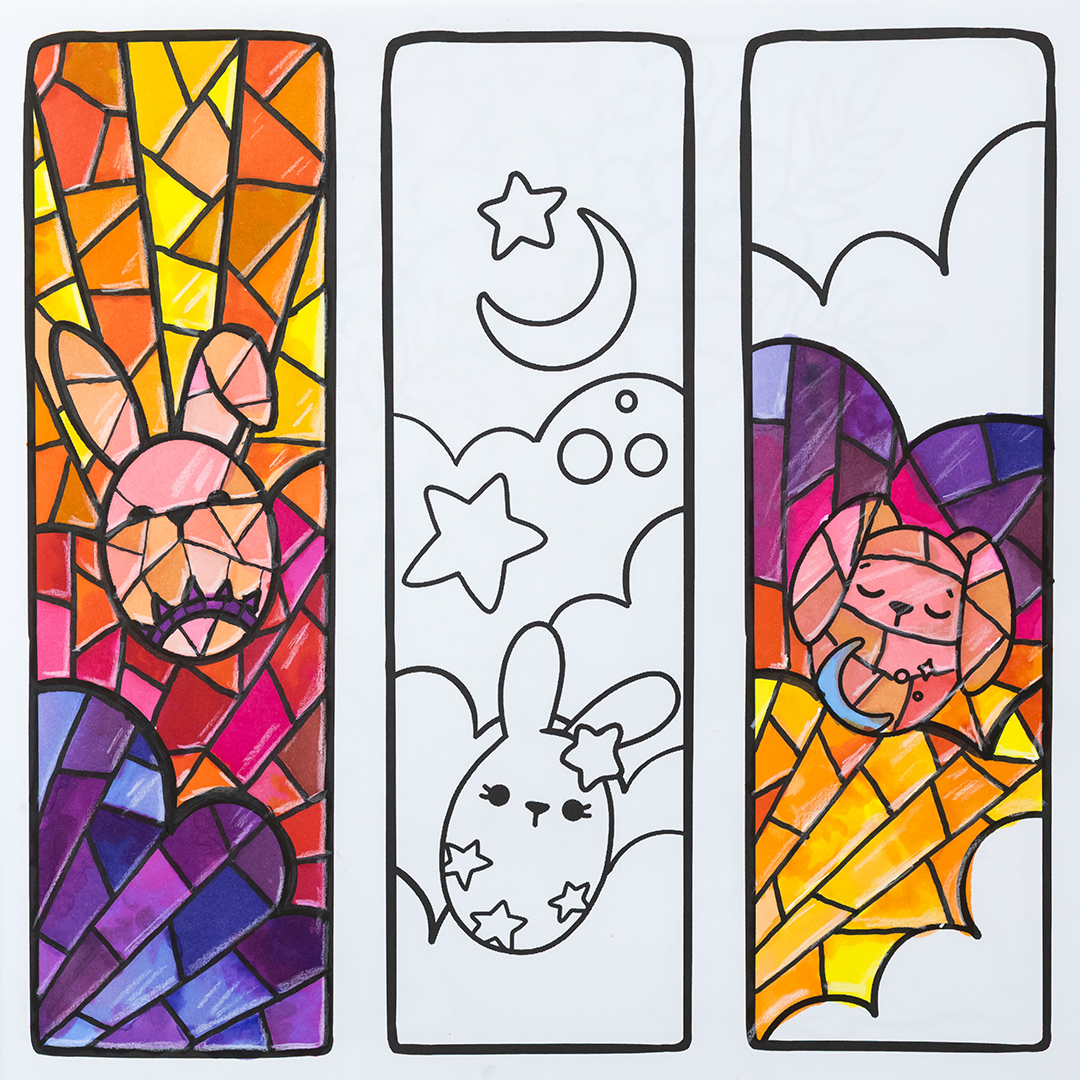
Technique Difficulty: Medium
Colouring Book: It’s the Little Things by Creative Paula
Supplies Used:
Palette 525 from Colour Cube Vol 3
Ohuhu Honolulu Alcohol markers
This technique can be kept really simple, or you can work on making it extra realistic with light reflections and highlights. The basic idea is to first break up your image into panels – keep the lines straight, so it feels like pieces of glass or tile. Then, choose your main colours for each section, and try to find a few similar colours (slightly lighter or darker versions) to make the tiles feel varied and imperfect.
You can keep colour each tile as one colour, or try adding some very subtle gradients or blends for a more complex look. To finish, add some highlights with a white pen or pencil, especially along the borders of your black lines.
Pixels Colouring Book Trend
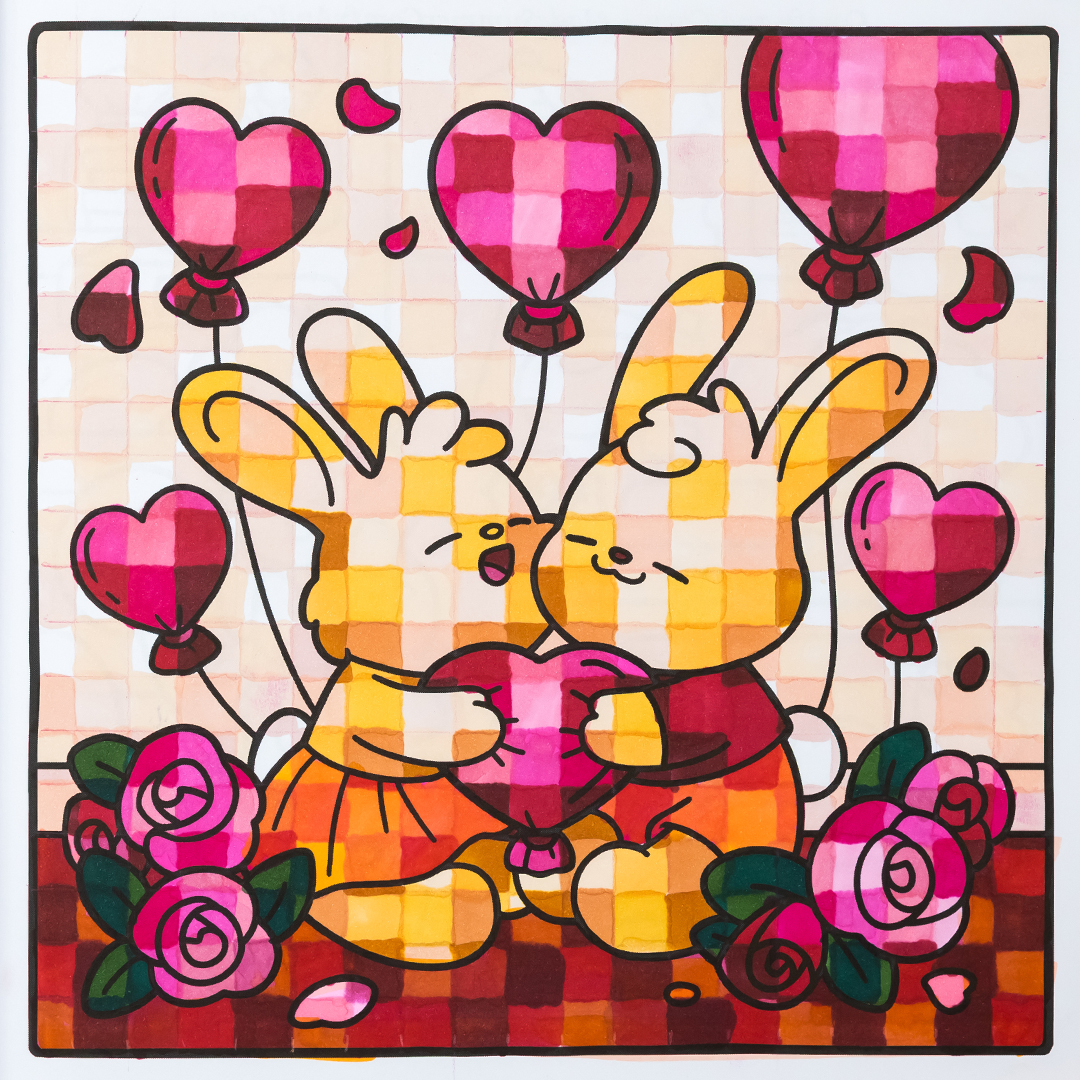
Technique Difficulty: Medium
Colouring Book: Comfy and Cosy by Jade Summer
Supplies Used:
Palette 231 from Colour Cube Vol 1
Ohuhu Honolulu Alcohol markers: R215, R513, R514, R211, R213, RV212, R413, R210, RV09, RV29, RV28, YR59, YR55, R26, R27, R28, R16, RV25, YR04, YR03, R212, YR39, YR19, YR111, Y213, Y46, Y59, RV05, E81, R15, R38, RV04
I’ve tried colouring in pixels before, but this time I wanted to try the cosy colouring pixel trend with alcohol markers.
Use a pencil to draw a grid on your page – I did 1cm apart because it was easy to measure on the ruler. Smaller = more details, Larger = easier.
For each section, pick 2 or 3 very similar colours, and colour the squares one at a time.
That’s it! The slightly thicker lines in the gaps of mine are just the overlapping bleed of the markers, it happens on its own but I like the effect.
I also did an extra glaze of colour at the end to help with a few areas where the colours felt too scattered or different – this was simply colouring the whole thing (carefully!) in a different light colour after it had dried fully.
Tiles Colouring Page Effect
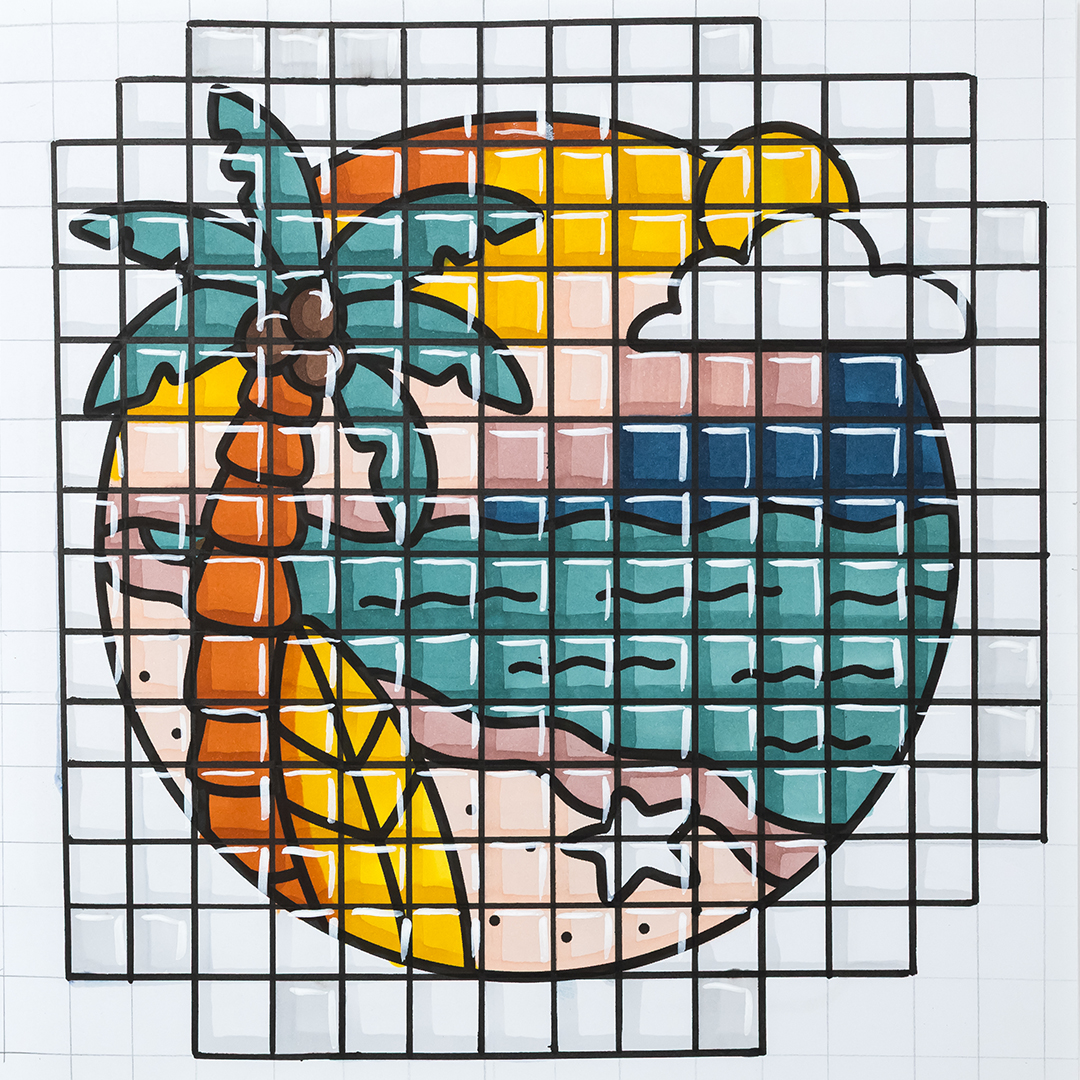
Technique Difficulty: Medium
Colouring Book: Simple Art: Bold Easy Colouring Book by Coco Wyo
Supplies Used:
Palette 122 from Colour Cube Vol 1
Ohuhu Honolulu alcohol markers: Y111, E511, YR43, CG01, G013, YR213, B315
Sharpie Acrylic Paint Marker: White
This is one of many effects you can create with the same method as the pixels, just by adding a few steps.
For each tile, I used the same marker again (after the first layer dried) and drew a line on the left and bottom of each square, creating a slight bevel/shadow effect.
I then used a white paint pen to draw a line on the top and right of each tile, creating the highlight side of the bevel.
Instead of just drawing lines in pencil, I went over the final image with a black marker to make the tiles more prominent. I recommend doing this after colouring with the markers to avoid any black bleeding across the other colours.
And that’s it!
Inspired by: @keep.creative.channel on TikTok.
Jelly Gummy Colouring Technique
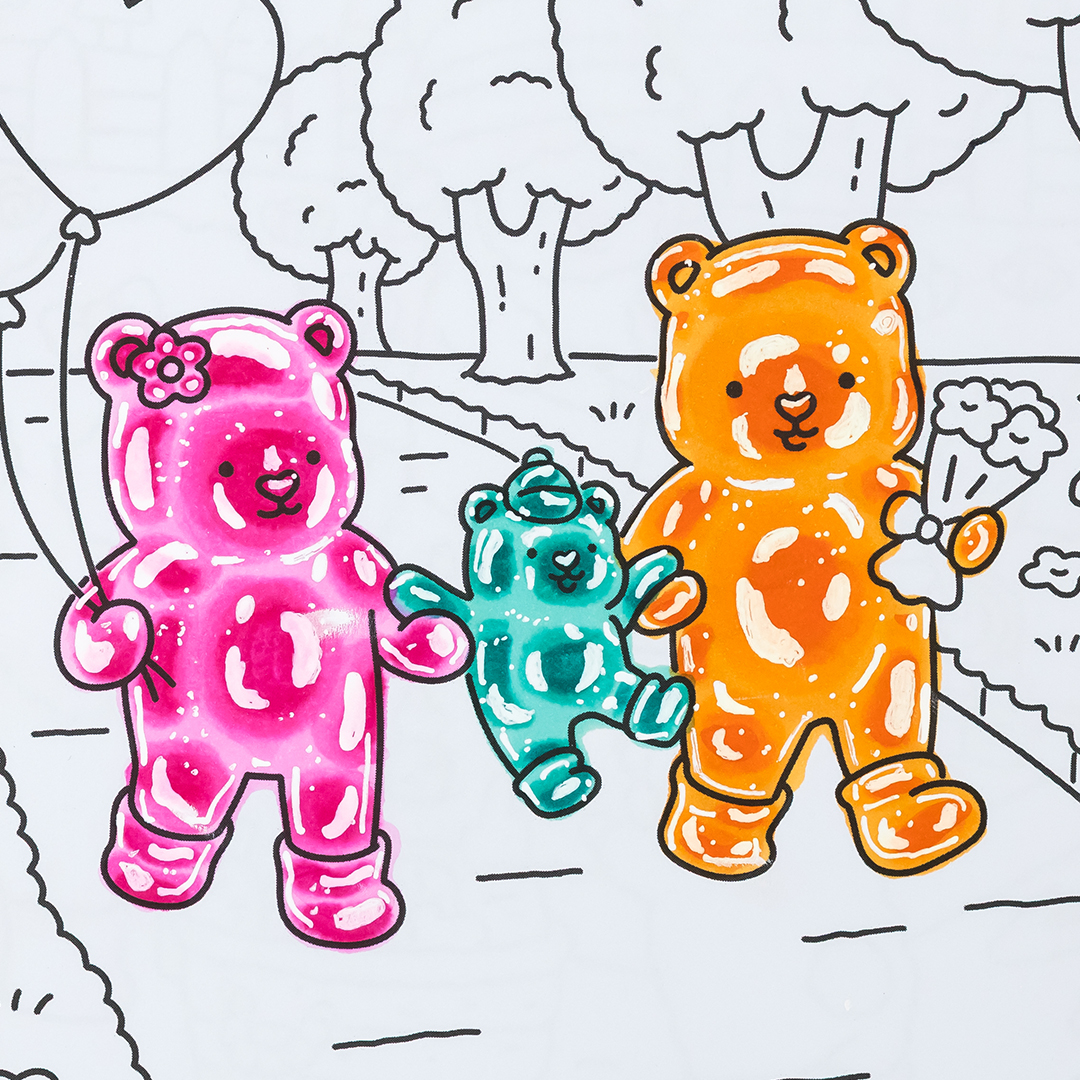
Technique Difficulty: Medium
Colouring Book: Sweetheart super cute colouring book by Vivi Tinta
Supplies Used:
Ohuhu Honolulu Alcohol markers: Orange: YR250, YR170, YR190 Teal: G340, G4, BG6 Pink: RV030, RV070, RP1
White gel pen or paint pen
It’s time for JELLY. I think when I’ve tried to colour objects with different density or light reflections like this in the past, I’ve tried to think too realistically and have overcomplicated the process. When actually, this doesn’t need to reflect light perfectly or be photorealistic to create a really effective gummy look.
I followed this tutorial from @theinkwellwitch on Tiktok and it was really easy to create these characters in all different colours.
I think I’ll be using this technique on some of my other pages from now on!
Inspired by: @theinkwellwitch on TikTok.
Cosmic Jelly Colouring Effect
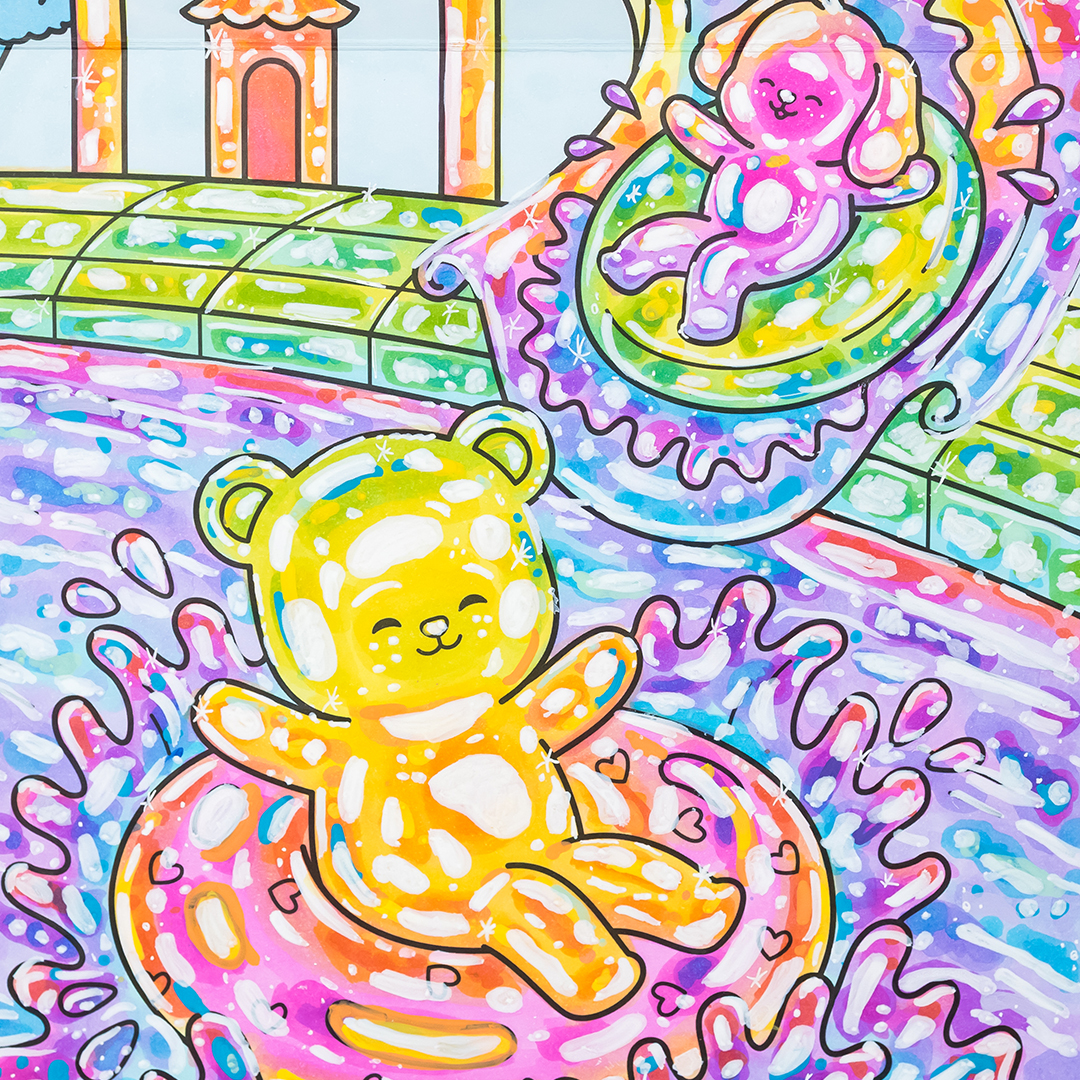
Technique Difficulty: Advanced
Colouring Book: Cozy Adventures by Wonderflat
Supplies Used:
Sakura Gelly Roll: White 3 Pack
White ENMY Acrylic Paint Marker
Sharpie Acrylic Paint Markers: Orange, Teal, Blue, Yellow
OLO Alcohol Markers: RV 1.2, RV 1.3, V 2.3, V 2.4, BV 1.2, BV 1.4, B 1.5, B 2.2, Y 1.1, Y1.4, YG 1.2, YG 1.4, G 1.4, G 1.5, R 0.3, R 0.4, O 2.2, O 2.4
Once you’ve mastered the gummy technique, you can take it further with this rainbow cosmic jelly effect! I’m taking inspiration from this wonderful rainbow jelly page by xcoloringxgirl on Tiktok. And I’m using OLO markers for the best possible blending between the rainbow colours.
The uses the same technique as the jelly/gummy effect above, except that you’re also working across the rainbow as you go. This was a lot of fun, and didn’t take nearly as long as I thought it would. What a cool effect. Definitely one to try!
Inspired by: @coloringxgirlx on TikTok.
“Caley Rainbow” Colouring Style
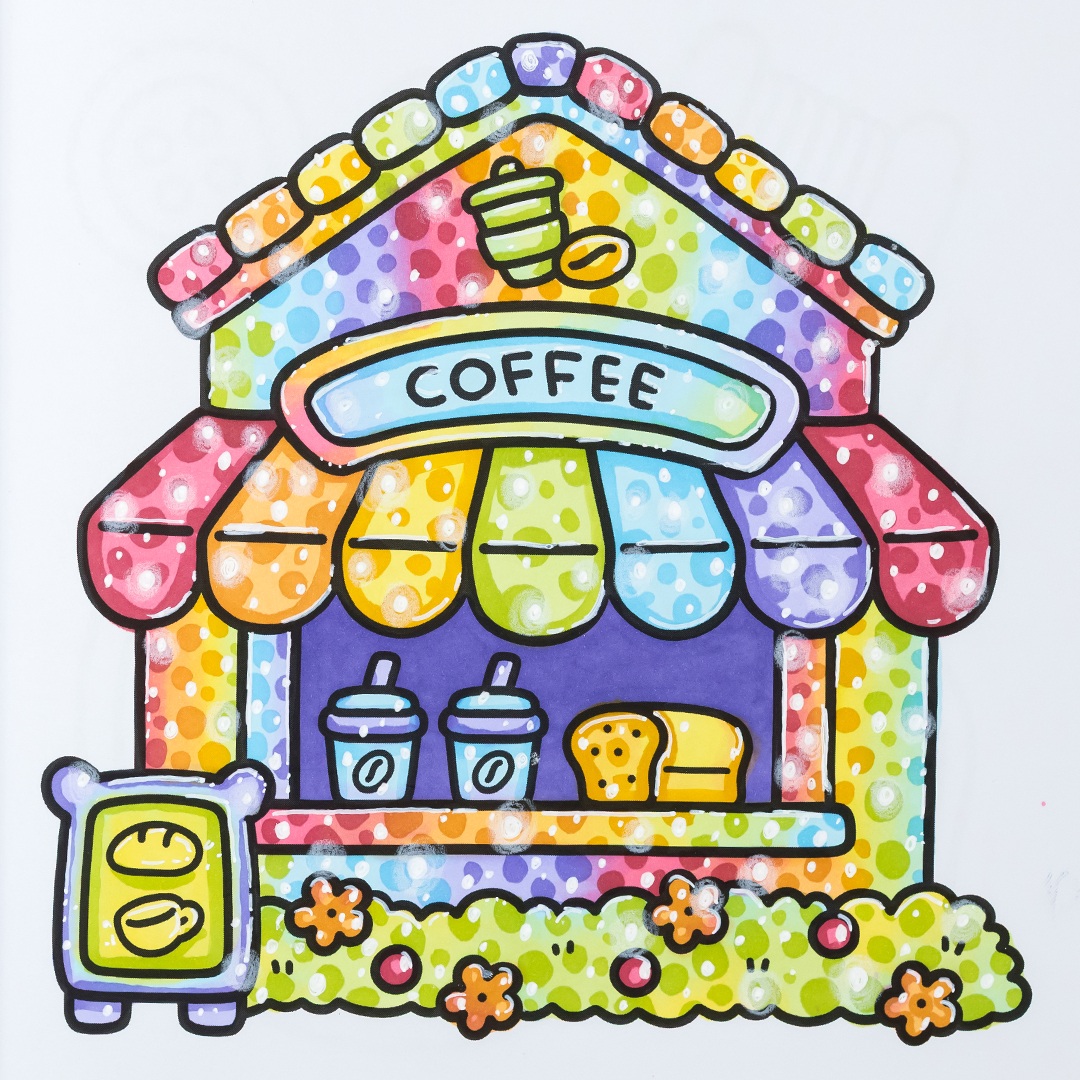
Technique Difficulty: Medium
Colouring Book: Cozy & Cute Bold – Easy Colouring Book by Coco Wyo
Supplies Used:
Prismacolour Colour Pencils: PC938
Sakura Gelly Roll: White 3 Pack
Ohuhu Honolulu Alcohol markers: Y06, Y111, Y45, Y410, R27, R210, V22, V46, B03, B06, YG06, YG012
There are so many ways to use rainbows in your colouring pages, but I really wanted to try this very specific style by Caley on Tiktok. I chose similar colours for my rainbow, with a pastel and saturated version of each alcohol marker colour.
For the most part, this is similar to the gradient trend in my first post. But its the next step that makes this unique.
With the more saturated version of each colour, I’m adding dots in every area, in all different sizes. And finishing with a white – adding more dots, and using a white pencil to create a soft glow around some of the new white dots.
Inspired by: @colorwithcaley on TikTok.
Iridescent Colouring Page Technique
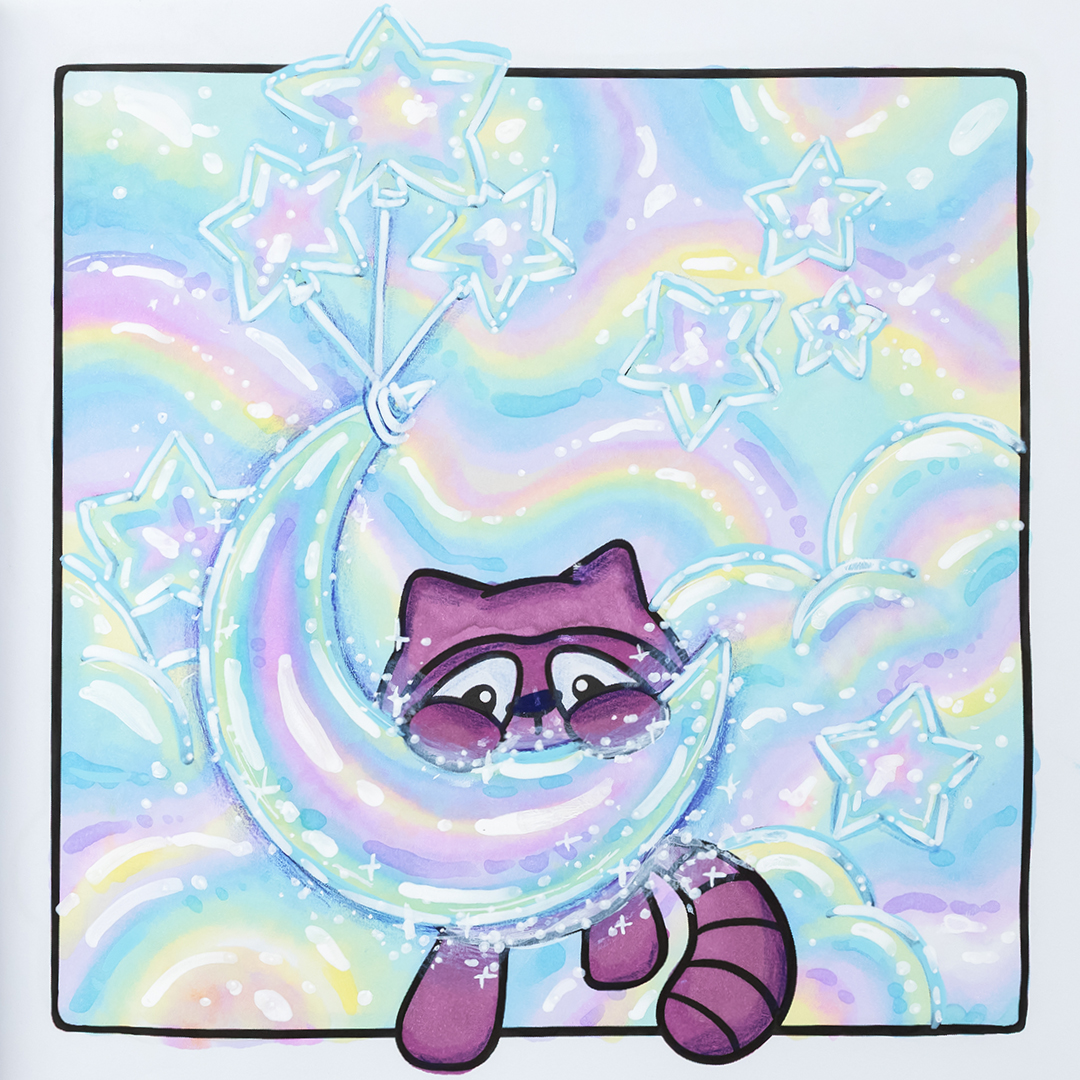
Technique Difficulty: Advanced
Colouring Book: It’s the Little Things by Creative Paula
Recommended Supplies:
Prismacolor Coloured Pencils: PC938, PC132, PC1079
White Copic Acrea Paint Marker
Meeden Acrylic Paint Markers: 12, 18
OLO Alcohol Markers: Zero, RV 7.4, RV 7.6, Y 0.1, Y 1.1, BG 1.2, B 0.3, B 1.3, BV 1.1, BV 1.2, V 1.2-, V 1.4, V 2.1
After looking at how most people are approaching this, I think the key is choosing the right combination of colours – basically like a pastel rainbow, and combining it with part jelly-look, part rainbow, and lots of highlights.
Instead of just outlining with white, I’ve noticed most people are outlining first with a coloured paint pen, THEN going over it with white – almost like the neon page we did earlier.
I thought that doing the entire background with this effect might risk losing all the details and might not work at all – but it’s fun, and I think it works. Feels like our little raccoon is lost in a rainbow balloon heaven.
Inspired by: @colourwithess on TikTok.
Torn Paper Effect
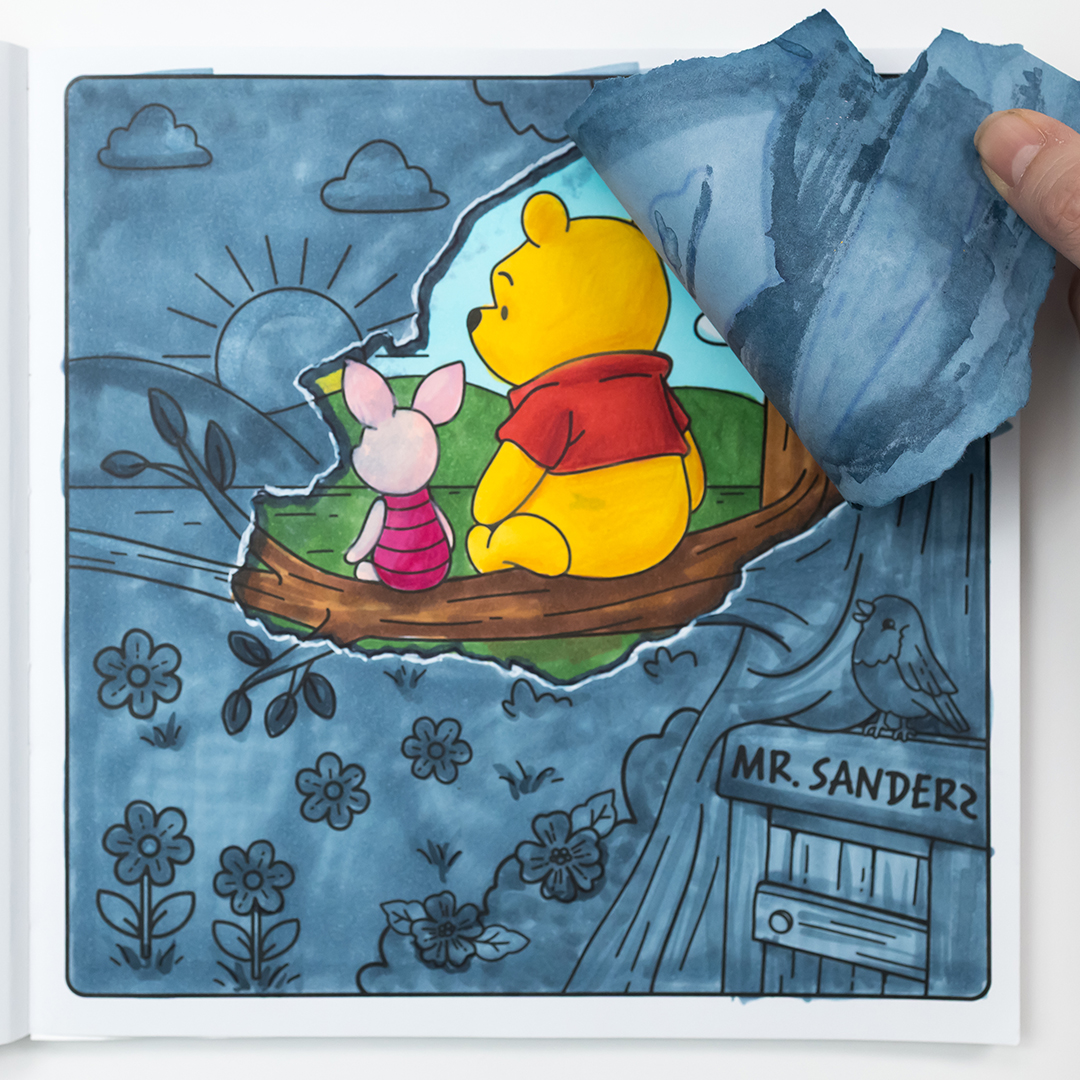
Technique Difficulty: Medium
Colouring Book: Disney Winnie the Pooh: A Cute and Cozy Colouring Book by Hardie Grant
Supplies Used:
Prismacolor Premier Coloured Pencils: PC942, PC195, PC1030, PC1033, PC1013, PC928
White Meeden Acrylic Paint Marker
Windsor & Newton Alcohol Markers: M865, M727
Bianyo Alcohol Markers: R107, Y204, R000
Ohuhu Honolulu Alcohol markers: 0, B411, B412, B415, GB04, YG413, BGY25, YR314, E614
There are a few different ways to create a torn paper effect, but I chose to photocopy the original page, cover some lines with white, then photocopy it again. You could also just trace the page if you don’t have a photocopier.
I then tore the new resulting page, lined it up with the original, and traced around it.
Now you have 2 pages to colour – the page underneath (using the traced area as the “different” style) and the torn section on top – that I tried to match to the scene.
Attach the page and you’re done!
Colouring Gingerbread with Markers
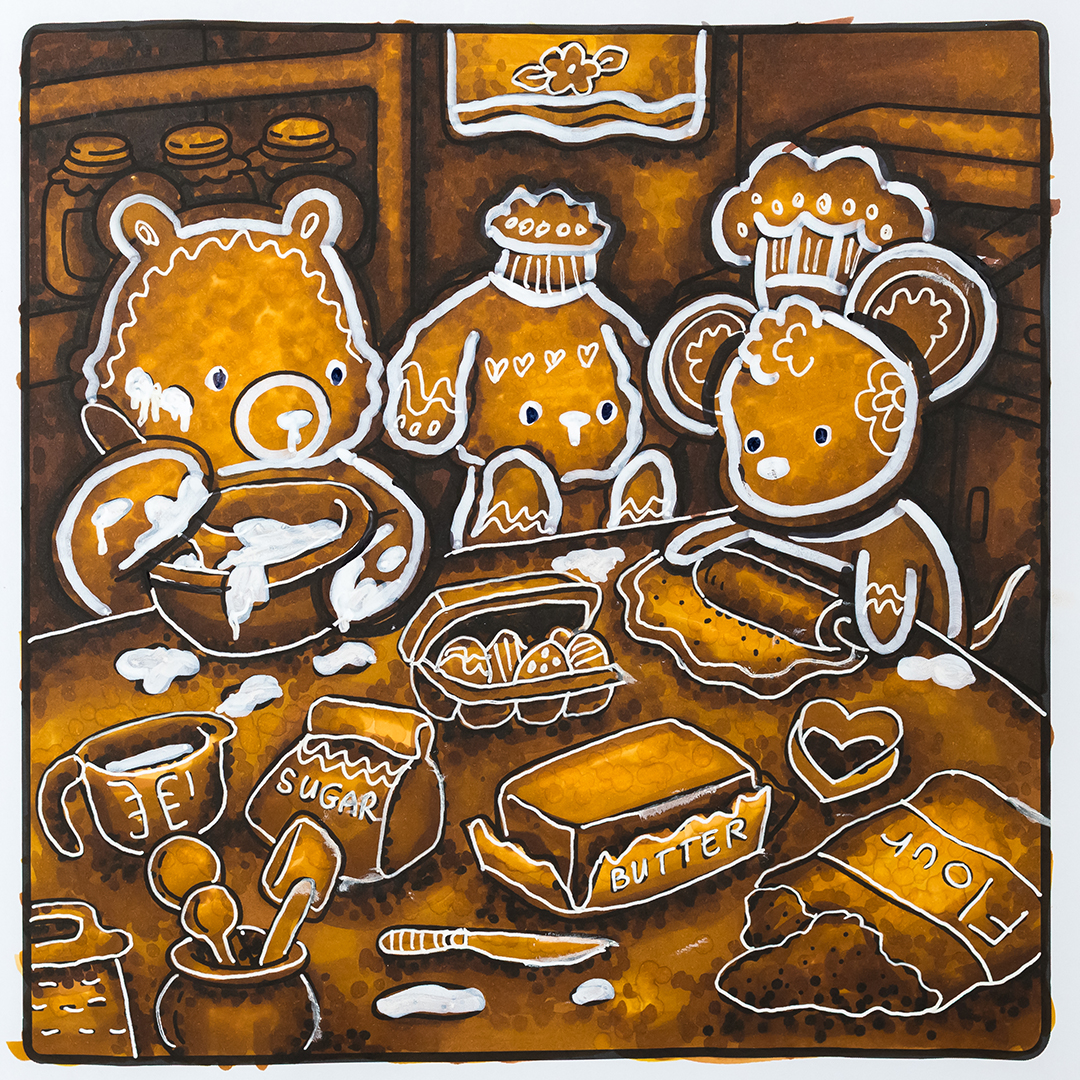
Technique Difficulty: Medium
Colouring Book: Cozy Friends Cute and Comfy Colouring book by Coco Wyo
Supplies Used:
Sakura Gelly Roll: White 3 Pack
Ohuhu Honolulu Alcohol markers: Y45, Y215, YR313, E614, WG37, WG08
There are a few different ways to create a gingerbread look, but I followed a tutorial from @annarosebooks on Tiktok.
After doing the entire background, I actually realized that it was easier for me to do the dots and build the texture as I went, rather than treating it as a whole separate step. So I adapted the process. Although I ended up going much darker than I originally planned, so my gingerbread looks a little overcooked!
The icing really brings this to life, but I didn’t like how the characters looked with the icing off the edges (like a realistic gingerbread) so another approach would be to just cover the original outlines with the white… not as realistic, but the overall effect might look better.
It is something maybe I’d like to try again one day and I think I would approach it a bit differently, but I think for the most part, it still works!
Inspired by: @annarosebooks on TikTok.
Pop Art Comic Book Effect
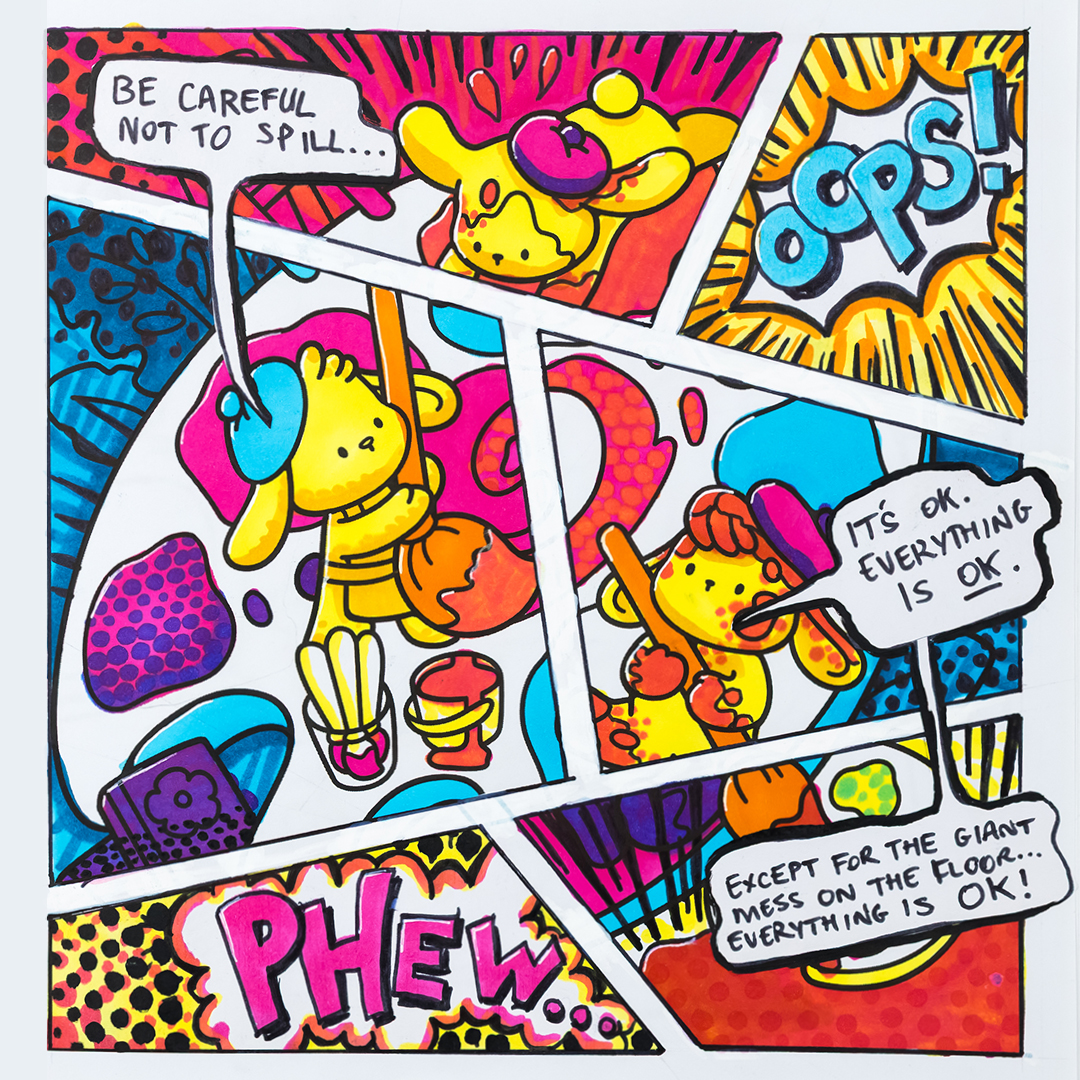
Technique Difficulty: Advanced
Colouring Book: Comfy and Cozy Cute Coloring Book by Jade Summer
Supplies Used:
Black Fineliner
Pencil
White paint pen
Ohuhu Honolulu Alcohol markers
This technique involves a little more creative thinking, depending on how advanced you want to get.
It helps to start with a page that already has some different things happening so that you can break them up into a scene. The first thing you want to do is work out where your scene is divided, think like a comic book and break them up using straight lines in different directions.
I recommend drawing a very light guide in pencil, then trying to turn that line into a large white strip by drawing the outlines on either side.
From here, I chose to cover up a few of the sections completely, but adding a piece of paper over the top (instead of whiting out every line) and adding fun comic-style words.
I decided to limit my colour palette for this one – using just a few markers to replicate the limitatlons they had in old comic books. But that’s up to you!
Inspired by: @celine.chicco on TikTok.
Embroidery Colouring Page
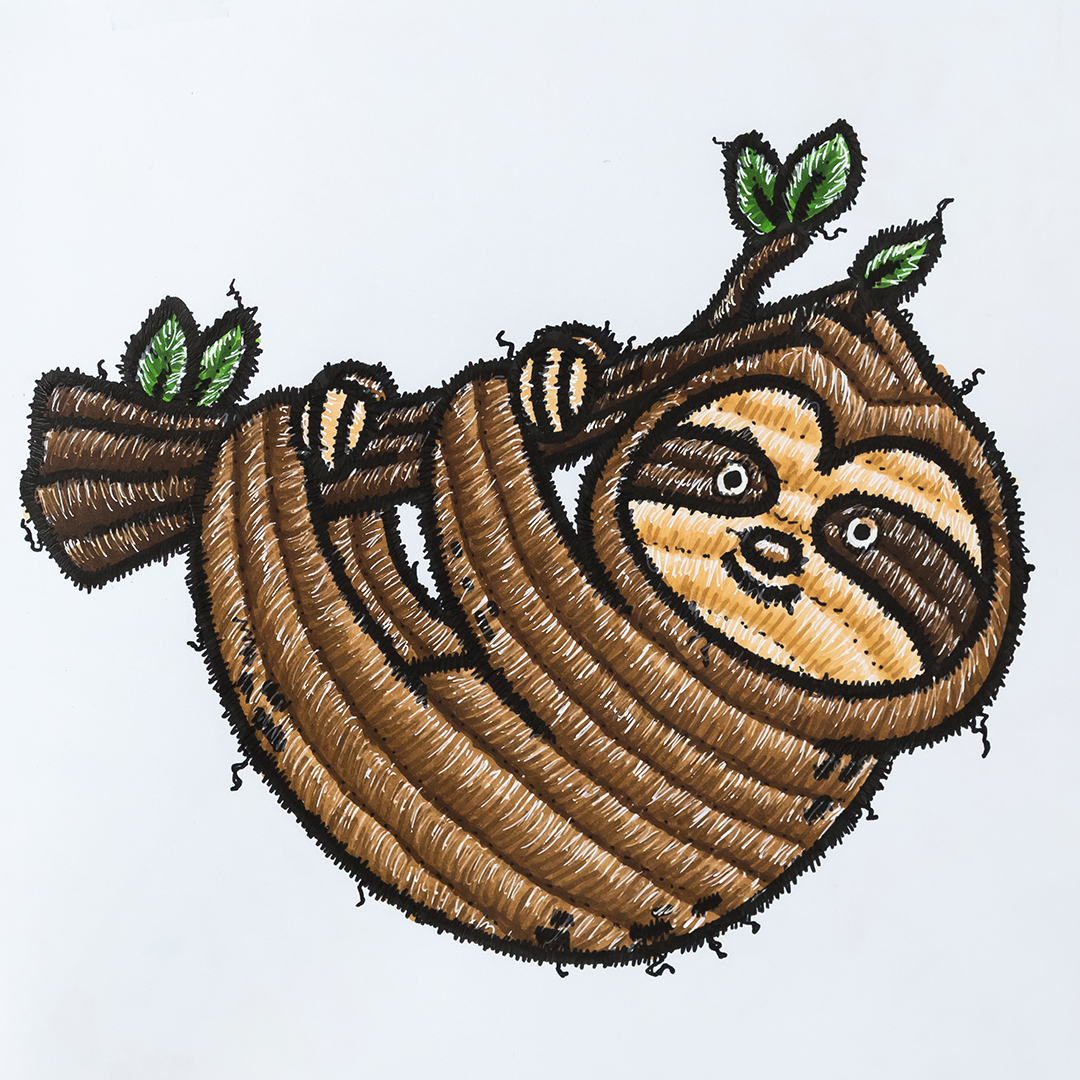
Technique Difficulty: Advanced
Colouring Book: Stress Relief Bold Easy Colouring Book by Coco Wyo
Supplies Used:
Sakura Gelly Roll: White 3 Pack
Black Sharpie S Gel Pen
Ohuhu Honolulu Alcohol markers: YR316, E415, E411, Y66, Y43, YG414, G410
This effect looks amazing, although it’s not quite as hard as I first expected.
Choose 2 colours (a lighter and darker version) for each area. Fill the area with the base, then go between both markers to start drawing small lines from one direction – this starts to create the cotton strands look.
Use a fine tip white pen to create lines from the other side, like light reflecting on each strand of cotton.The basic effect is done at this point.
Then add fuzzier lines and fine broken strands with black, as much as you like. I also used the black to create small dots between areas.
Inspired by: @alecatcreative, @hannahvcolour and @insidethelineswithdi on TikTok.
Looking for more colouring page ideas? Check out part 1 of this series with 15 more cosy colouring techniques to try!
While you’re here, please also check out these other posts you might enjoy:
hi! what markers and tools did you use for the pop art?