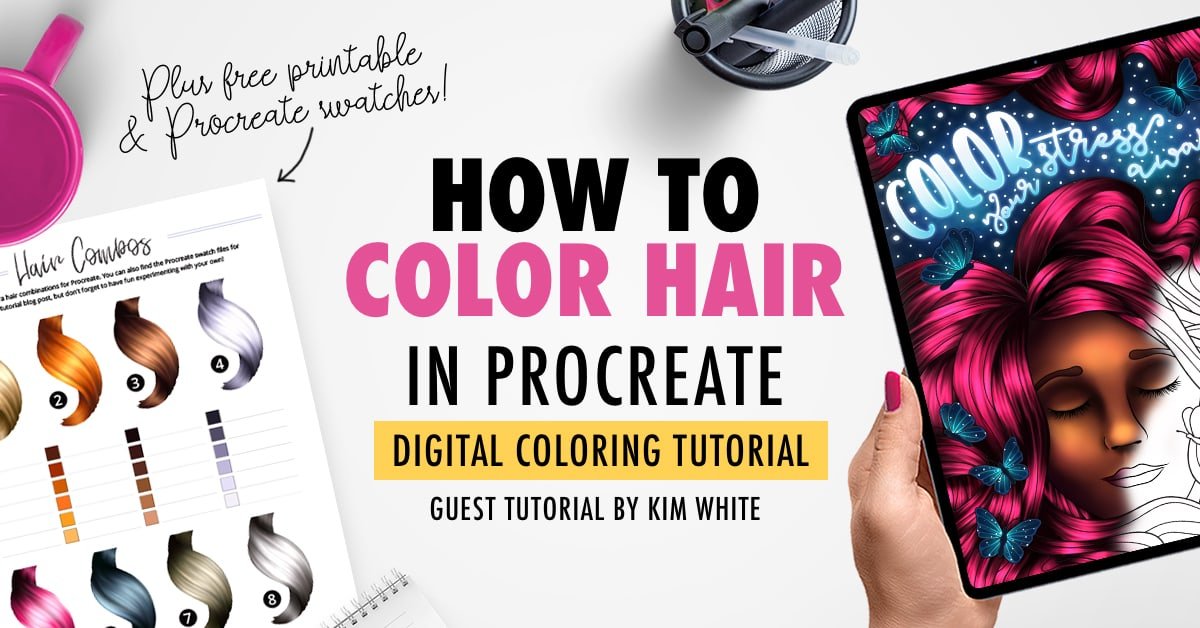
I’ve been enjoying learning more about digital coloring lately, which has led me to 2 apps in particular – Pigment and Procreate. Pigment has been great for a quick and easy coloring app (The Developer did a great guest tutorial for me here), and Procreate offers some incredibly advanced coloring and drawing tools. Procreate definitely takes a bit more learning, but it’s well worth it. So I’ve invited Kim to show us how she uses Procreate, and to teach us how to color hair… because it’s not as hard as it seems, and it can look amazing when done right!
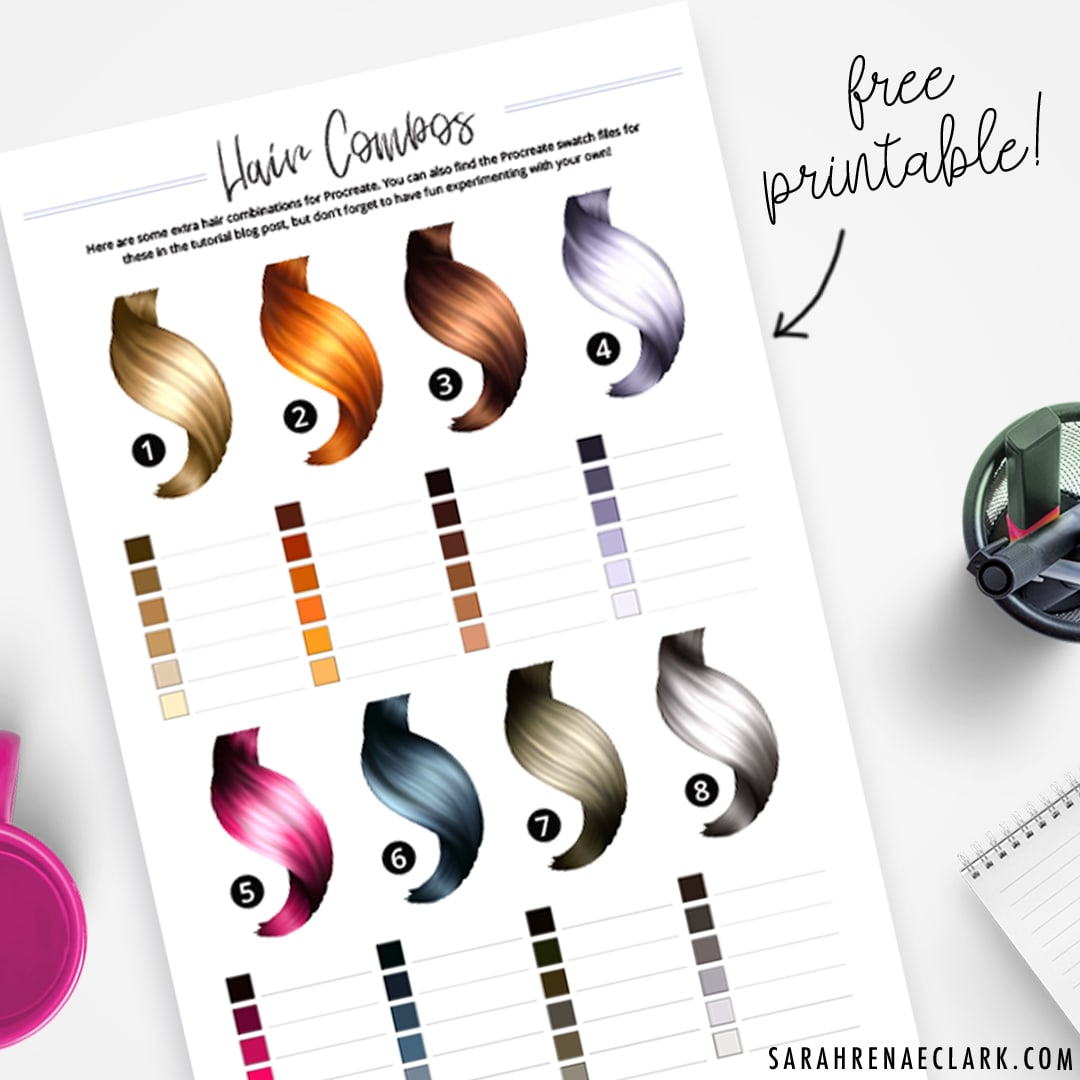
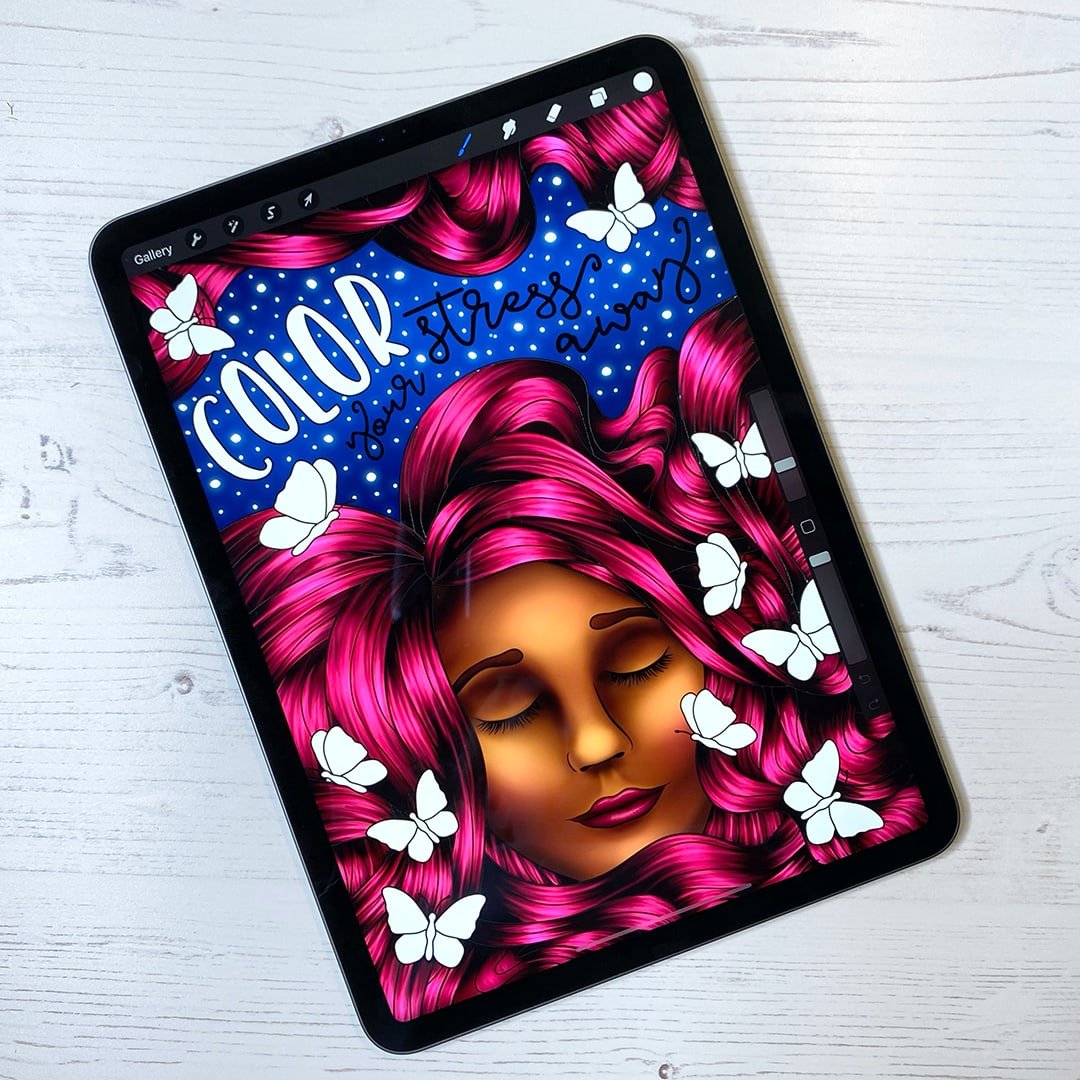
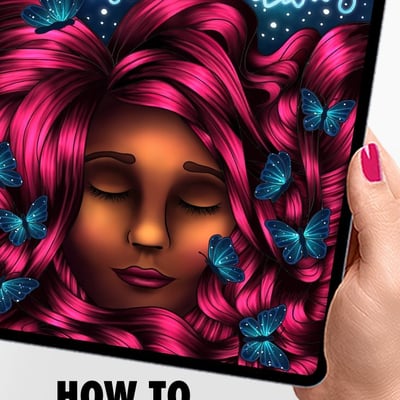
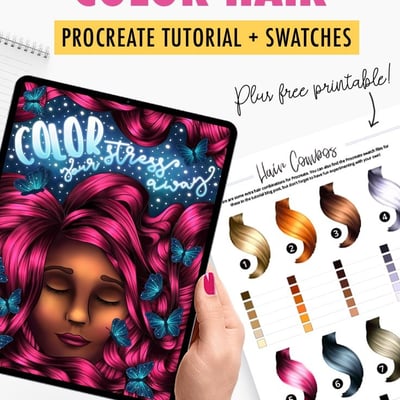
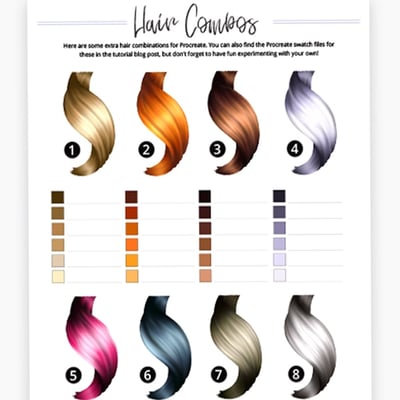
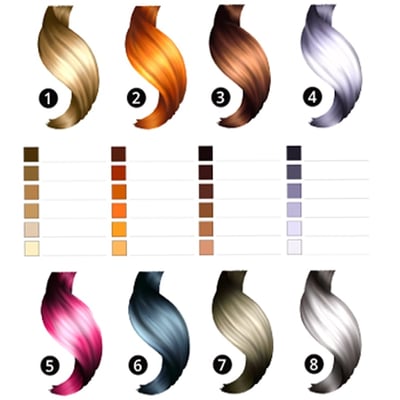
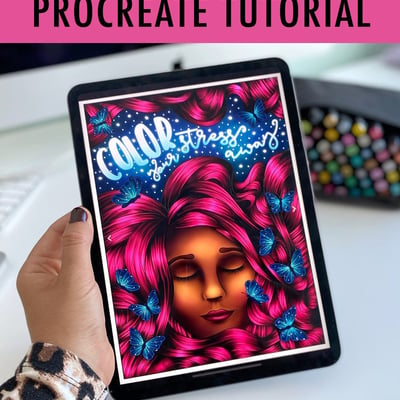
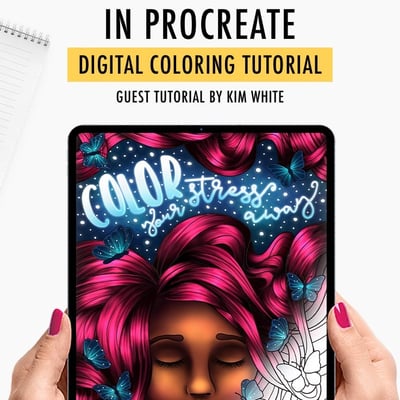
You can see her beautiful coloring below, and grab the free hair color swatch PDF she’s provided for us (to help you apply this digital coloring technique with different hair colors).
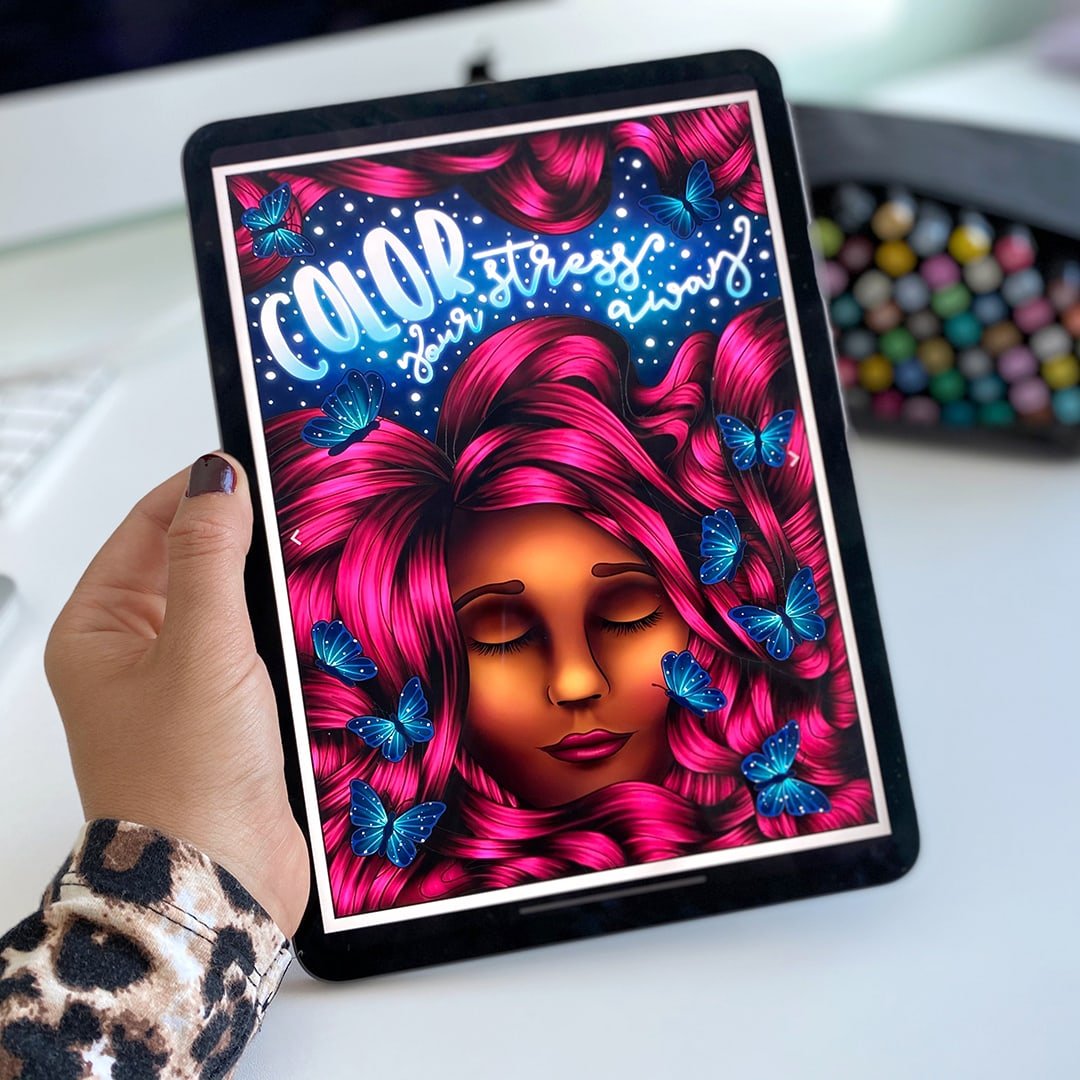
Kim has also prepared an amazingly helpful (and free) resource for us! You can download this printable PDF of hair color combinations to help with your digital coloring, or to help with your other coloring! She’s also created the Procreate swatch files you can use with this tutorial.
Get the Procreate Swatch Files here.
And now, I’ll pass it over to Kim!
How to Color Hair in Procreate – by Kim White
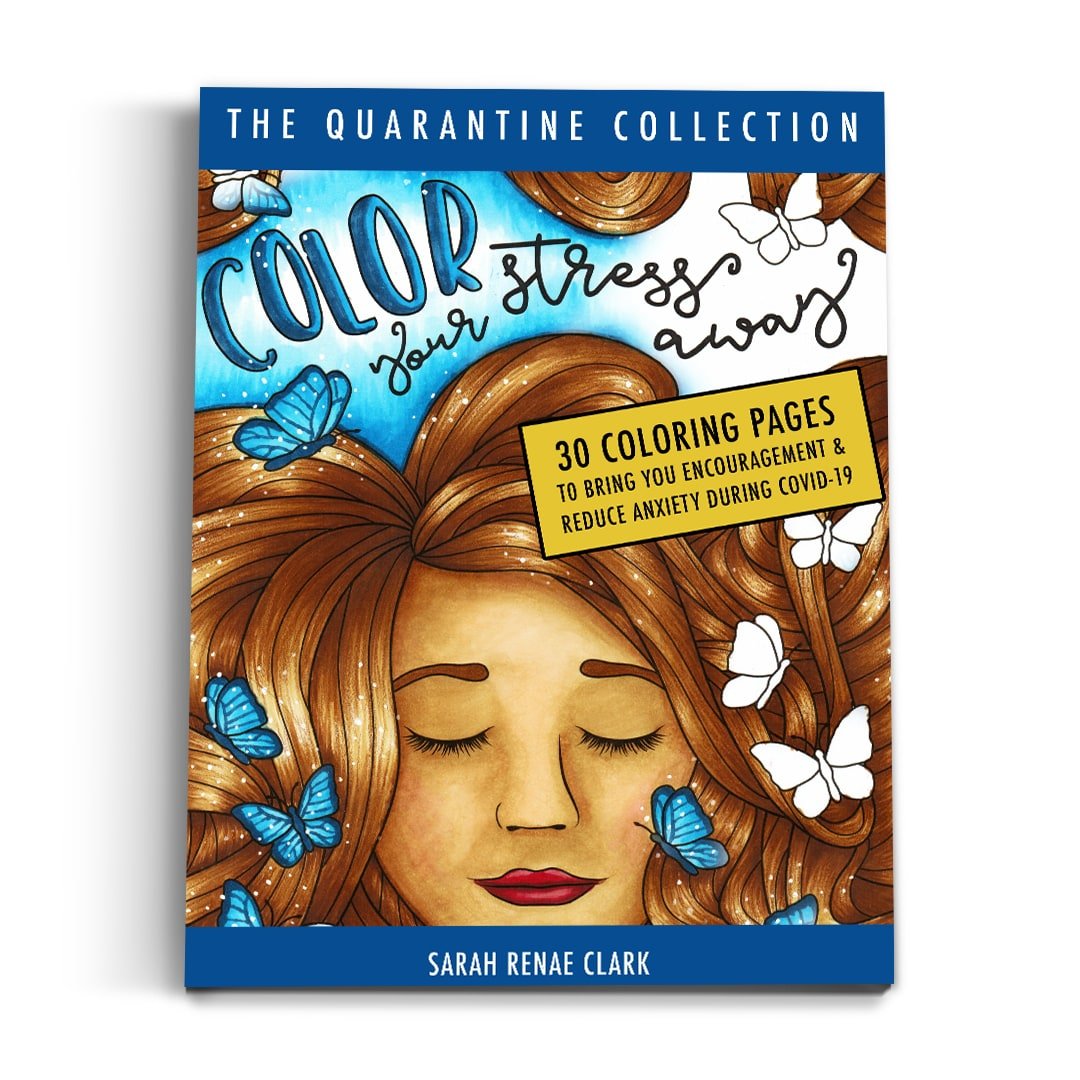
The page I’ll be working on today is by Sarah Renae Clark from her ‘Color Your Stress Away’ coloring book which you can find in her shop here.
You don’t need this page to follow along as this simple technique can be applied easily to most coloring pages that have hair, although, this particular technique is better suited to straight or loose wavy hair.
This tutorial demonstrates an easy way to create a hair effect, but isn’t suitable for anyone that wants to create hyper-realistic hair. This is a beginner’s tutorial that helps you get to grip with some of the fun tools in Procreate!
Video Tutorial
Kim has filmed the entire process for us, so you can watch her video tutorial or follow the written steps below.
Step by Step Tutorial: How to Color Hair in Procreate
Step One: Import your coloring page into Procreate.
Tap the wrench icon to bring up the ‘Actions’ panel and choose ‘Insert a file’ if your coloring page is saved in an external location such as your iCloud, Dropbox, Google Drive etc, or ‘Insert a photo’ if your coloring page is saved to your camera roll.
This will import your coloring page into the Procreate app ready for you to get to work!
Step Two: Import the Procreate swatch files.
Download the swatch files for all the hair combinations. If you aren’t sure how to import swatch files into Procreate, follow this tutorial by Holly Pixels > How to import Procreate Swatches files.
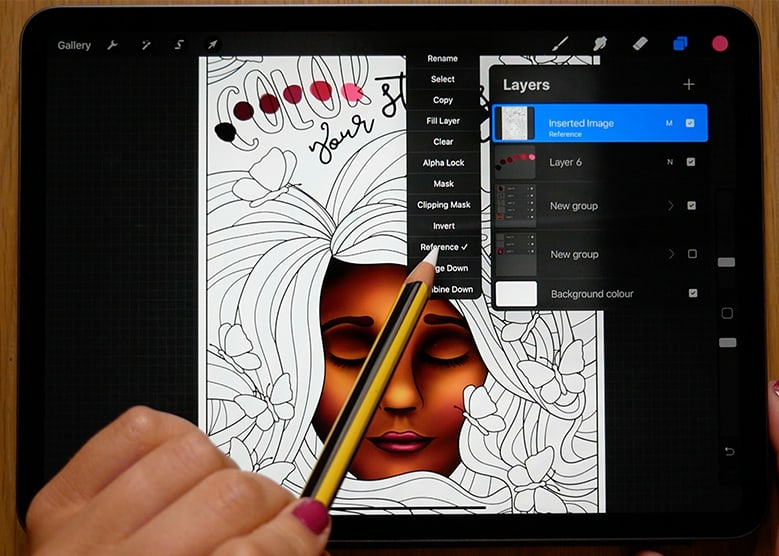
Step Three: Set your line art as a reference layer and change the blend mode.
Tap on the layers panel and find the layer with your imported coloring page. Tap this layer to bring up your layer options, and then tap ‘Reference’ to set your line art as a reference layer.
This will make it easier to do things such as color drop into the boundaries of the line art, whilst working on separate layers to the original line art layer.
If you’re working with a coloring page that has a white background like my example has, on that same line art layer you’ll need to tap the ‘N’ to bring up the blend mode options and change it to ‘Multiply’. This means that any color you apply to layers beneath your line art will show up. Skip this step if you’re working with a transparent PNG image.
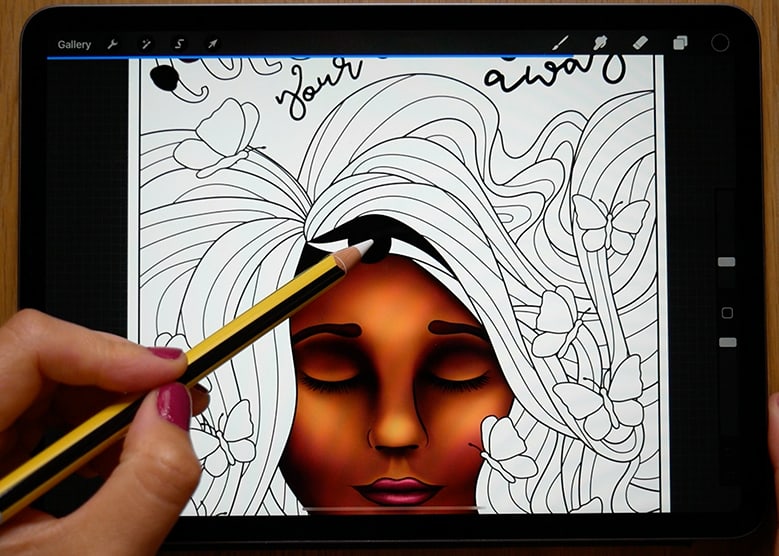
Step Four: Add a base colour on your hair strand.
Add a new layer beneath your line art, and using the darkest colour, drag and drop that into the section you want to fill. I’d suggest choosing a few strands of hair that seem to flow in the same direction.
Tap this same layer to bring up your layer options, and tap ‘Alpha Lock’.
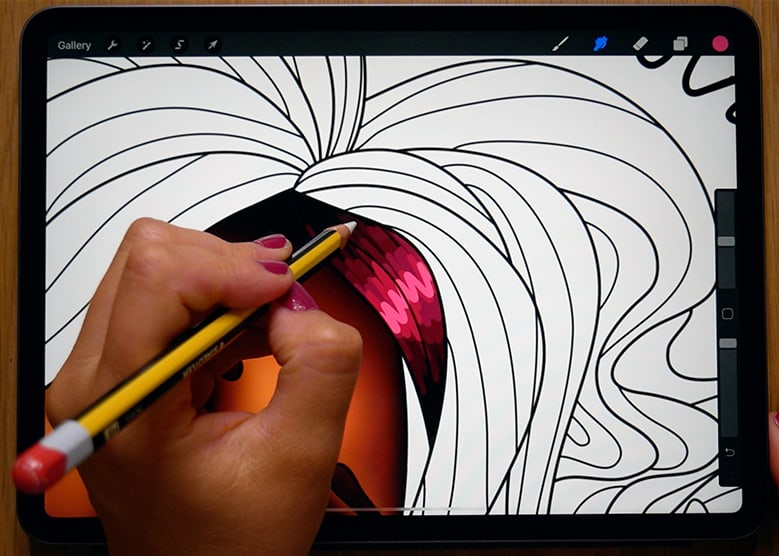
Step Five: Apply the rest of the colors to your hair strand.
On the same layer, choose the next color – which is slightly lighter than the base color – and use the ‘Hard airbrush’ (tap the brush icon > Airbrushing > Hard Airbrush) to apply this color whilst following the directional flow of the hair. You’ll want this color to cover about 3/4 of the base color you applied in the previous step.
Repeat this process for all the other colors provided in the palettes provided, working from the darkest to the lightest color.
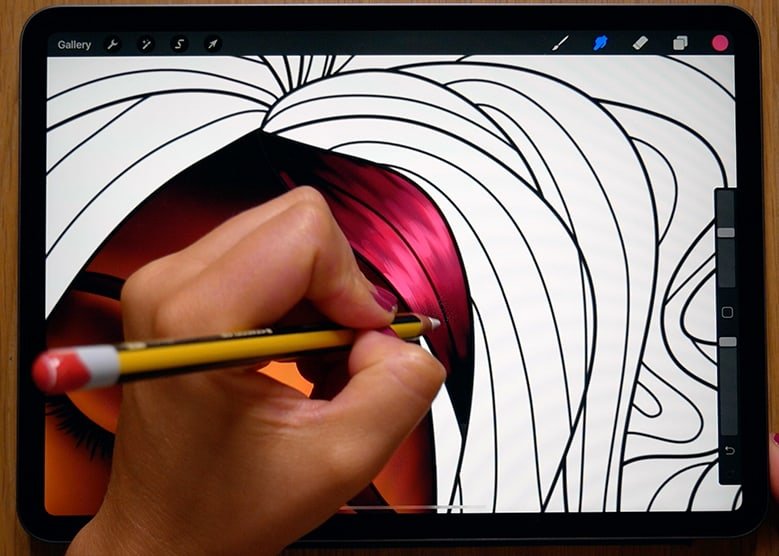
Step Six: Smudge the colors together.
Tap the smudge icon (the one that looks like a little pointed finger), then ‘Materials’, and select the ‘Short Hair’ brush.
Set your brush size to around 30% (this may change depending on your personal preference, it’s trial and error) and drag from the top to the bottom of your hair strand to smudge the colors together and create a subtle gradient.
It doesn’t need to be a smooth blend, it actually works better if some of the texture remains intact.
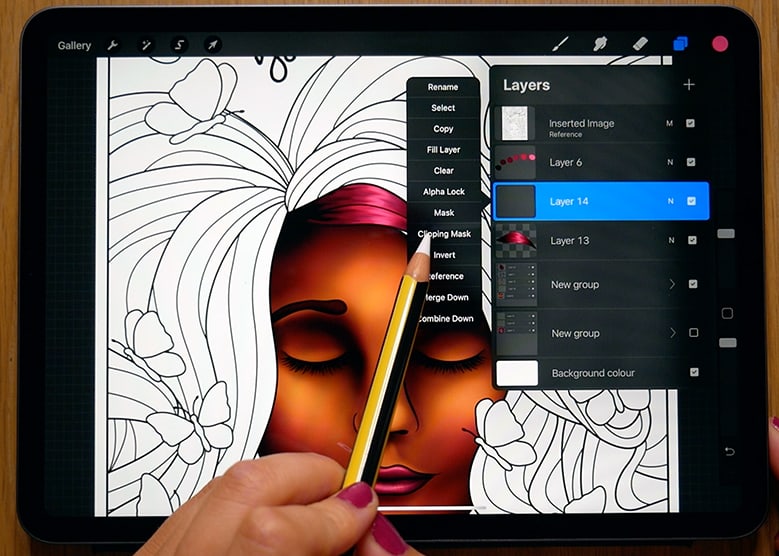
Step Seven: Add a new layer for your lowlights.
Add a new layer above the layer you just worked on, but still beneath the line art. Set this layer as a clipping mask by tapping the layer, and selecting ‘Clipping Mask’. Also, change the layer blend mode to ‘Multiply’.
Using the ‘Soft Airbrush’ (tap the brush icon > Airbrushing > Soft Airbrush) and the darkest / second darkest color from the palette provided, add some lowlights to the hair strand by softly painting darker regions by dragging from the top to the bottom of the hair strand.
Remember to follow the directional flow of the hair.
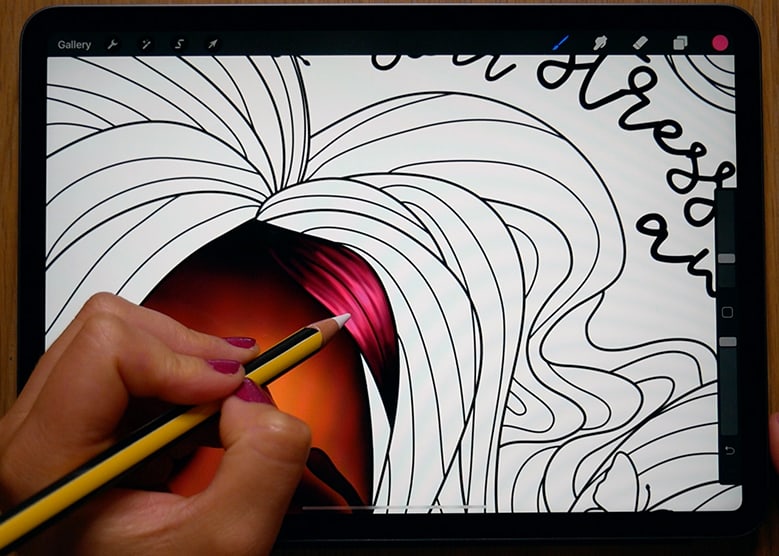
Step Eight: Add a new layer for your highlights.
Add a new layer above the layer you just worked on, but still beneath the line art. Set this layer as a clipping mask by tapping the layer, and selecting ‘Clipping Mask’. Also, change the layer blend mode to ‘Add’.
Using the ‘Soft Airbrush’ (tap the brush icon > Airbrushing > Soft Airbrush) and lightest color from the palette provided, add some highlights by painting lighter regions in the midsection of the hair strand. Remember to follow the directional flow of the hair, and consider where your light source is coming from.
This step is optional, but you can soften the appearance of these highlights by using the smudge tool and the ‘Short Hair’ brush (tap the brush icon > Touchups > Short Hair) to blend them out a little.
Step Nine: Add some extra “oomph” to your highlights! (Optional)
Add a new layer above the layer you just worked on, but still beneath the line art. Set this layer as a clipping mask by tapping the layer, and selecting ‘Clipping Mask’. Also, change the layer blend mode to ‘Add’.
Using the ‘Soft Brush’ (tap the brush icon > Airbrushing > Soft Brush) and lightest color from the palette provided, emphasize where the light would hit the midsection of the hair strand. You can lower the opacity on this layer if you want to change the intensity of this additional shine you’ve added to the hair.
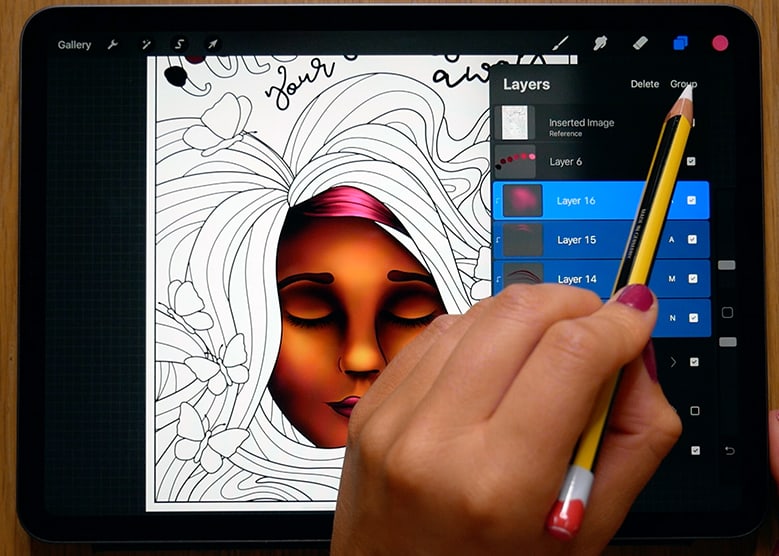
Step Ten: Group your layers.
This step isn’t really part of the technique, but more for helping to keep your layers panel less crazy!
On the layers panel, select the layers you’ve been working on (base layer, highlight layers, lowlight layer) by swiping right. You’ll know they’ve been selected when they turn blue.
Then tap ‘Group’ (in the top right of the layer panel) so that these all get added into a new section labeled ‘New group’.
Tap the ‘New Group’ layer to bring up the group options, and then select ‘Flatten’. This will merge all of the layers you’ve worked on into one single layer, which will keep things tidier as you work through the process above for the rest of the hair.
Once flattened, it’s hard to work with these layers and edit them as all the effects and colors have been merged together, so please don’t group and flatten your layers until you’re happy with how things look.
Step Eleven: Repeat for the rest of the hair strands.
To complete the full head of hair, go through steps 4 through to 10. Remember to work in sections where the directional flow of the hair strands seem to follow the same direction, and be sure to watch my timelapse in the video to see how I tackle it.
I really hope this helps, but if you have any questions just pop them in the video comments section so I can try and help.
About the Author
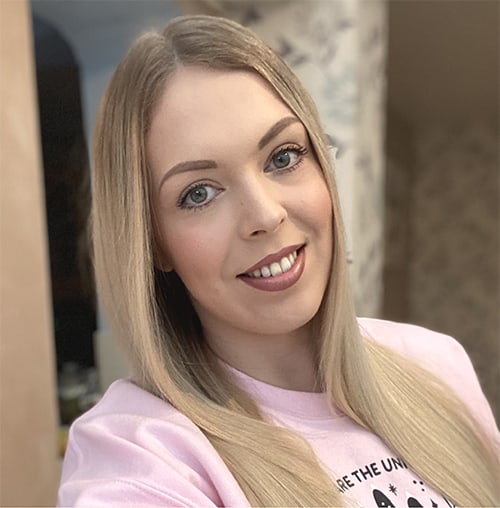
Kim is a digital designer and illustrator from Bristol (England) that loves to doodle all things cute and quirky. She’s addicted to colouring and drawing using Procreate app on her iPad, and wants to help others step into the world of creating digital art.
Her interest in the adult coloring trend piqued when she realized the amazing mental health benefits it had, and she’s also used it as a creative outlet to help keep her self-identity intact whilst navigating her journey through first-time motherhood.




This tutorial is so helpful! I love the step-by-step instructions, and the tips on blending colors are fantastic. Can’t wait to try these techniques in my next Procreate project! Thank you, Kim!
This tutorial was super helpful! I’ve been wanting to learn how to color hair in Procreate, and your step-by-step instructions made it so easy to follow. I especially loved the tips on blending colors for a more natural look. Can’t wait to try this on my own illustrations! Thanks, Kim!
Very helpful, thank you! Where can I buy the “Touchups” brushes for Procreate?
‘Touchups’ has been changed to ‘materials’ in Procreate.
This tutorial was so helpful, Kim! I loved the step-by-step breakdown for coloring hair in Procreate. Your tips on blending and layer adjustments made a huge difference in my work! Can’t wait to try the techniques you shared. Thank you!