Today’s post is a guest tutorial from Cristin April Frey. Check out her resources at www.cristinapril.com
This post contains affiliate links and I may earn a commission if you click them and make a purchase. This is at no cost to you and I only recommend products that I love.
There’s a little saying around my house that goes, “This is why we can’t have nice things”.
I’m sure anyone who’s ever had a young child in their home can relate. So after I found my watercolor set that had been in my nephew’s hands, I mumbled that saying under my breath.
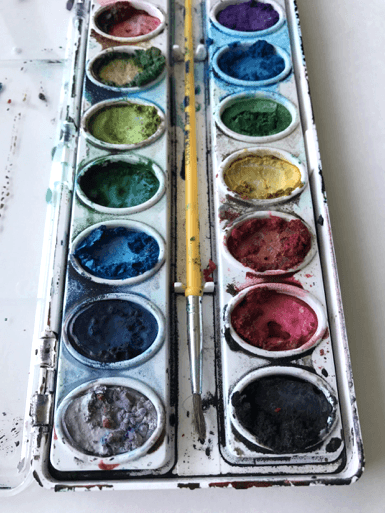
Of course it’s not his fault. He’s 3 years old and I’d never want to stifle his creative experimentations. But when I found the watercolors completely unusable, I had to get my own creative thinking going and figure out what to use instead.
I began going through my limited art supplies and almost gave up when I saw my Tombow markers. They’re waterbased. I’ve seen YouTube videos on how people use them with watercolors.
But I hit another wall when I didn’t have the colors I needed in my Tombow set. ‘What else is waterbased?’ I thought.
Crayolas! And I had a set of the 50 colors SuperTips. Plus I borrowed back the set of 10 regular Crayola markers I had given my nephew. Jackpot! Now to test it and pray it works.
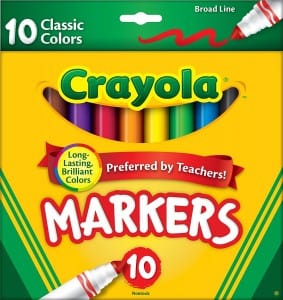
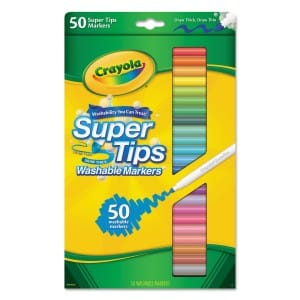
At first, I tried just coloring normally with them and then using water to blend it but that didn’t work. I kept experimenting until I found a way to make it look like watercolor. I used my ‘Shine’ coloring page (available on my Patreon page) and printed it onto smooth cardstock. If you have actual watercolor paper available, I would recommend this in its place as the cardstock tends to buckle and warp if it gets too wet.
I’ve created step-by-step instructions below on how I created my watercolor effects with the Crayolas. Scroll down further to watch the full video tutorial.
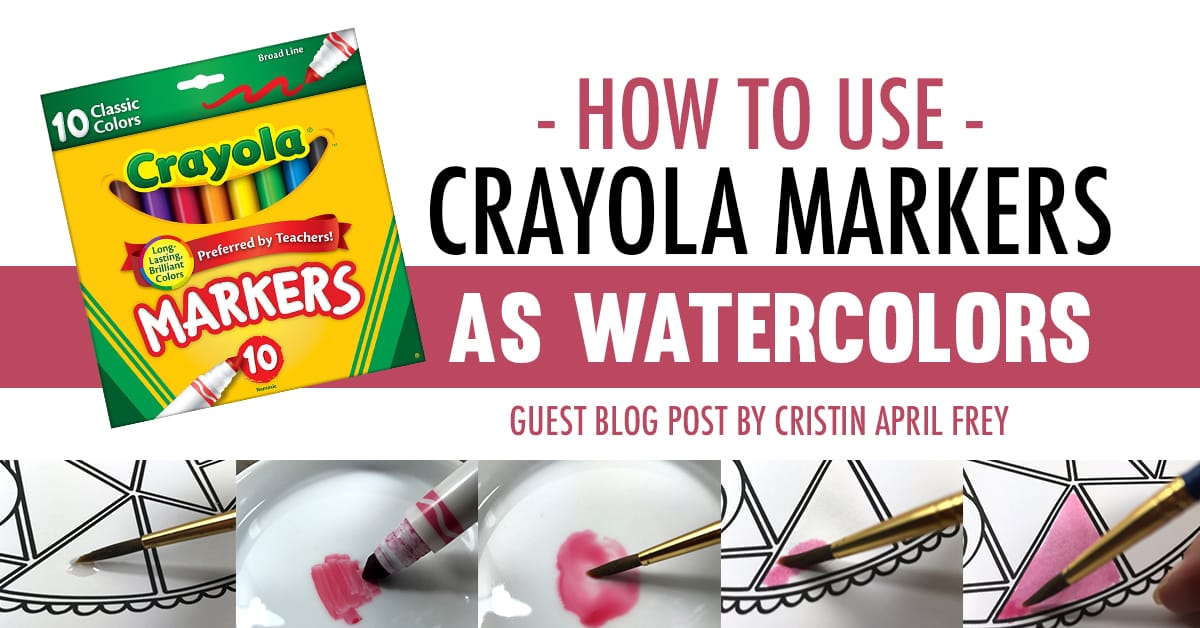
How to Use Crayola Markers as Watercolors

Step 1 – Using a clean paintbrush and clean water, paint the area you wish to color.
Work in small sections at a time and try not to saturate your paper too much.
Just add a light layer of water so when you add the colors, it acts as a watercolor paint and will bleed and move like watercolors do.
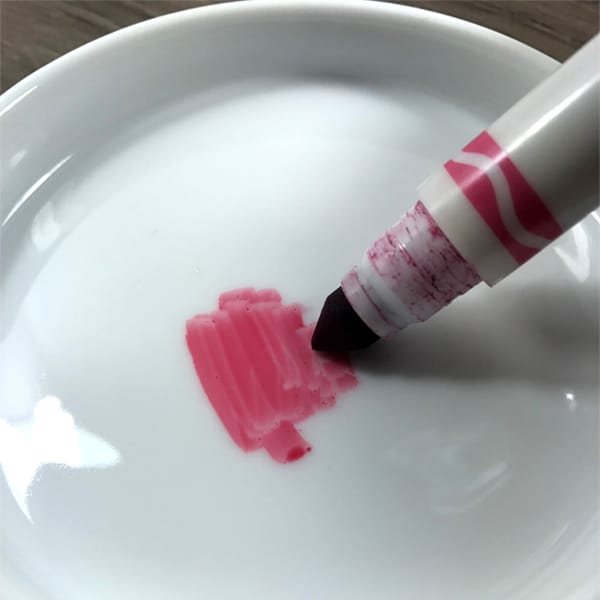
Step 2 – Use a Crayola marker and color onto a palette.
My paint palette was dirtied with dried paint, so instead I grabbed a shallow glass dish for this step. You can use any plastic or glass surface as long as it’s nonporous.
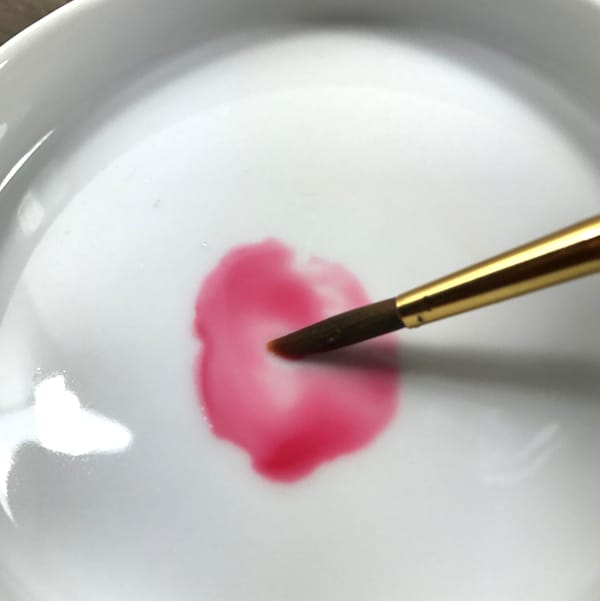
Step 3 – Use a clean paintbrush (I used a #5 round brush by Xuangcheng) and load it with clean water.
Mix the water into the color on your palette. The more water you use, the lighter the color will be on the paper.

Step 4 – Paint the area you want to color, keeping in mind that watercolors bleed and move.

Step 5 – You can add extra layers to get a darker color or mix and blend different colors together. To pick up some of the color you can add clean water to it and use a tissue to dab the area you want to lighten. Or to darken an area, you can add small puddles of the color just by dotting your brush onto the paper.

Step 6 – Continue this process until your page is complete. You can have fun and experiment with various shading and colors. I even added some splatter drops to my finished page by loading my brush with the color and tapping it with my finger while holding it over the page.
Easy, right?
Watch the video tutorial below to see the whole process in action. Post a note in the comments when you’ve given it a go, and be sure to let me know if you try it and share your finished art with me on any of my social media channels.
If you enjoyed this tutorial, please share with your friends using the social links below!
About the Author

Cristin is an artist that resides in upstate New York with two rescue dogs, a rescue husband, and a teenage daughter. She lives on coffee, wine, and sarcasm and when she’s not doodling, you can find her doing something creative and being sassy because Cristin loves to combine the two.
Visit Cristin’s website: cristinapril.com
Or follow Cristin: Youtube | Facebook | Instagram | Pinterest | Patreon





Why do you use clear water first on the picture? Instead of just using the color on the brush? I’m new using this technique. And I think it’s really brilliant.
I’ve also seen a similar thing done with glycerin. Not quite as “watery.”
Hi Cristin & Sarah
That was pretty darn cool (YES, I know I’m behind in respinding). Watercolors scare me, but this with the Vrayolas, might be just what breaks the ice. Going to think about trying this.
Thank you both for expertise and friendship.
Connie
that is so cool and easy to do im going to try it
Cristin April Frey is a very talented artist! I’ve seen all kinds of tips and suggestions from her in the past. Cristin this is a great tip! I will most def have to try this one soon! Thanks Sarah and Cristin for sharing this!
Thanx for this, very helpful tutorial. You saved me a step in my trials. Also i like the fact that it’s easier on these old fingers, i hadn’t considered that. Thanx again.
Great tips thank you
Very cool, Cristin!! I will try this! I wanted to ask you what type of printer you use. I have an inkjet and my water based pens smear the lines. Any suggestions?
Hi Mary!
I have an HP OfficeJet Pro. It wasn’t a freshly printed page (I had printed it several days earlier) so maybe just giving it more time to dry will help? Thank you for reading and I hope to see what you create!