
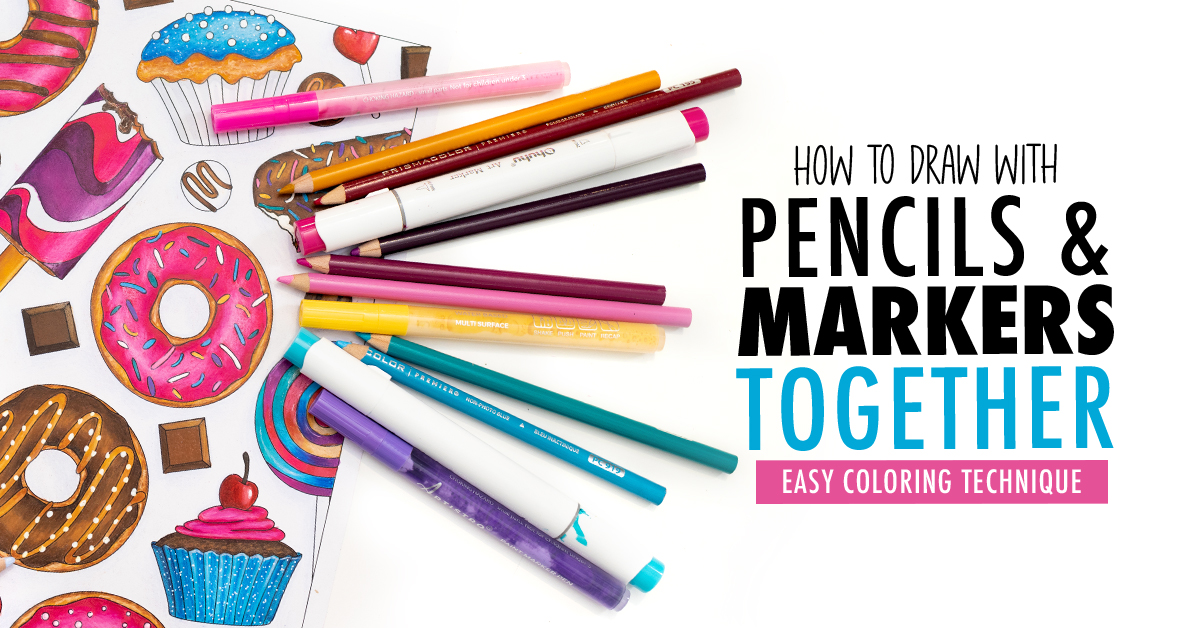
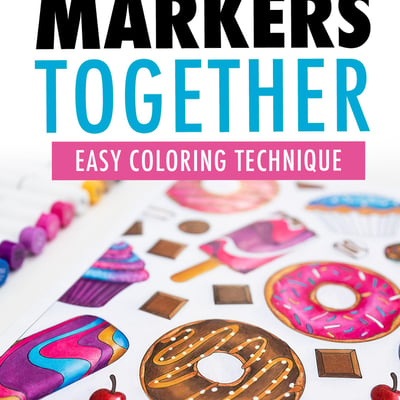
Markers OR pencils? Today we’re taking the best of pencils and the best of markers and bringing them together.
In this video, I’ll show you my tips for working with pencils and markers TOGETHER to get great results in your art and coloring pages. Whether you’re a beginner or a professional, and whether you’re trying to create hyper-realistic art or just color for fun, combining these tools can unlock a new range of ideas and opportunities for your art, allowing you to experiment, create more realistic textures, and stretch your skills.
I’ve included the colors and resources below!
Disclaimer: This post contains affiliate links and I may earn a commission if you click them and make a purchase (at no cost to you).
Pencils vs Markers – Which Are Better?
Pencils are easy to blend and layer, perfect for fine details, and they can allow you to recreate almost anything you can imagine with some time and practice.
Recommended video: How to Draw Gold with Colored Pencils
But pencils can take a LONG time. Some of my pencil drawings have taken me more than 10 hours, and I know many artists that spend weeks or more on a single picture.
Markers, on the other hand, can produce results much faster. They are vibrant, fill an area quickly, and fill the tooth of the paper really well, without leaving any texture or white gaps. If you have alcohol markers, you can even create smooth blends. But they do take a lot of practice to use well, and it’s a lot harder to create fine details or adjust mistakes and tweak colors compared to pencils.
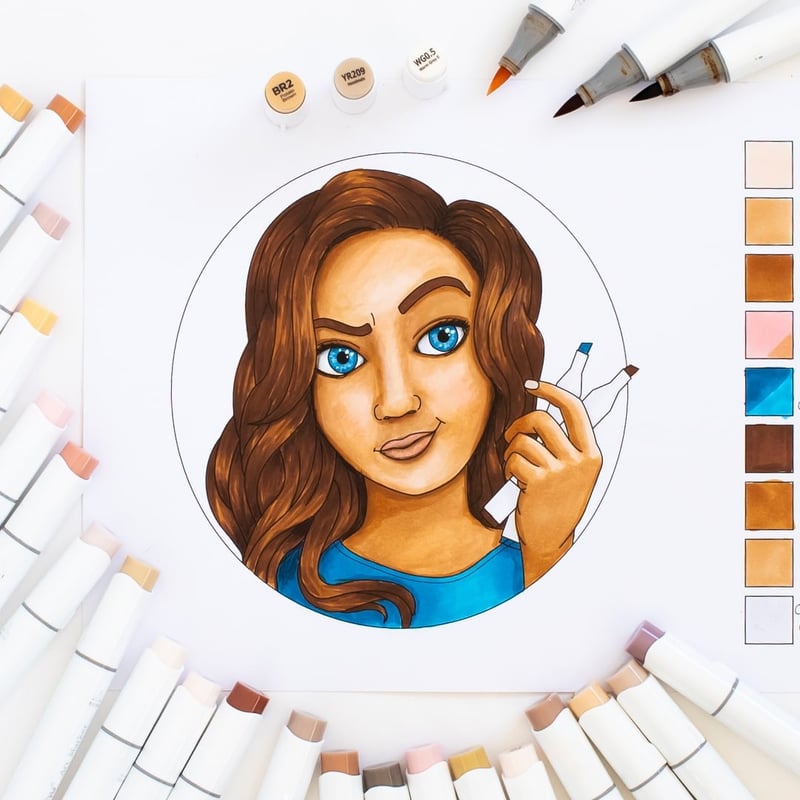
Recommended video: How to Draw Skin Tones with Markers
By combining pencils and markers together, we get the best of both worlds.
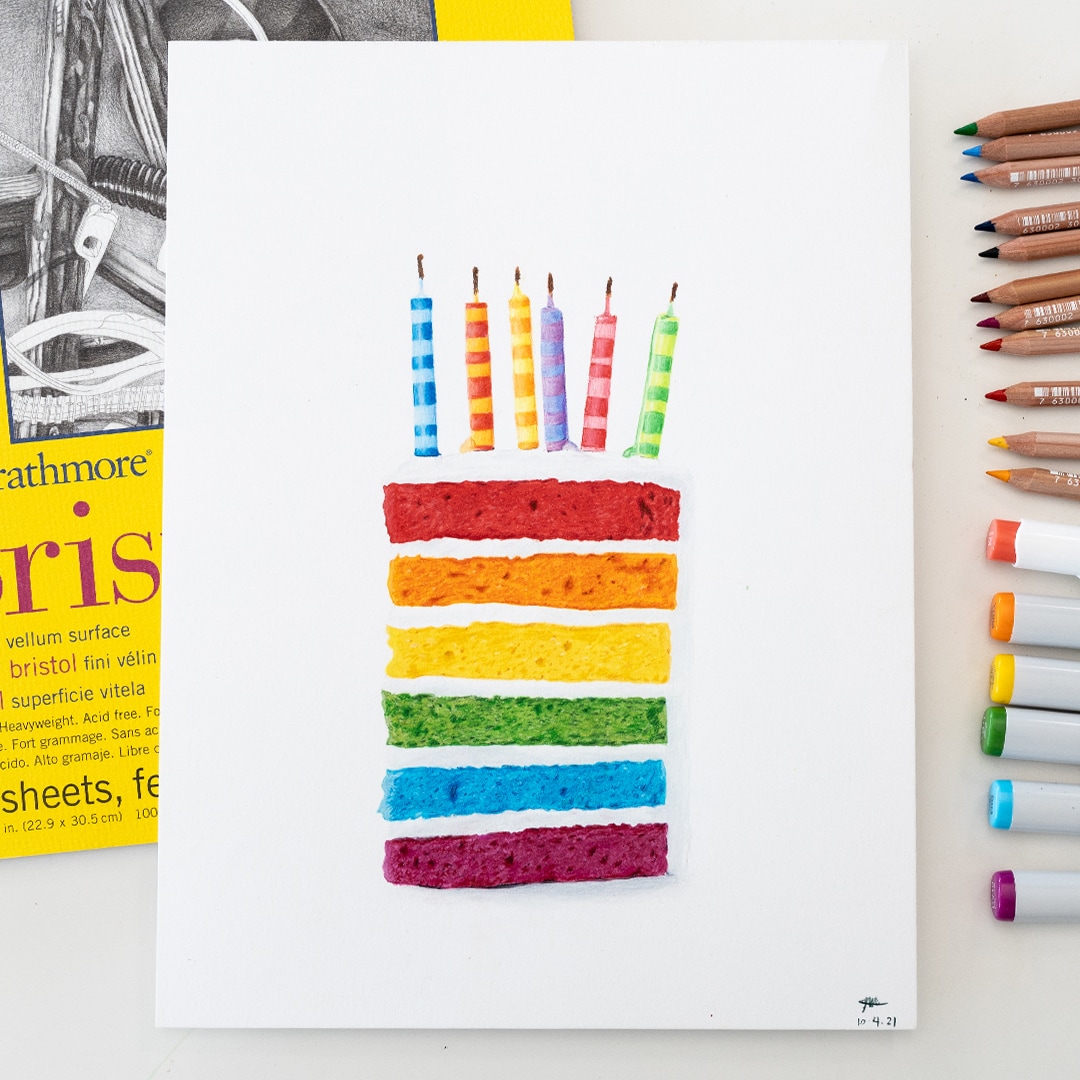
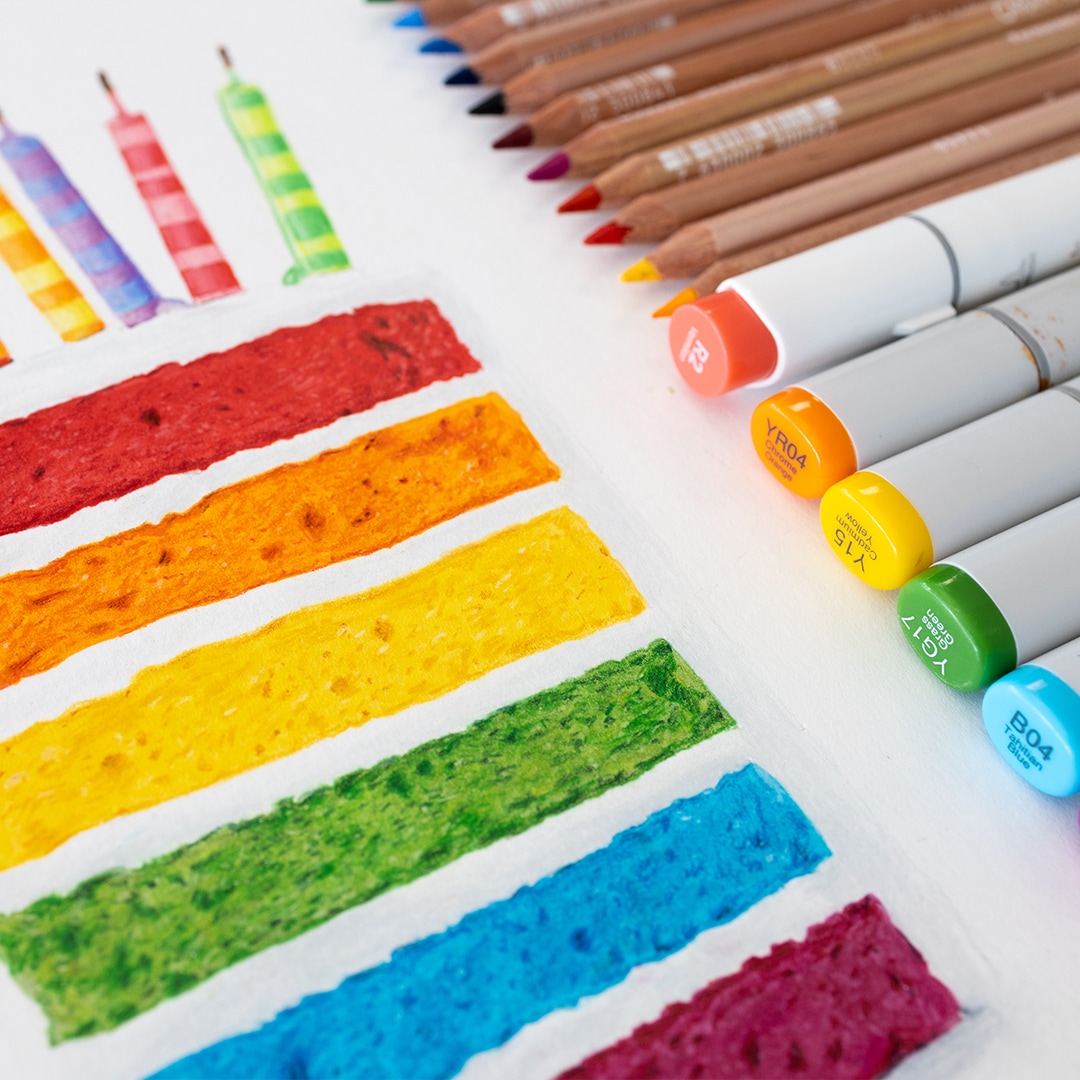
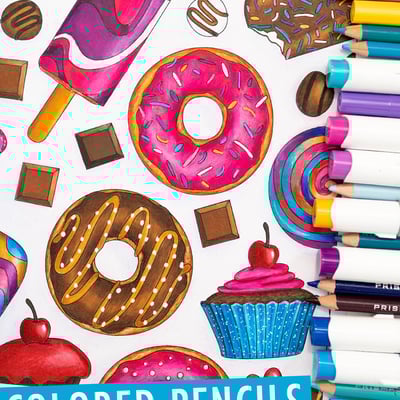
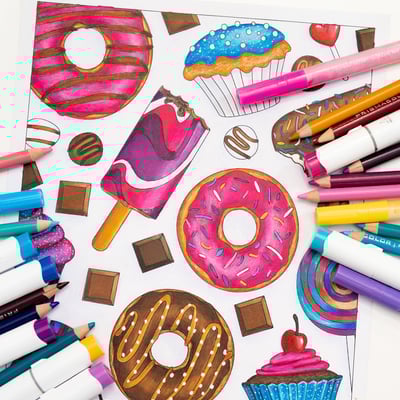
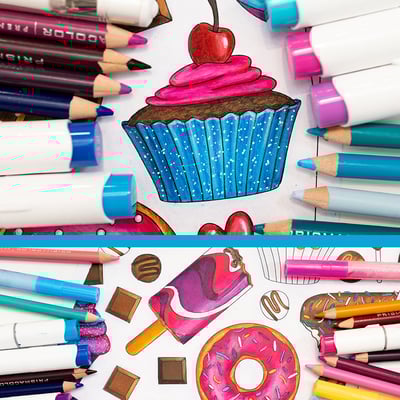
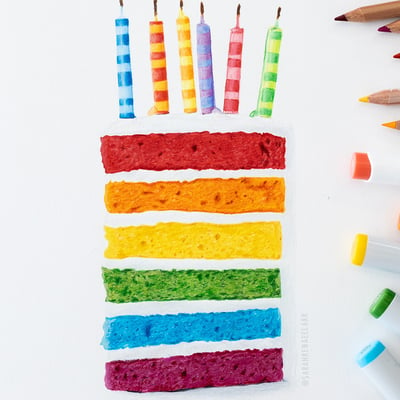
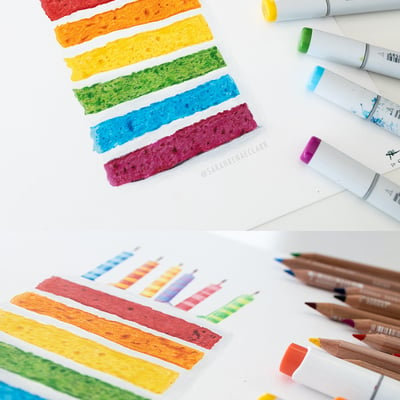
I’ve already spent the weekend using this method to draw this piece of cake, and as you can see, the results have turned out great. I used Copic and Ohuhu markers underneath my pencils to create a base layer, and then I used my Caran d’Ache Luminance pencils to create dark and light highlights to give this cake a realistic texture, which really brings it to life. I’ve used a Bristol Vellum paper for this drawing, because I found that it seems to work pretty well with both the pencil and the markers.
Video Walkthrough – How to Color with Pencils and Markers Together
Check out the video at the top of this post to watch my full process of coloring with pencils and markers together. Here are some of the tips and resources I shared through the video if you want to follow along.
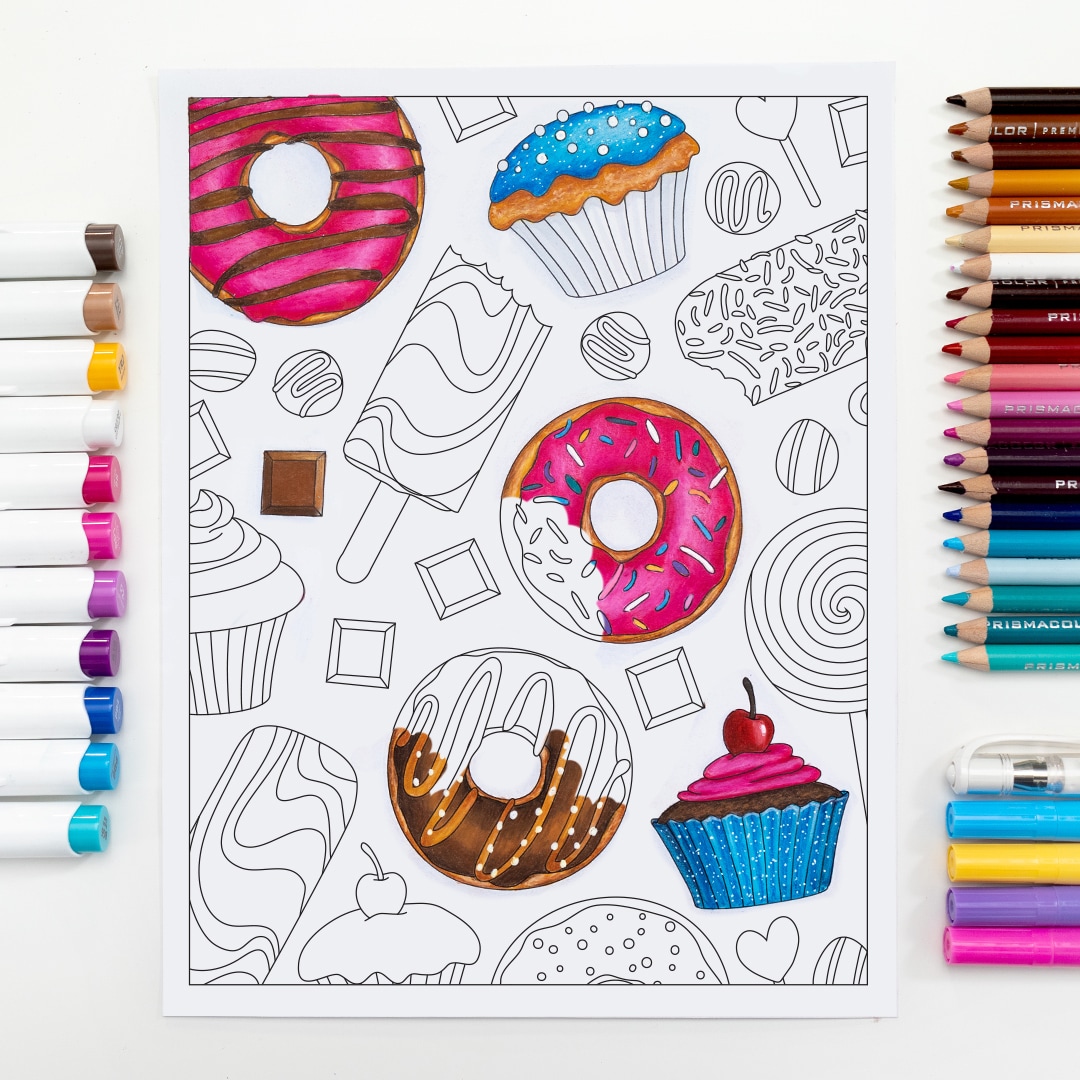
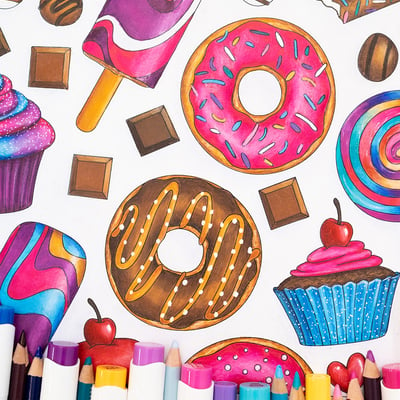
I’m using this coloring page that you can get for $1 from my shop to print on your own favorite paper. When using markers and pencils together like I’m doing, I’d recommend a Bristol Vellum paper, but it will depend on what your printer can handle. Unfortunately, my printer doesn’t like the Bristol Vellum I prefer to use for my drawings, so I’m using simple cardstock in this video.
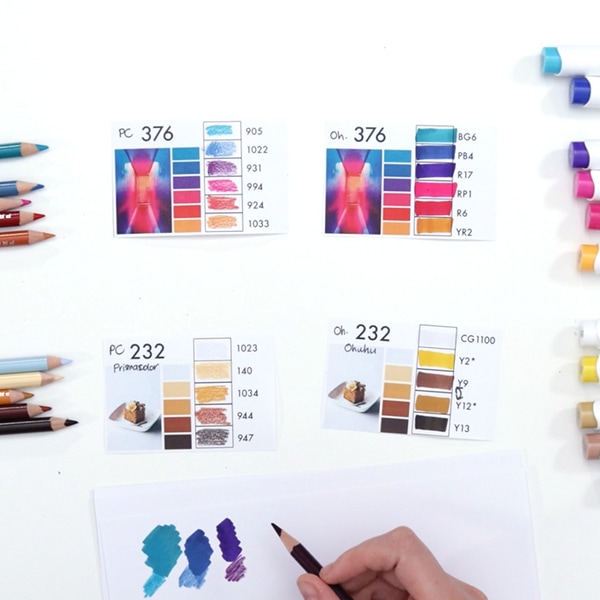
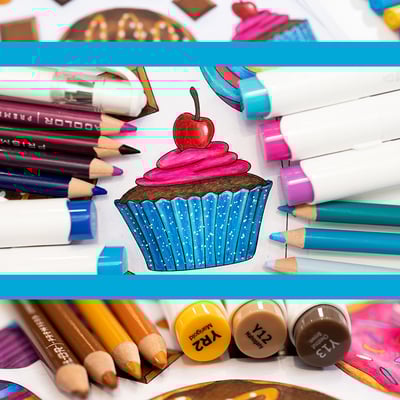
I’m using 2 color palettes from The Color Catalog. And I’ve cut out my swatches from the Color Catalog Companion (optional add-on). If you’ve got the Color Catalog Companion, you’ll be able to access the pencil and marker numbers for your color palettes, depending on the markers and pencils you are using. You can find out which brands are included here.
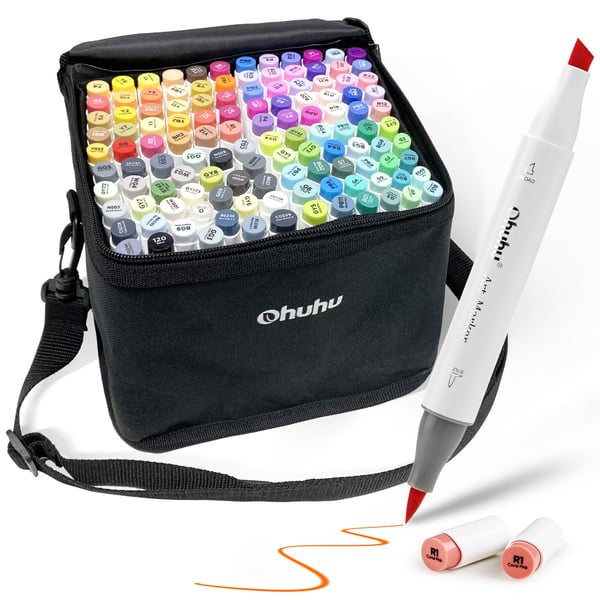
I’m using Ohuhu markers in this video, but this method works with any markers or pencils. I personally like using alcohol markers like Ohuhu or Copic because of their even lay-down and blending abilities. I recommend starting this tutorial with whatever markers you are already familiar with.
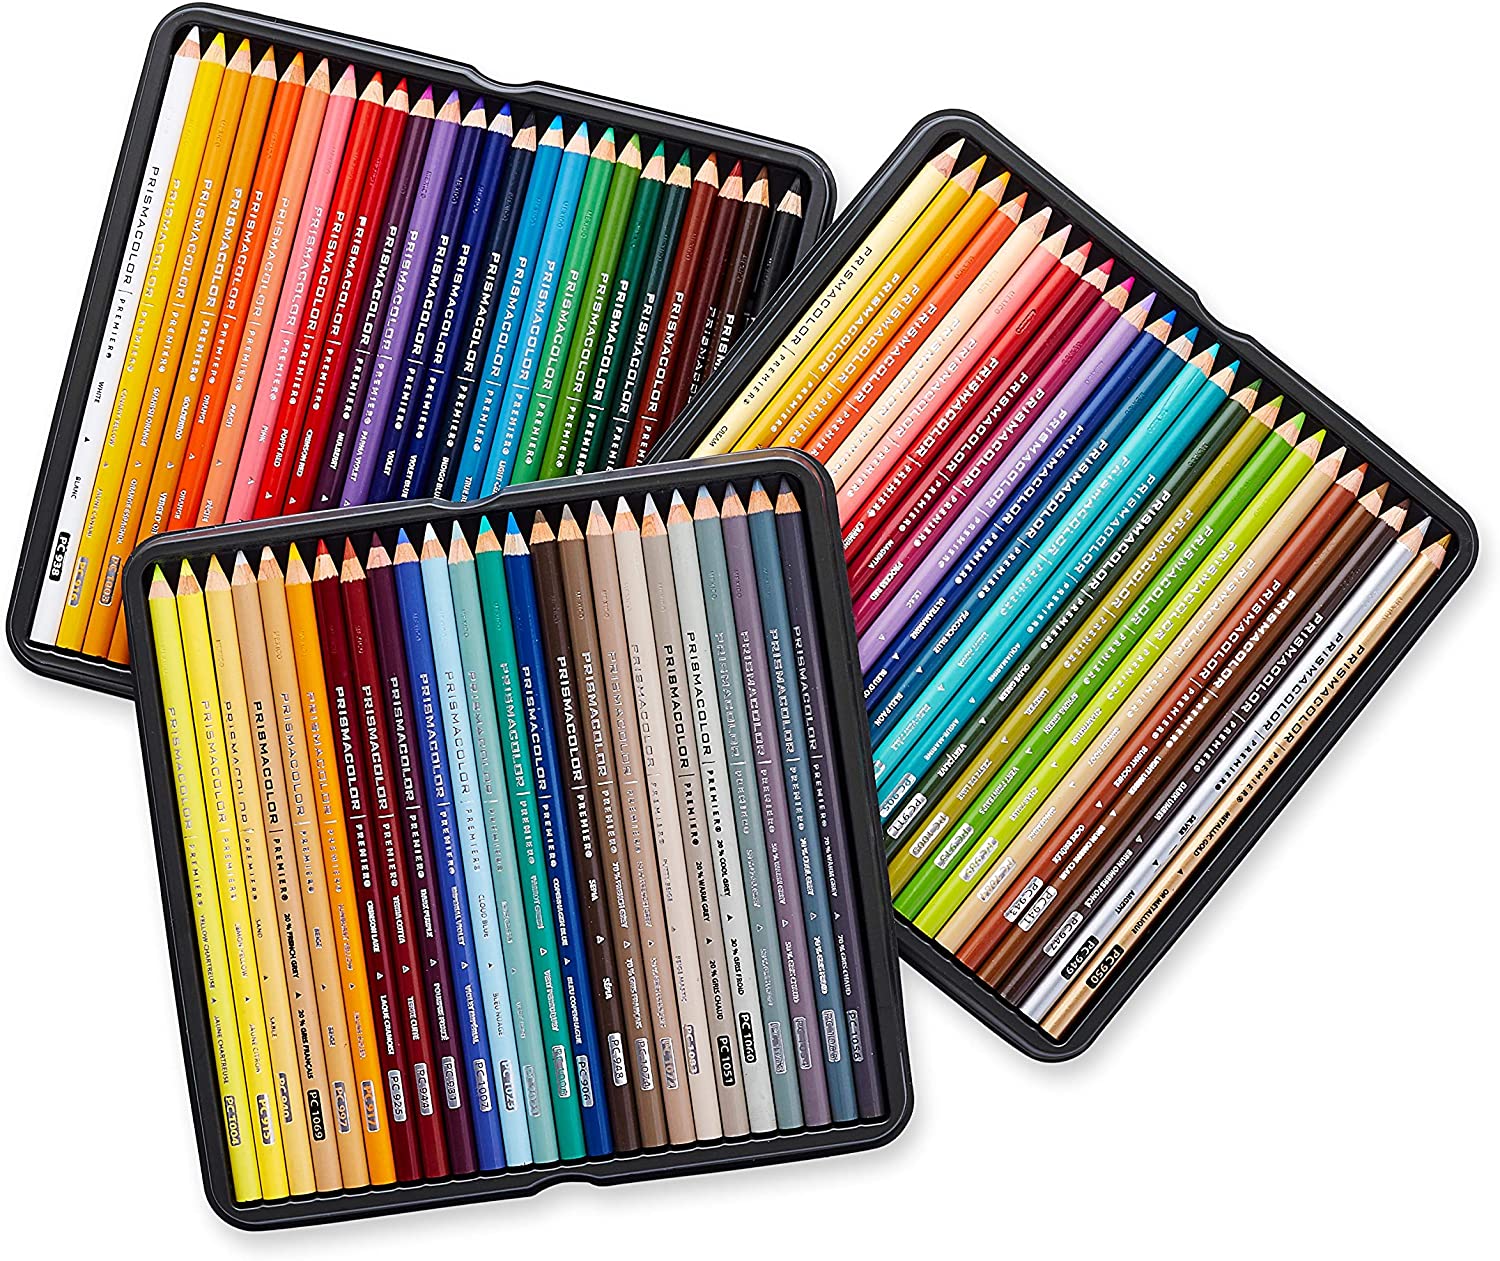
I’m using Prismacolor Premier Soft-Core Colored pencils. These are one of my favorite brands, and often my go-to for coloring pages. They layer really well on markers (both light and dark), the white pencil works fantastic, they are smooth to use AND they are more affordable than many of the equivalent artist brands.
I’ve done a few reviews on these that you can find on my YouTube channel and tested some other alternatives here if you want something more affordable.
This method works with most pencils!

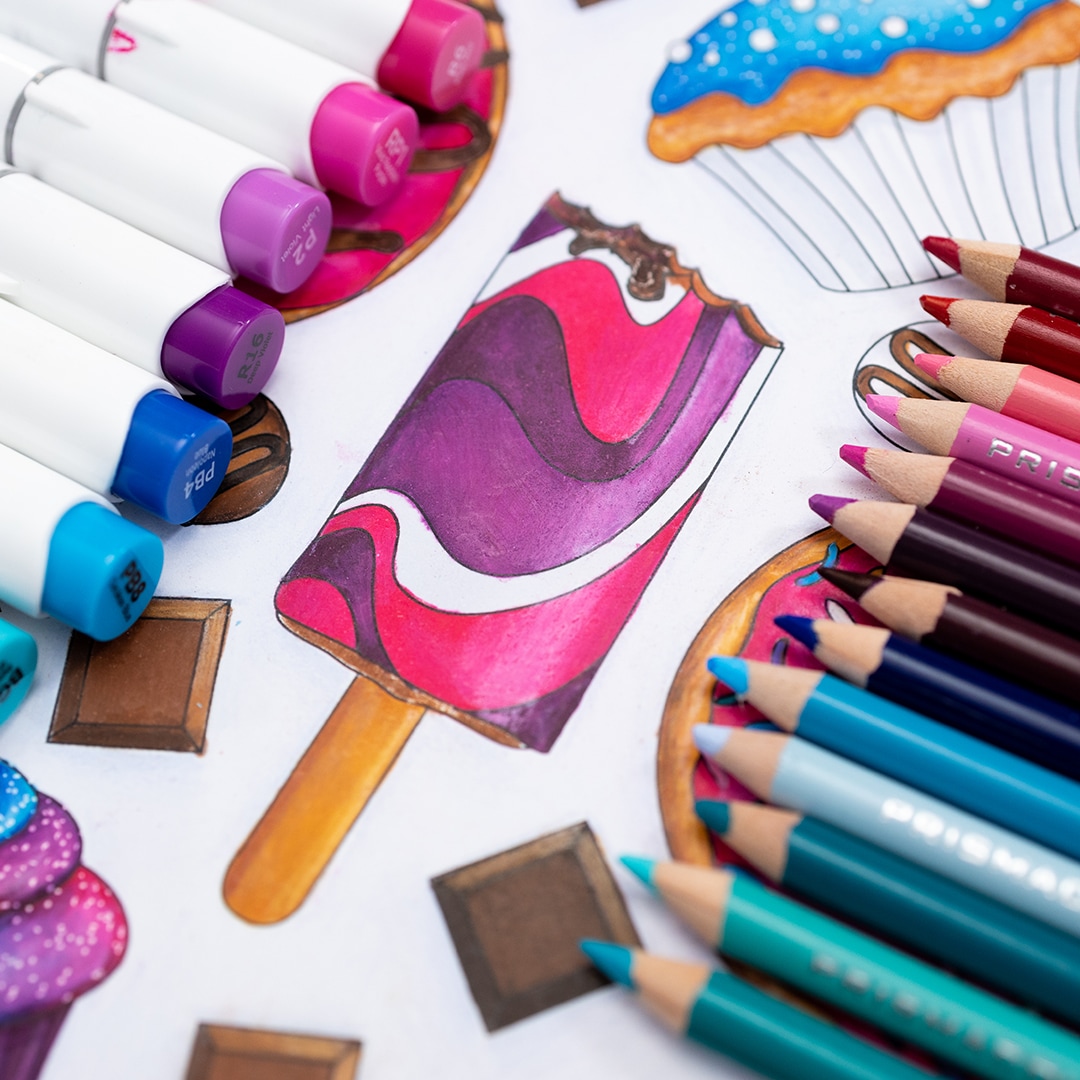
Step 1: Choose (and test!) your colors
Whether or not you are using a color palette, it’s always easier to choose your marker color first, then choose a pencil that is the closest match. Before we start working on our coloring page, test your colors and your markers and pencils on a piece of paper first, just in case they have some unexpected results.
What to look for when testing your colors:
First, see how they interact with your paper and with each other. Pay attention to how they layer. Can you layer light pencils on dark markers?
Some pencils will layer better than others, and some markers might absorb in your paper differently.
Second, check how well your colors match. Even if you’re using something like the Color Catalog Companion, all brands vary so much that your colors might not be perfect, so you might want to make some adjustments. Try to find colors that have the same hue, even if your markers end up being a bit lighter than your pencils.
And third, use this opportunity to find a darker and/or lighter shade of each color pencil. We’ll use these to create shading and textures.
Include a white pencil for highlights.
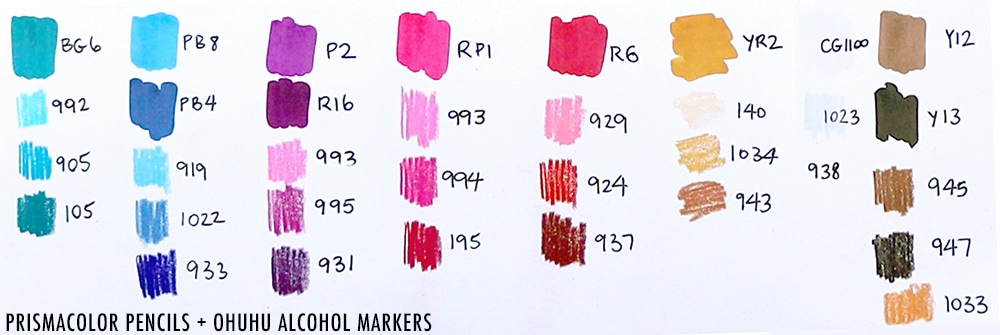
I swapped a few colors and chose darker and lighter shades for each color in my first palette. I made more changes in my second palette because I wanted to use those colors specifically for chocolate and the donuts and wanted to blend them together. Here’s a look at the final colors I’ve chosen.
I created this little swatch page as a final reference to make my drawing easier so I wouldn’t need to go back to my full set of pencils and could be confident in the colors I chose.
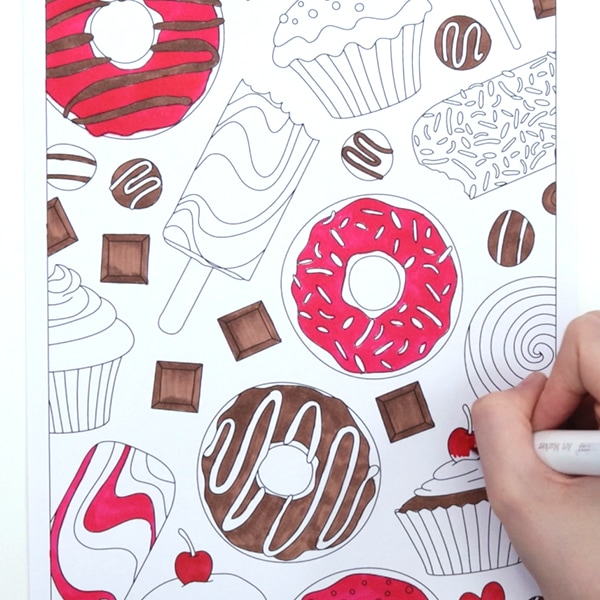
Step 2: Create your underpainting with markers
Now, it’s time to work on our base layer with markers, also known as an underpainting.
Use the main color of each area and block out your background or base layer with your markers. Your marker work doesn’t have to be perfect. It’s ok if it looks a little blotchy or isn’t blended perfectly, as this is only going to be your underpainting. We can fix up details with the pencils layered on top.

If you have blendable alcohol markers, you can try blending other shades together to create more depth, but this is optional and you can still get great results with any markers without doing this. Again, this blend doesn’t have to be perfect, because we can work on these details more when we use our pencils.
Blocking out these areas with marker first will create a vibrant base color for your pencil work. It’s like dying the paper or using a color-tinted page for your drawing. Speeds up your coloring time, removes all the white areas under your pencil and saves a lot of pencil later.

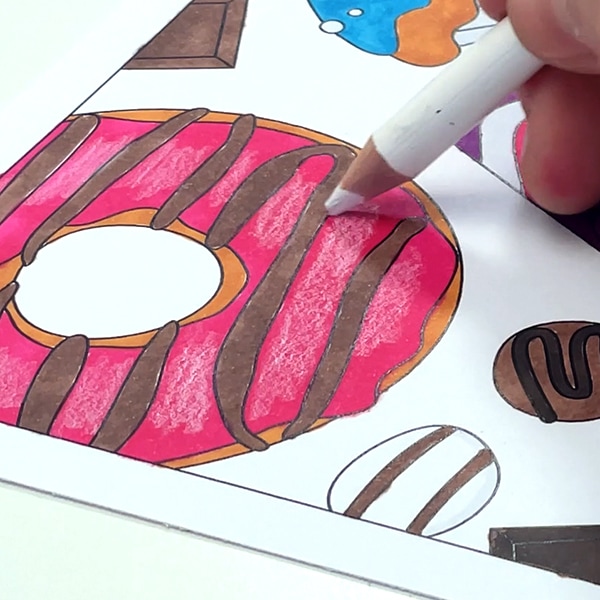
Step 3: Bring in the details with your pencils
Now that we’re done with the markers, it’s time for the pencils.
Because we’ve already done the base, we won’t need to build up as many layers, do as much blending, or burnish our page to create all the detail we want. Instead, our focus becomes on fixing areas, building up shadows, highlights, and adding fine details.
You can keep things simple and just add some shadows. Or you can really go for a hyperrealistic drawing and add every possible detail.


Step 4: Finishing touches with paint pens and gel pens
Since we’re already mixing mediums with markers and pencils, I’m adding a 3rd (and 4th!) medium by finishing of my page with a white gel pen and some paint markers. This is something I’m starting to do on almost every coloring page, because I love the extra impact these highlights add to the final page.
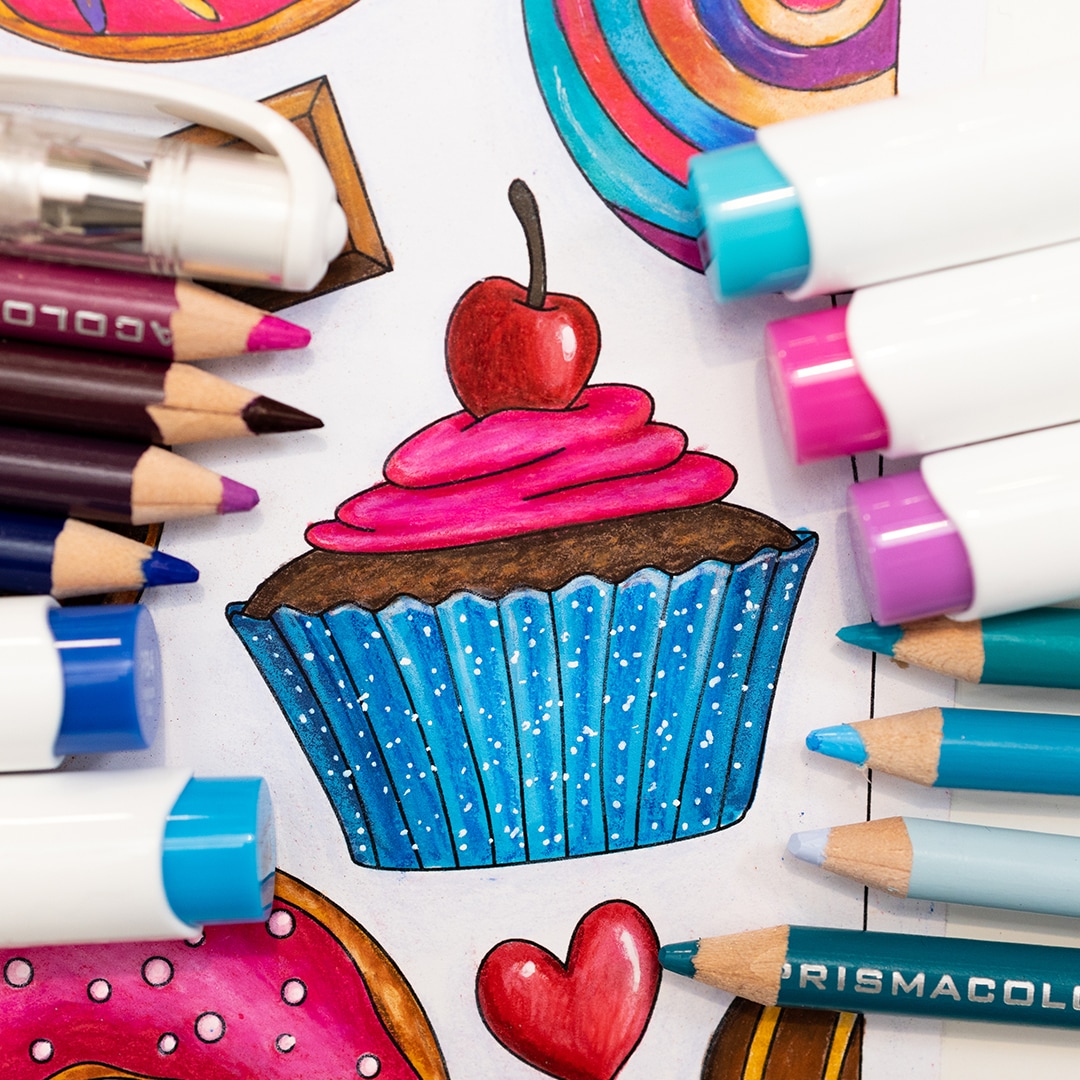
My white pen is the Uni-Ball Signo that is still one of my favorites, even after testing more than 20 different white pens.
These paint pens were given to me by Artistro and have a fine tip, perfect for details like the sprinkles.
And we’re done!


This is NOT a difficult technique to learn, and yet it opens up a lot of opportunities for both beginner and experienced artists, so I’d love to hear how you go trying this one and see your drawings or coloring pages in my Facebook group.
If you found this helpful, please share it with a friend, and check out some of my other resources below!
Try it!
Don’t forget to grab the coloring page used in this tutorial to try this for yourself!
Please share your results in my Facebook group!


Your coloring is fabulous and your articles and videos are such a great help.
How do you feel about acrylic paint pens?
Vs the alcohol pens?
Thank you so much for your help and many smiles. Oh! Such a pleasant accent as well.
A fellow coloring addict.
L.A.W.
Sarah have you ever heard of Prismacolor markers
Oh my goodness! This color mix is so pretty!
Well done!