
When I started making coloring pages as an artist, I made the decision early on to make them available digitally because I believed that printable coloring pages were better than traditional printed coloring books.
One of my favorite reasons was that if you ever made a mistake or wanted to color a page again – you could simply print the page again!
But, I’ll admit, using an App like Procreate to digitally color a page was something completely new (and exciting) to me! And when Cristin April Frey offered to write me a guest post on how to use Procreate to color, I had to say YES!
As Cristin discusses in this tutorial, digital coloring also has its benefits, especially for people who aren’t able to color with pencils or markers – but I want to encourage you to give this a try even if you don’t fit into one of these groups!
Cristin is a great friend of mine, and has her own Facebook group dedicated to Procreate, so read through the tutorial and watch the video at the bottom of this page and if you find that Procreate is for you, head over and jump onboard!

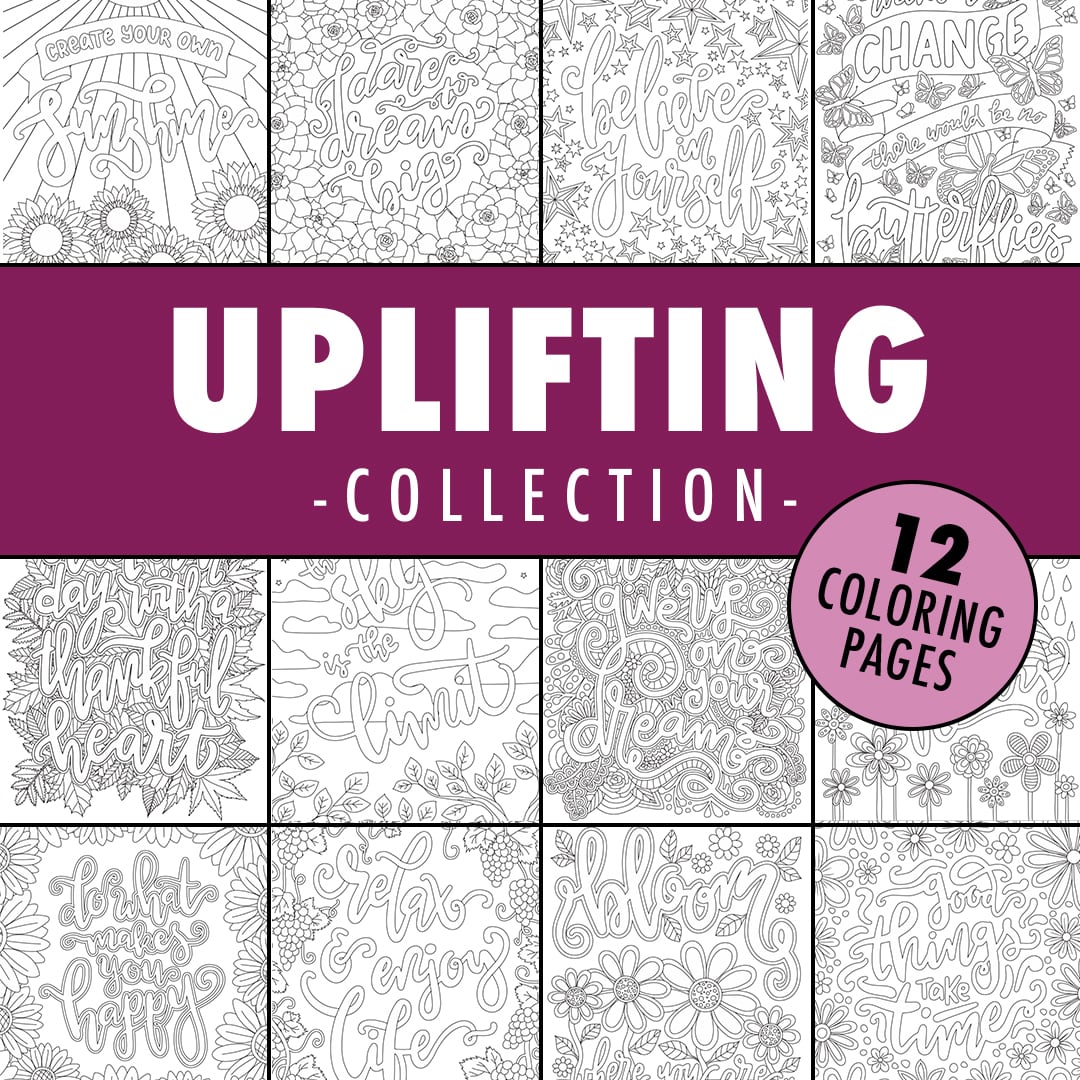
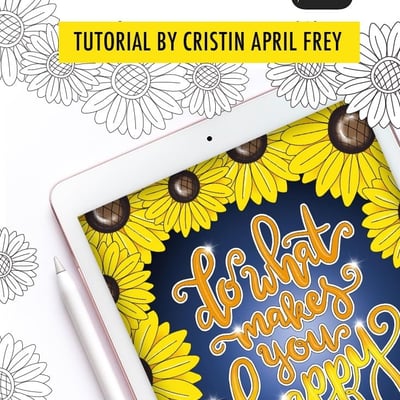
Download the coloring page used in this tutorial to follow along! The ‘Do What Makes You Happy’ coloring page comes from Sarah’s ‘Uplifting Collection’ of 12 coloring pages which you can purchase here.
Alternatively, you can choose a coloring page you’re already working on to apply the techniques used in this tutorial.
Digital Coloring in the Procreate App
by Cristin April Frey
Coloring has come a long way since the coloring books and crayons we used as children. One of the biggest changes is the ability to color digitally from our mobile devices. There are a number of apps and programs available for download, but there is one that stands out from all the rest and that is the Procreate app.
Procreate is a multi award-winning art app that is so amazing that even the Apple stores give free lessons on using it. Not only can it be used for digital graphics, but I also use it for hand lettering, photo editing, GIF creating, scrapbooking, and even what this article is about… digital coloring!
Procreate is full of features and options that aren’t available in other coloring apps and it’s only available for iOS in the App Store.
Not only is digital coloring keeping up with our times of technology, but it’s also lent itself to providing accessibility for anyone with challenges such as arthritis, carpel tunnel syndrome, or any impairment that may affect holding a colored pencil or marker. Many who suffer from not being able to hold a coloring instrument for long periods of time or applying pressure have turned to digital coloring because it’s more forgiving on the hands.
Digital coloring has become so widespread, there are even Facebook groups and online communities dedicated to sharing digitally colored works.
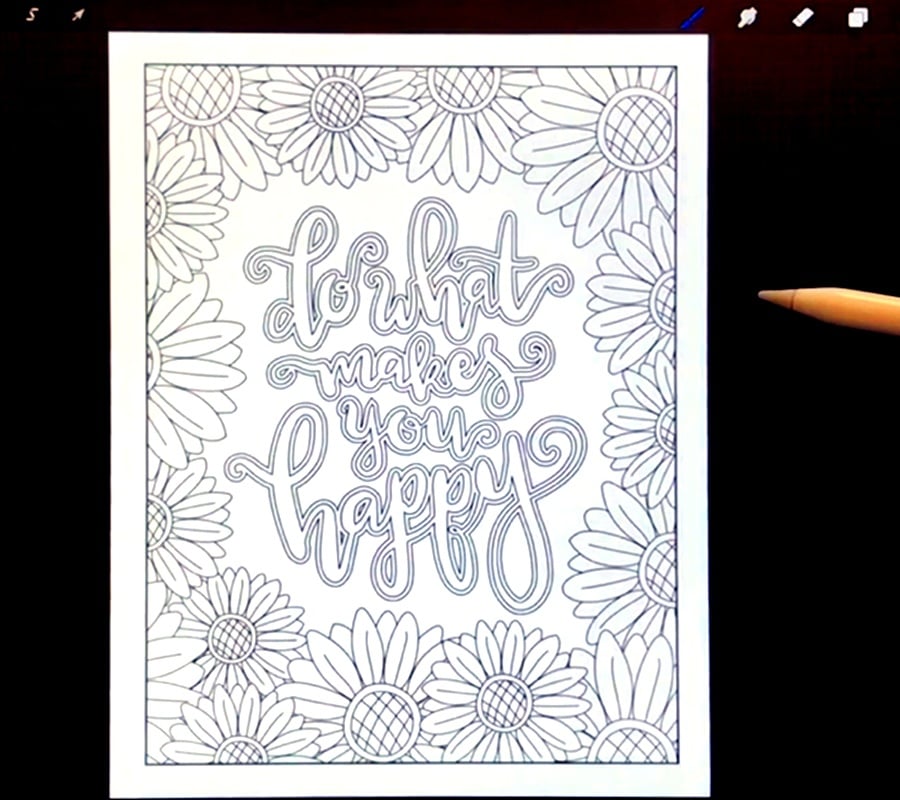
Step #1
Open the Procreate App and tap on the ‘Photo’ button on the top-right of the screen to access your Camera Roll to select the image you would like to import into Procreate. If the image is saved on your iCloud, Dropbox or Google drive, or another location, you can tap the ‘Import’ button to select it from there.
Note: the image can’t be a PDF file, so if the image you have is a PDF, you’ll need to convert it to a JPG first using an online converter. Alternatively, you can open the page on your iPad and take a screenshot.
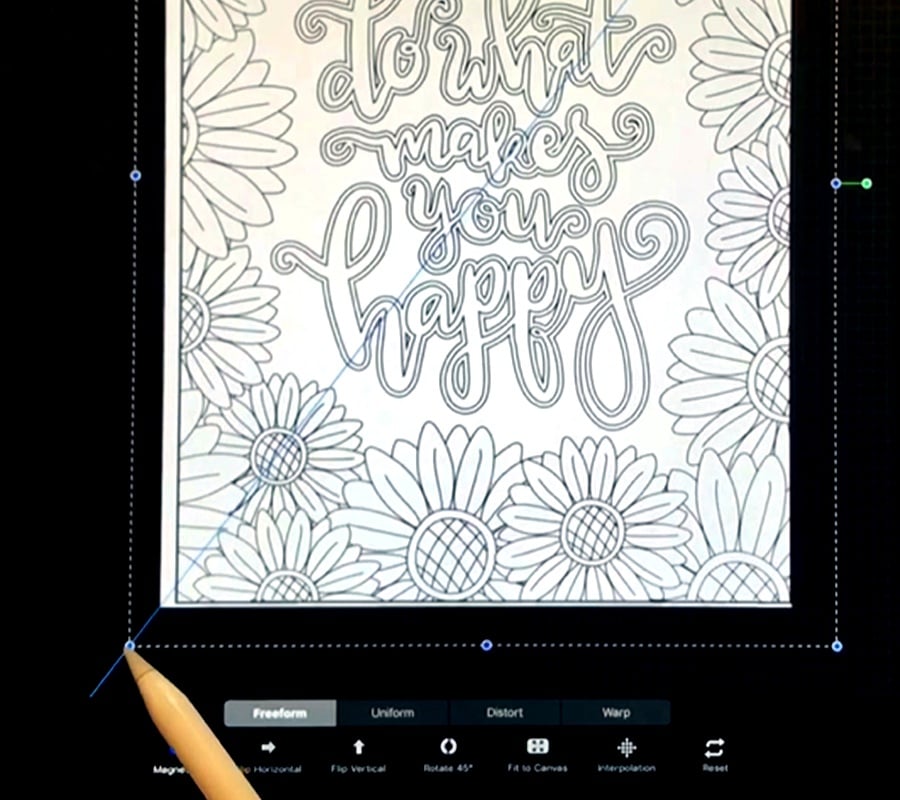
Step #2
If you need to crop the image, you can drag any of the blue dots surrounding the image outwards to make it bigger. Just make sure that the ‘Magnetic’ icon at the bottom of the page is selected to ensure the image keeps its correct perspective. The green dot of the right allows you to rotate the image.
Once you are happy, tap the blue arrow on the top left of the screen.

Step #3
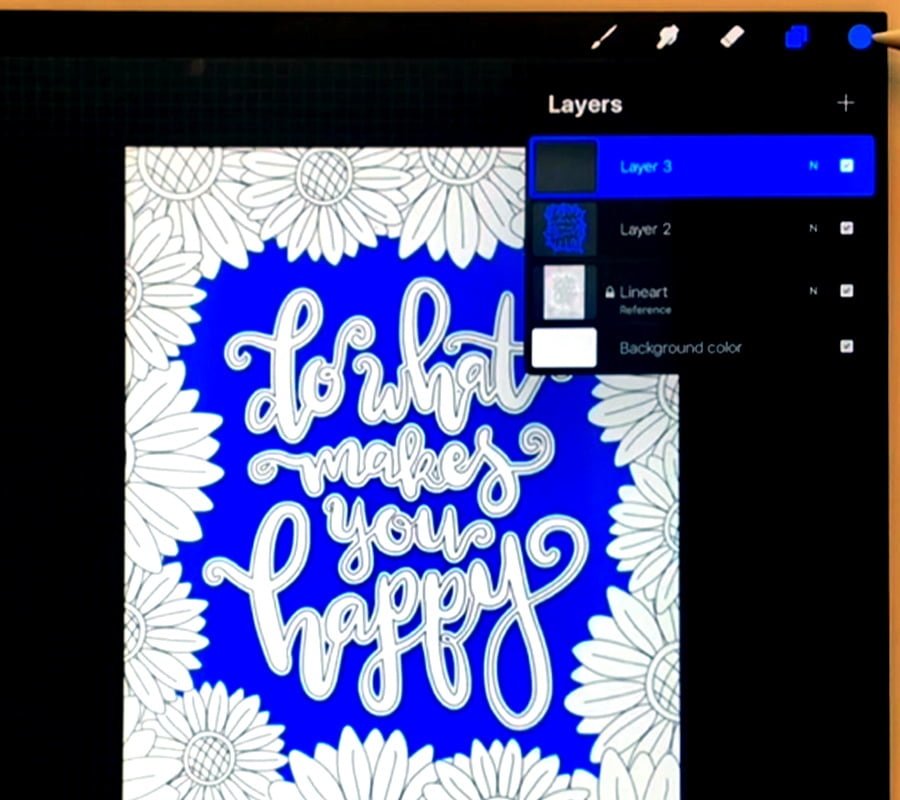
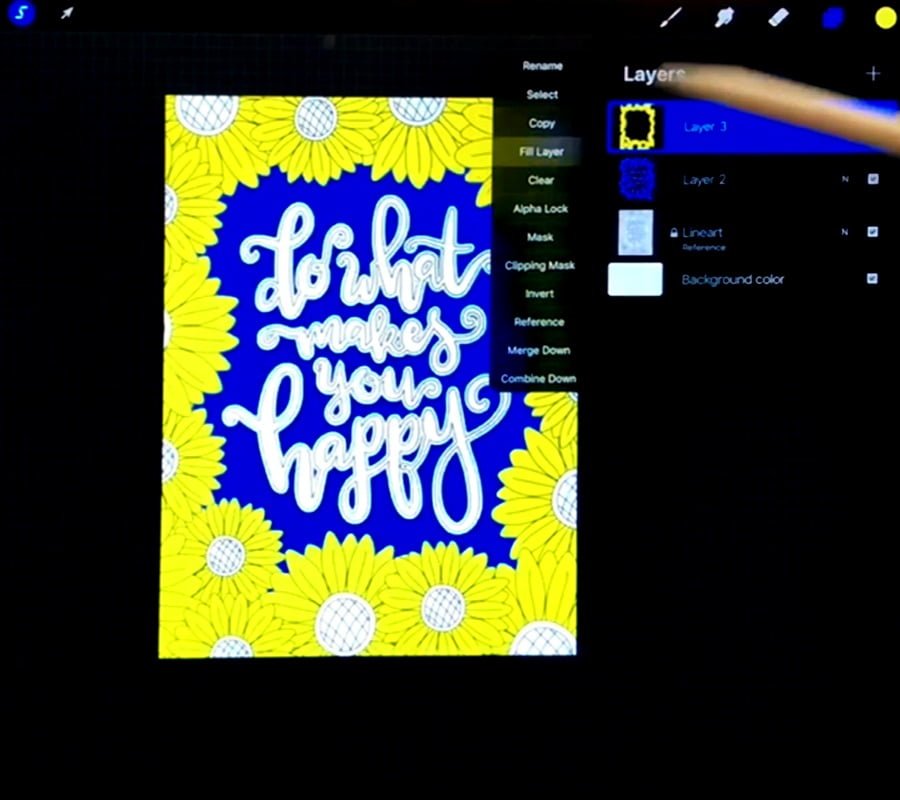
Tap on the ‘Layer’ icon (picture of two boxes on the top right of the screen) and you will see two layers – One being the blank background and ‘Layer 1’, which is the layer that cotains your image. You’ll want to make this your ‘Reference Layer’, which you can do by tapping on ‘Layer 1’ and then the ‘Reference’ button.
In this layer section, you can also rename the layer (I have named mine “Lineart”) and lock it so that changes cannot be made to this layer.
Next, you’ll need to tap the ‘+’ button (located next to the word ‘Layers’) to create a new layer.
Step #4
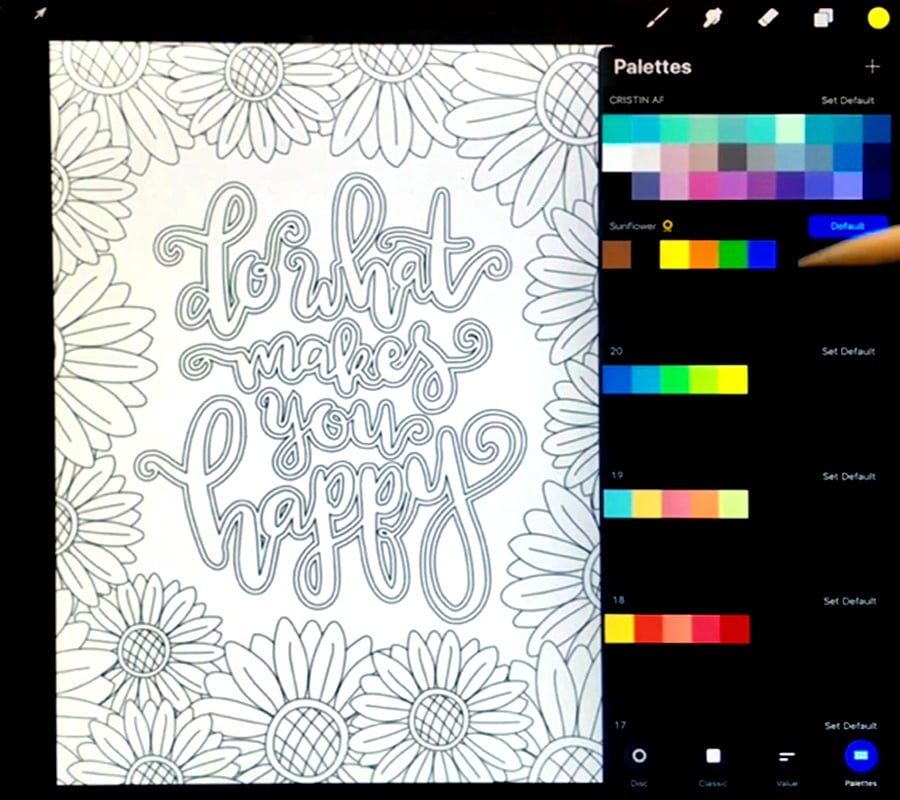
The next step is to choose your colors! Click on the yellow circle icon next to the layer one to open up the color selection tab. At the bottom of the tab, you will see options between selecting palettes, color wheels, values and more.
Step #5
If you are wanting to use palettes (my preferred option), I recommend you watch my video on finding and creating color palettes in Procreate.
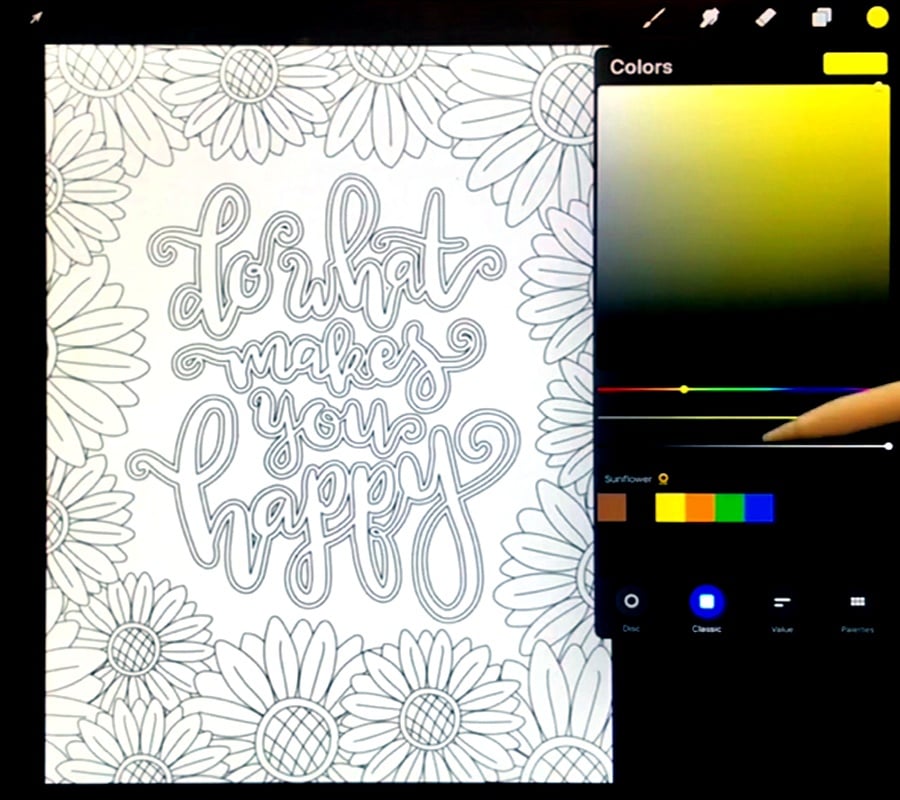
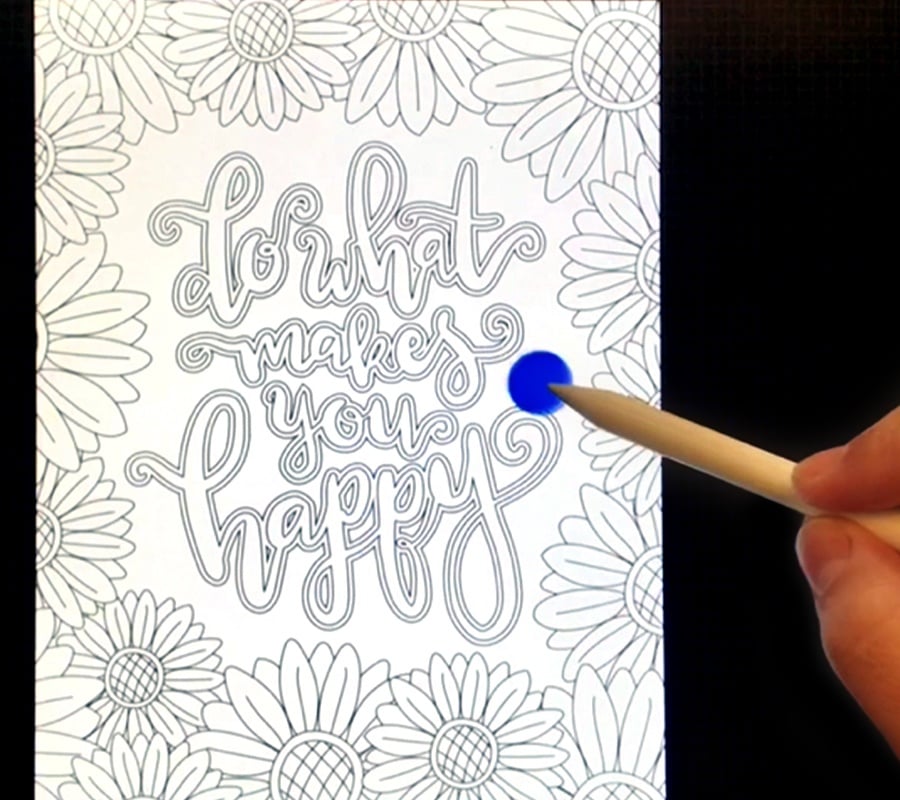
If you select the classic picker option, you can choose a color and drag the color onto the image to where you want the color to be. When you let go, it will fill the area with that color.
Note: This only works if there are no open breaks in the line art.

Step #6
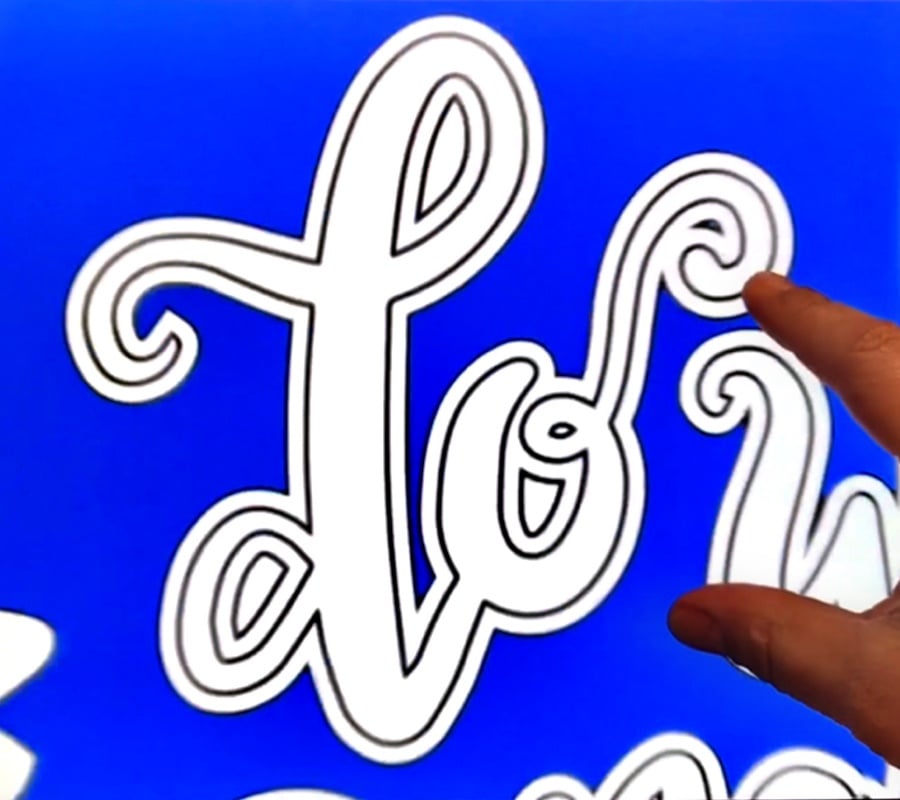
You can zoom in or move your canvas around by pinching the screen and rotating, which is handy if you are trying to color something more detailed.
Step #7
I recommend working by colors and creating a new layer for each color you use. This makes it easier down the road if you want to make changes or manipulate the layer in any way.
Create a new layer by tapping the ‘+’ button (located next to the word ‘Layers’).
Step #8
Repeat the process of dragging a color onto your page from step 4.
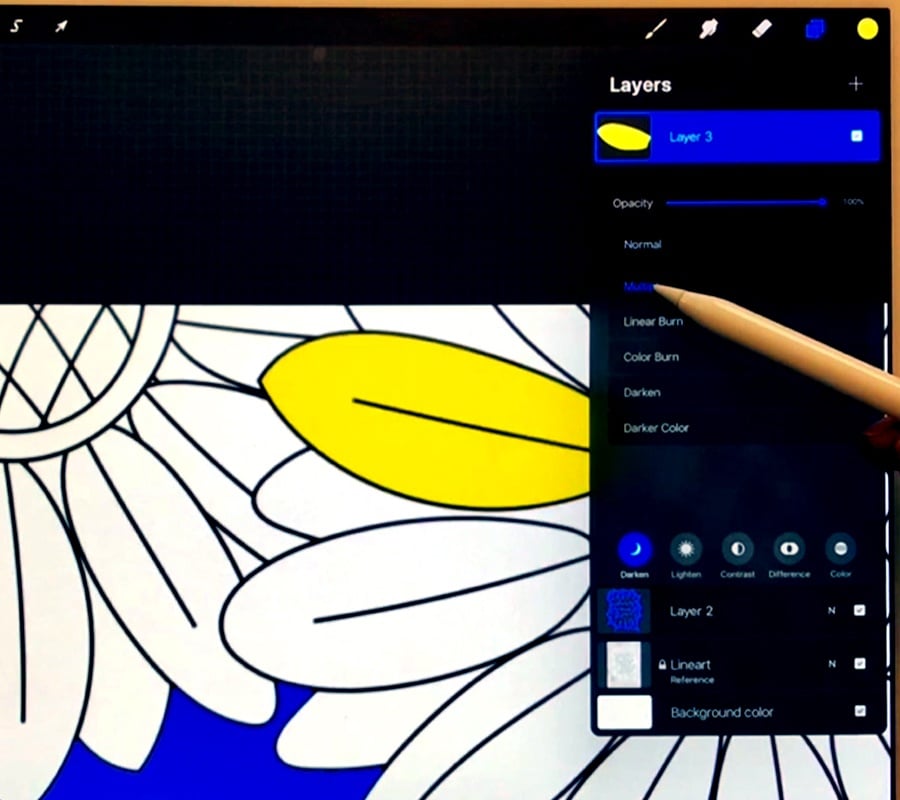
To make the color go behind the line art (so that you can keep the black lines), tap the ‘Layer’ button again, then tap the ‘N’ (to the right of the layer) for the blend modes, and select ‘Multiply’.
Step #9
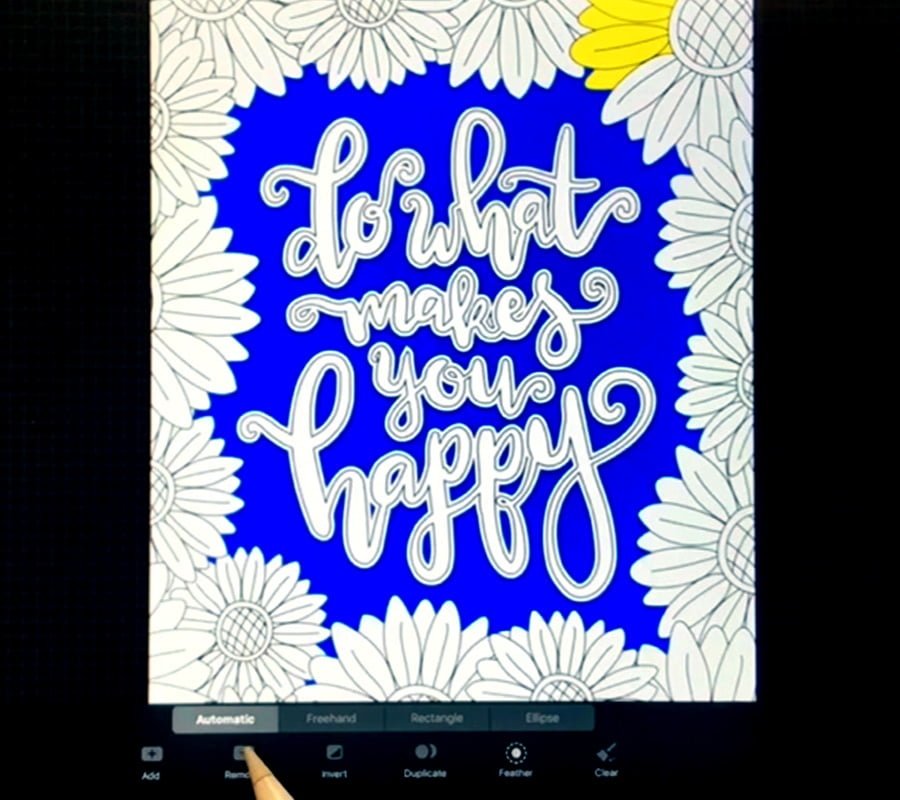
If you have multiple areas that are all going to be the same color, you can use the selection tool to select multiple areas to color at the same time. Tap the ‘Selection Tool’ button (located on the top left of the screen – it looks like an S) and ensure that the ‘Automatic’ button at the bottom of the screen is blue.
Step #10
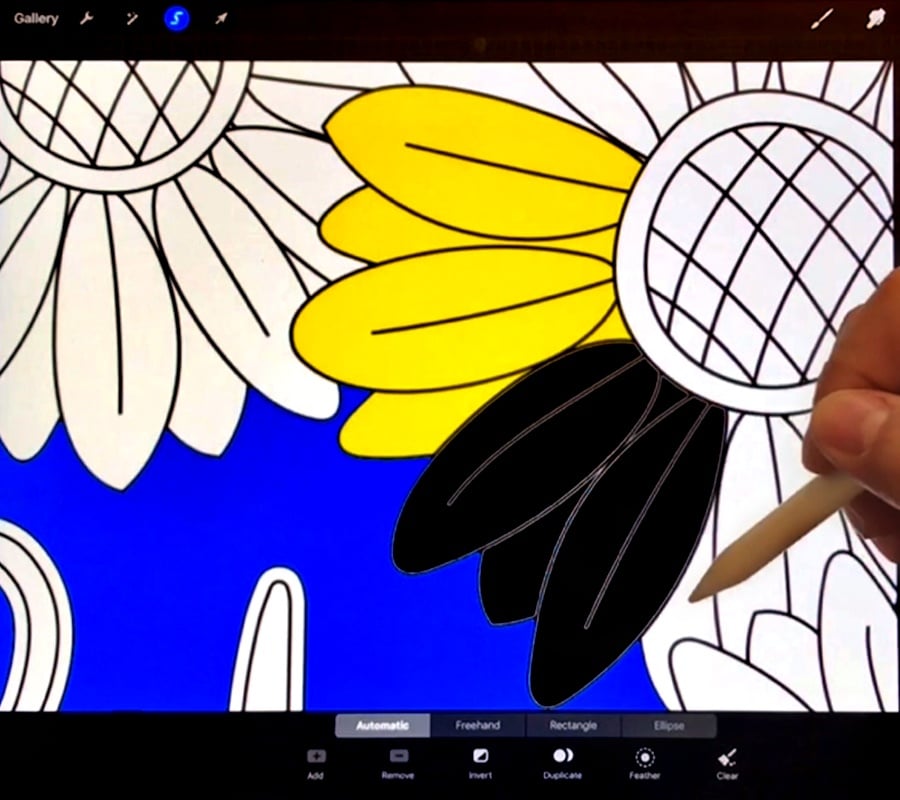
Tap each area of the screen you want to color (they will turn black as you tap them).
Step #11
When you’re finished selecting the areas, tap the ‘Layer’ button again, select your layer, and choose ‘Fill Layer’.
Note: If you make a mistake you can choose the ‘Undo’ button (the arrow of the left of the screen) or use a two-finger tap on the screen.

Step #12
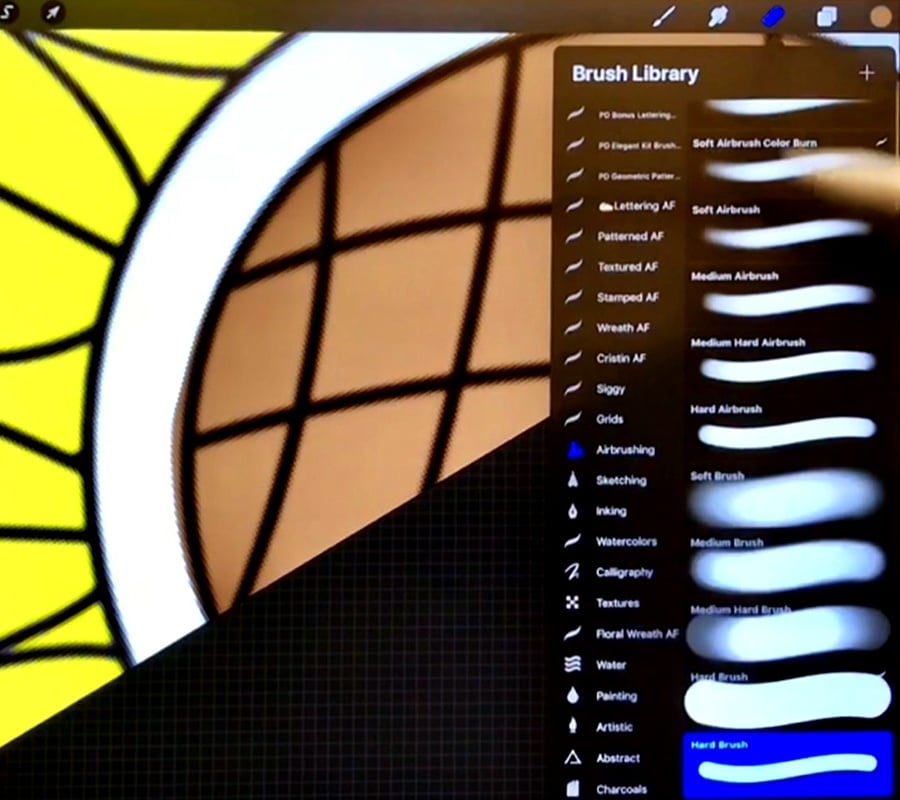
If you’d prefer to color by hand, follow the steps above until step 3, but instead of following step 4, select a brush by tapping the ‘Brush’ button, which is the first icon in the top right menu, then tap of the type of brush you wish to use.
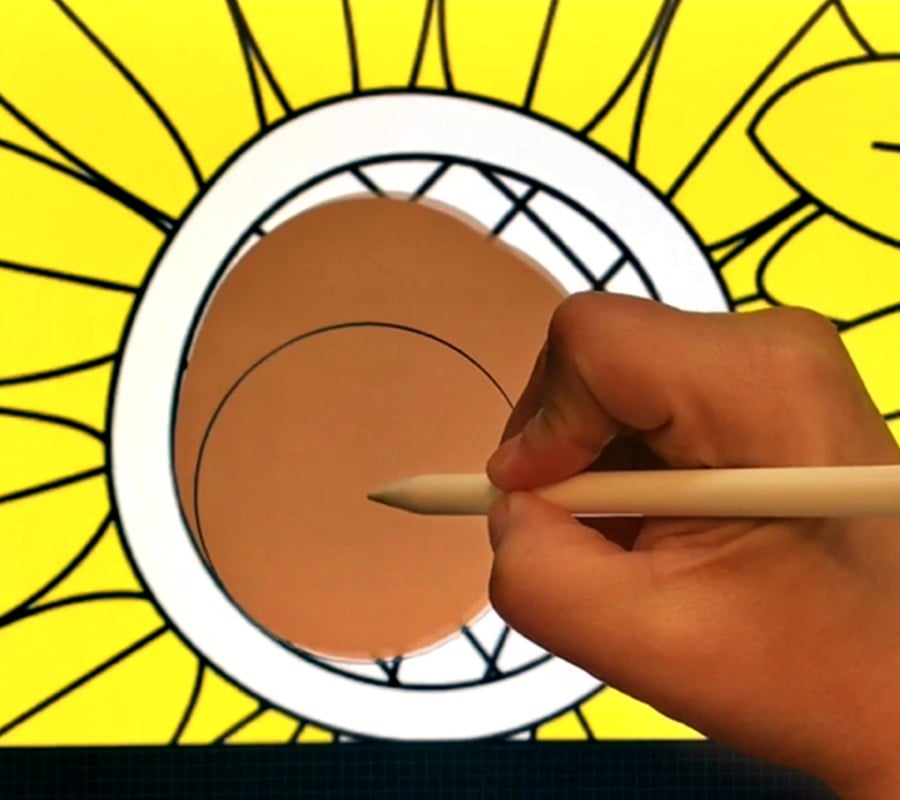
Step #13
Then color straight onto your canvas.
Remember to set the blend mode on the layer to ‘Multiply’ (you can do this by tapping the ‘Layer’ button again, then tap the ‘N’ (to the right of the layer) for the blend modes, and select ‘Multiply’).
Step #14
You can also erase any mistakes by selecting the ‘Eraser’ button in the top right menu.
The eraser can be any shape of any of the brushes that are installed in Procreate, just remember to have the correct layer selected before erasing.
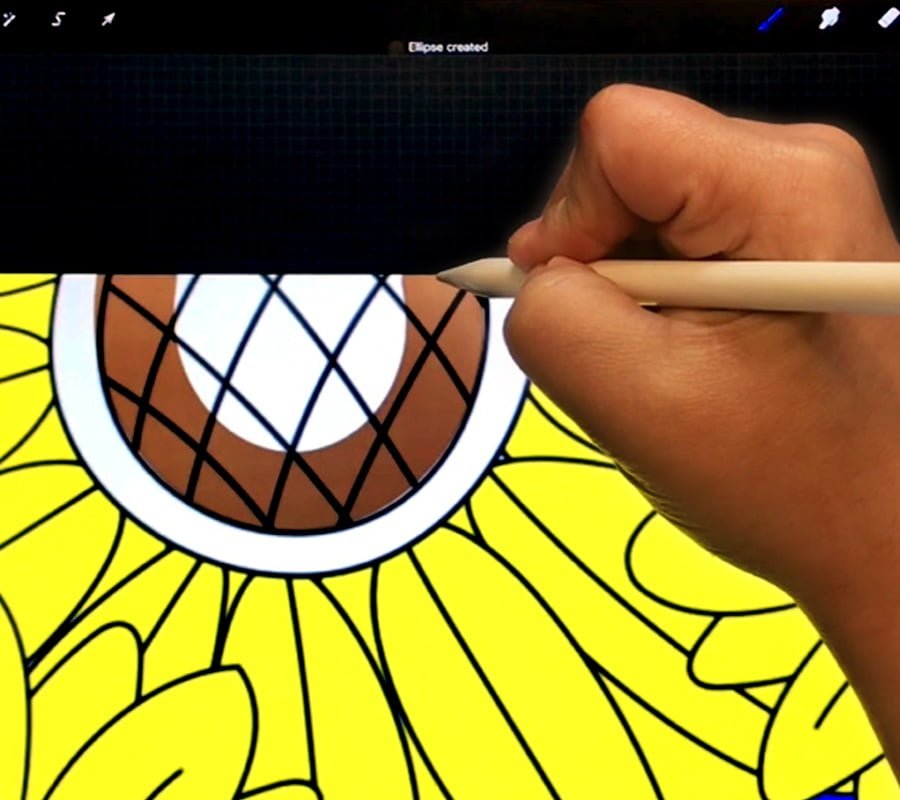
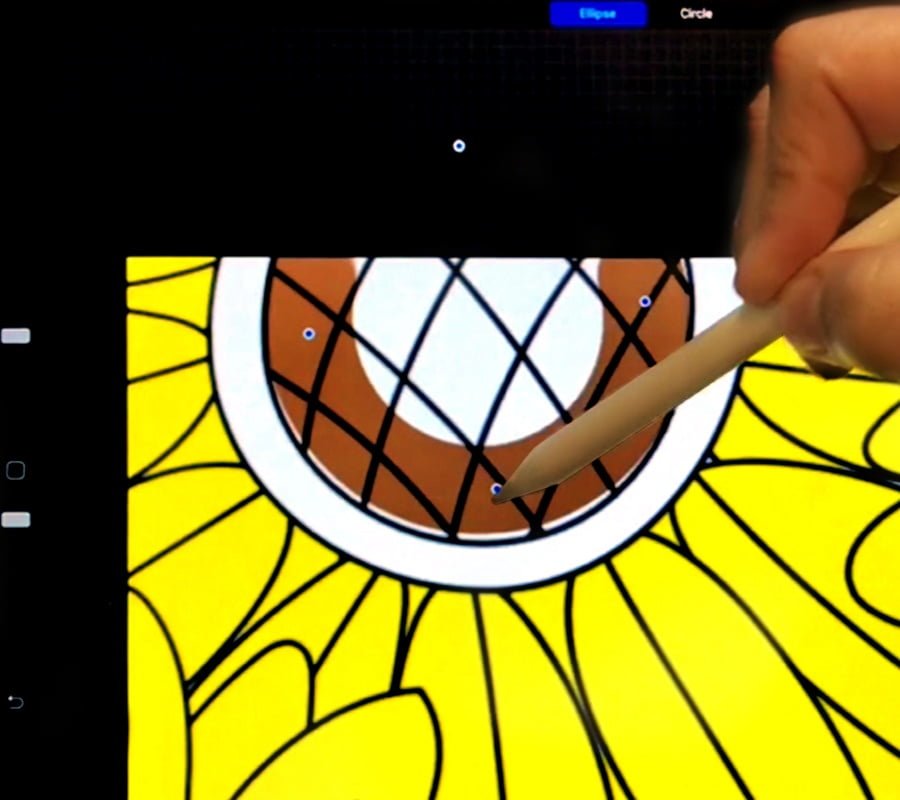
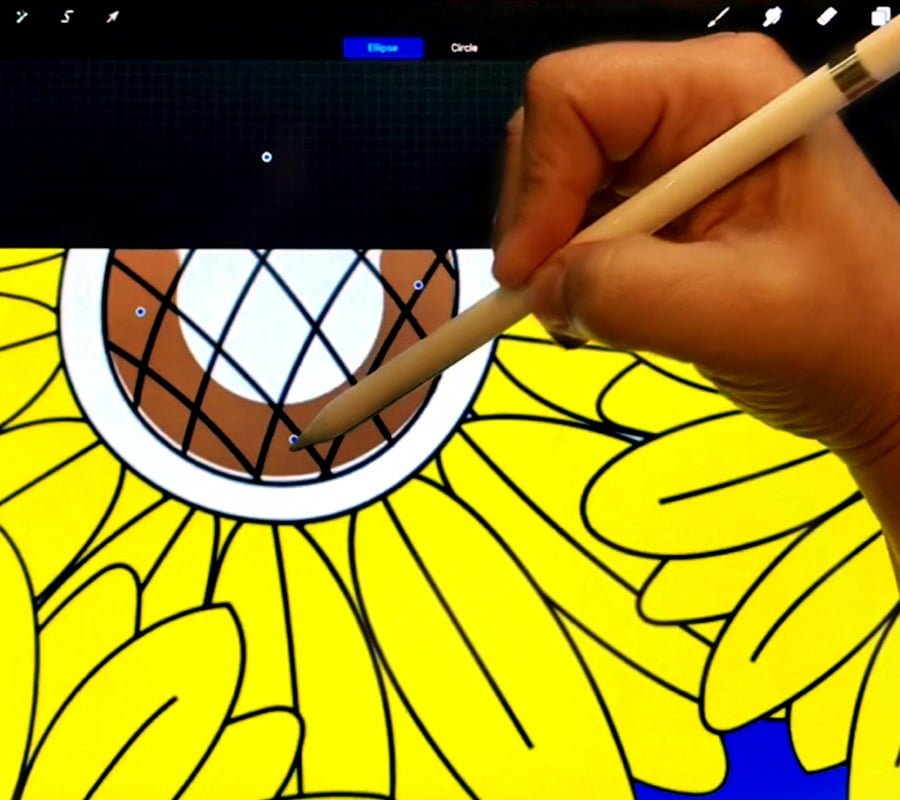
Procreate Hack: If you draw a line or a shape and don’t lift your pencil, it will snap into a quickline or a quickshape (ellipse, circle, rectangle, square, etc.). You can then tap the top menu that says ‘Edit Shape’ and the blue nodes appear so you can transform the shape and edit it how you like.
When you’re finished just tap anywhere on the canvas.
Video Tutorial
The above steps are an overview of the basics covered in the video below. Be sure to watch the video to get ALLLL of the tips and techniques used.
About the Author

Cristin is an artist that resides in upstate New York with two rescue dogs, a rescue husband, and a teenage daughter. She lives on coffee, wine, and sarcasm and when she’s not doodling, you can find her doing something creative and being sassy because Cristin loves to combine the two.
If you enjoyed using Procreate, Cristin’s Sketchy AF brush is available in the Ultimate Procreate Lettering Bundle here.
Visit Cristin’s website: cristinaprilfrey.com
Or follow Cristin: Youtube | Facebook | Instagram | Pinterest | Patreon
[thrive_2step id=’54762′] [/thrive_2step]

This tutorial on digital coloring in Procreate is fantastic! I love the step-by-step approach, and the tips for blending colors are incredibly helpful. I’ve always enjoyed traditional coloring, but this makes me excited to try it digitally. Can’t wait to experiment with the techniques you shared!
I absolutely loved this tutorial! The step-by-step guide made it so easy to follow along, and I really enjoyed experimenting with different brushes and colors in Procreate. The tips on shading were especially helpful. Can’t wait to try more of your techniques! Thank you for sharing!
I absolutely loved this tutorial! The step-by-step instructions made it so easy to follow, and I can’t wait to try out the different brushes you recommended. Thank you for sharing your expertise—I never knew digital coloring could be so relaxing!
I absolutely loved this tutorial! The step-by-step instructions made it so easy to follow, even for a beginner like me. The tips on layering and blending colors were particularly helpful. Can’t wait to try out the techniques on my own designs. Thank you for sharing!
I loved this tutorial! The step-by-step guidance made it so easy to follow along, and the tips on blending colors were especially helpful. I can’t wait to try out my own designs in Procreate!
This tutorial is fantastic! I’ve always been intimidated by digital coloring, but your step-by-step guide made it so easy to follow. I can’t wait to try out the blending techniques you mentioned. Thank you for sharing your tips!
Do you know of a way to create the same color fill approach for a digital coloring book on Illustrator? What about when someone downloads your images- Would they need Procreate or illustrator to color digitally?