I’ve always been super impressed at people who can draw galaxies or starry nights with paints or pencils. So when I saw that Cristin April Frey had released a video tutorial on how to create a galaxy background with colored pencils, I contacted her straight away to let me share her amazing coloring page tutorial with you!
If you missed Cristin’s last guest post, she showed us how to use Crayola markers to create a watercolor effect – and it was much easier than I expected, with great results. You can also check out her other resources or sign up to her Patreon account at www.cristinapril.com
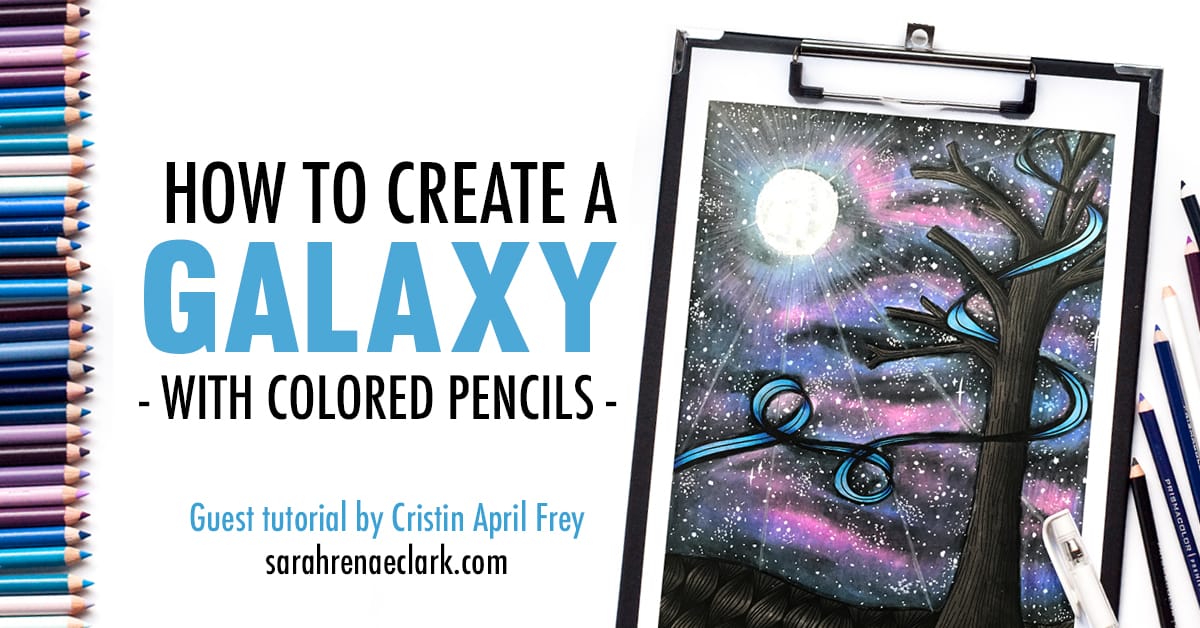
Here’s a look at the final galaxy or starry night effect using colored pencils:
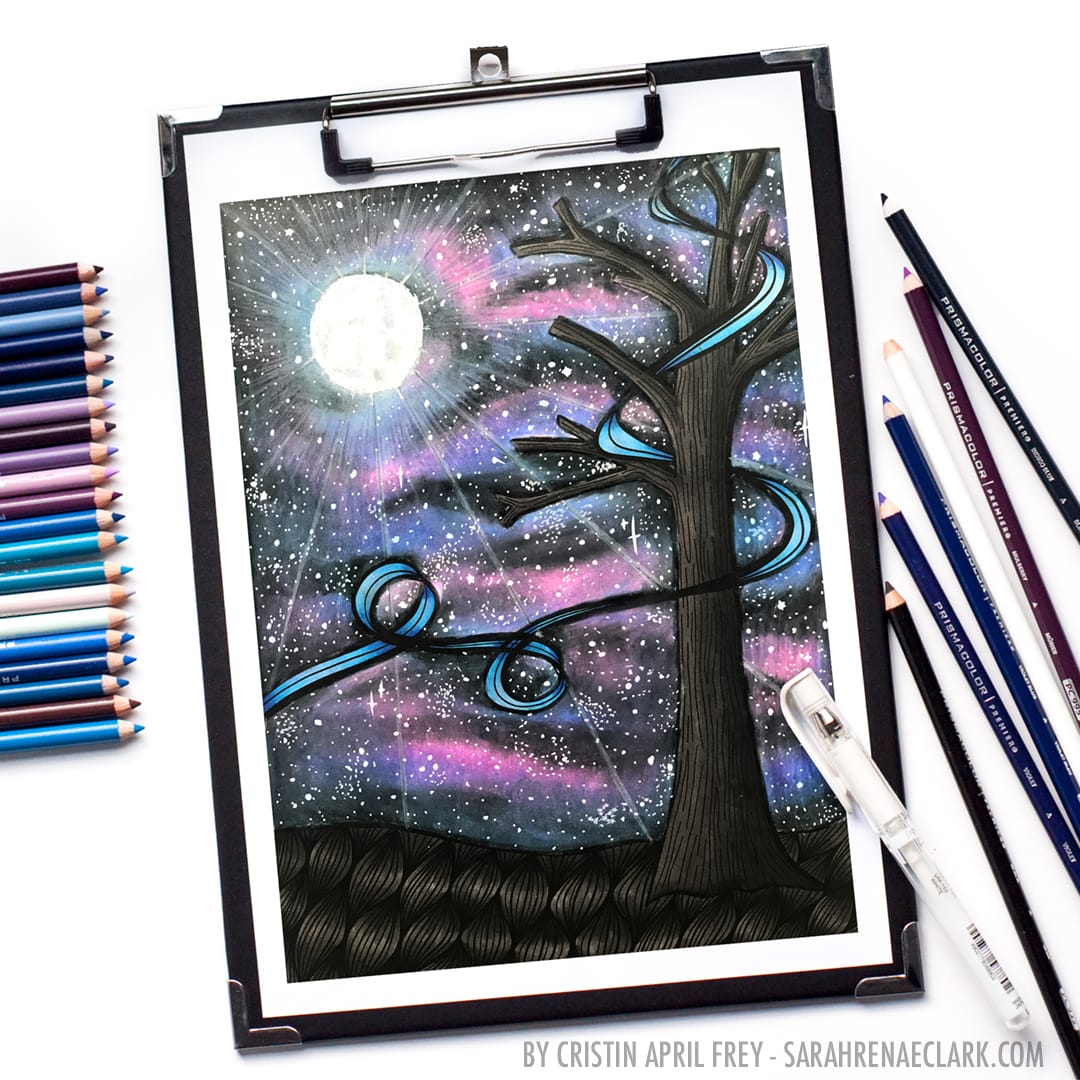
Let’s jump right into the video! I’ve included a list of the supplies Cristin is using below.
You can download the free coloring page used in this video at this link.
Note: This post contains affiliate links to products and I may earn a commission if you click them and make a purchase (at no cost to you).
To follow along with the video, you’ll need the following supplies (or something similar):
- The Free Coloring Page from Cristin’s website
- Prismacolor Pencils – PC995, PC932, PC933, PC901, PC935 and PC938
- Uniball Signo white gel pen
- Odorless Mineral Spirits
- Blending stump
- Standard printer paper
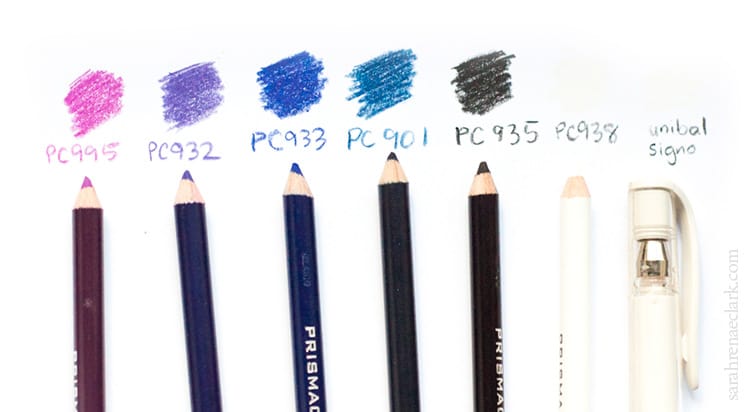
How to Create a Galaxy Background with Colored Pencils
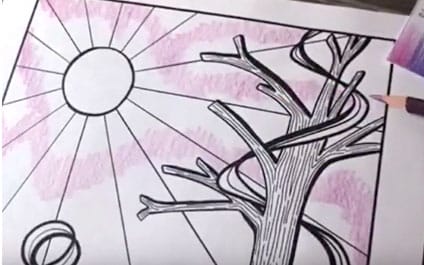
Step 1: Lay down your colors. Start with the light color (Mulberry PC995)
Using the side of your pencil to color lightly, create a random design of curly lines.

Step 2: Move on to the next lightest color (Violet PC932)
Continuing with the same light pressure, color around the edges of your previous color, overlapping the colors slightly. Repeat the process again with the next color (Violet Blue PC933)

Step 3: Use the darkest color (Indigo Blue PC901) to fill in any remaining gaps, continuing with the light pressure and overlapping the previous color slightly.

Step 4: Using the black pencil (Black PC935), start shading lightly around the edges of the page and behind the tree and other objects in the foreground.

Step 5: Now it’s time to start layering and blending our colors!
Start working backwards using your darkest color first (PC901) and use a light pressure to blend the darkest color into the color beside it.

Step 6: Move to the next lightest color (PC 933) and do the same thing. Then repeat with the rest of the lighter colors (go from darkest to lightest).

Step 7: Take your white pencil, and use a firm pressure to blend the colors together. You can also achieve this with a colorless blender pencil. Start in the lighter areas and move your way into the darker areas. Use a cloth to wipe of excess color from the white pencil as you go.

Step 8: With your black pencil, add some curvy lines over the current artwork.

Step 9: Use a blending stump dipped in odourless mineral spirits (or Gamsol) and color it directly over your pencil work to blend the colors together and hide the lines. You can also try this with baby oil or Vaseline.

Final step: Time for some highlights! Use a white pencil to create highlights such as slight glow effects around the moon or in the lines of light coming from the moon. Use a white gel pen to create stars in the sky – randomly draw a range of big dots, little dots, star bursts and smudged dots to create a realistic starry night or galaxy effect.
And you’re done!
For further tips on using a white gel pen, check out my tutorial on how to add white highlights to your coloring pages.
Save this tutorial to Pinterest for later
If you enjoyed this tutorial, please share with your friends using the social links below!
You might also like to try this effect on some of my free coloring pages:
About the Artist

Cristin is an artist that resides in upstate New York with two rescue dogs, a rescue husband, and a teenage daughter. She lives on coffee, wine, and sarcasm and when she’s not doodling, you can find her doing something creative and being sassy because Cristin loves to combine the two.
Visit Cristin’s website: cristinapril.com
Or follow Cristin: Youtube | Facebook | Instagram | Pinterest | Patreon






The end result looks brilliant
Hi I love the art work! I really want to learn more about the art form of art. Can you please email me and teach me the way of art form of art! Sorry for English I no learn English but art so good!
Hello! Thanks for the comment. I’ve got more tutorials on this website under “Learn to color” that can help you get started. I don’t do private teaching via email :)
I was trying to down load the picture for this page so that I can do the tutorial, but when I clicked on the link it says “page 404 not found”. Please helpm, I really want to learn this.
Thanks for the note! The link has been updated now. Here’s where you can get the free page: https://payhip.com/b/2VIh/af5b205fd053719
I sat down to follow your tutorial on creating a galaxy with coloured pencils but when I go to print the picture it only prints on about a quarter of the page, as I am using an iPad I have no way of resizing the picture, is there any way you can send/post the picture as a full size image,p.
It’s probably best to print from a computer, not from an iPad – I’m not sure how an iPad prints, sorry!
Otherwise you can send Cristin a direct email (her links are at the bottom of the article) and she may be able to get the page to you another way.
You can turn the orientation of the iPad screen of the opposite, so it try’s to fit the picture, then take a screenshot. (Make sure the GUI of photos isn’t in the way.) Only works if you save the photo.