
I often get questions from my readers about the best paper, pencil sharpener or other tools to use with colored pencils. So I’ve asked Carrie L. Lewis, colored pencil expert, to show us her top ten tools for getting started with colored pencils. Take it away, Carrie!
Note: This article includes product affiliate links, where I may earn a commission if you choose to click through and make a purchase, at no cost to you.
Getting Started with Colored Pencils: 10 Essential Tools
by Carrie L. Lewis
You’ve seen all the great colored pencil art being made and have decided to make some of your own. But maybe you’ve never used colored pencils before (or haven’t used them since you were a kid) and you have no idea what you need to get started.
I’m the first to admit that things are lot different now than they were when I got started with colored pencils. Back then (before YouTube) the choices were pretty simple. If you lived in the US, Prismacolor was the pencil to get. They were inexpensive and they were available almost everywhere.
Today, Prismacolor pencils are just one option among dozens!
And that doesn’t begin to address the issue of paper, and all the other possibilities for tools, equipment, and options! It’s mind-boggling!
So before you head to the store or launch a browser, let me share a few ideas.
10 Things You Need to Get Started Right
Let’s keep this simple with a list of the top ten things you need to get started making colored pencil art. These ten items are arranged in order of necessity, beginning with absolutely necessary items.
1. Paper
Paper is confusing enough on its own, so here are some ideas to get you started.
One 9×12 pad of paper, either white or toned. I recommend white. It’s easier to see what your pencils can do on white paper.
My two favorite papers for beginners are Stonehenge and Bristol vellum. Both come in 9×12 inch pads and both are easy to learn to use. Bristol vellum is very smooth paper. Stonehenge is also smooth, but not as “slick” feeling. They’re both usually available in most art supply or hobby stores.
If you can’t get Stonehenge or Bristol, get a good, basic drawing paper like Strathmore 400 series paper.
But the truth is there are plenty of good drawing papers available. Check with your local art supply store or with other artists in your part of the world to see what they recommend.
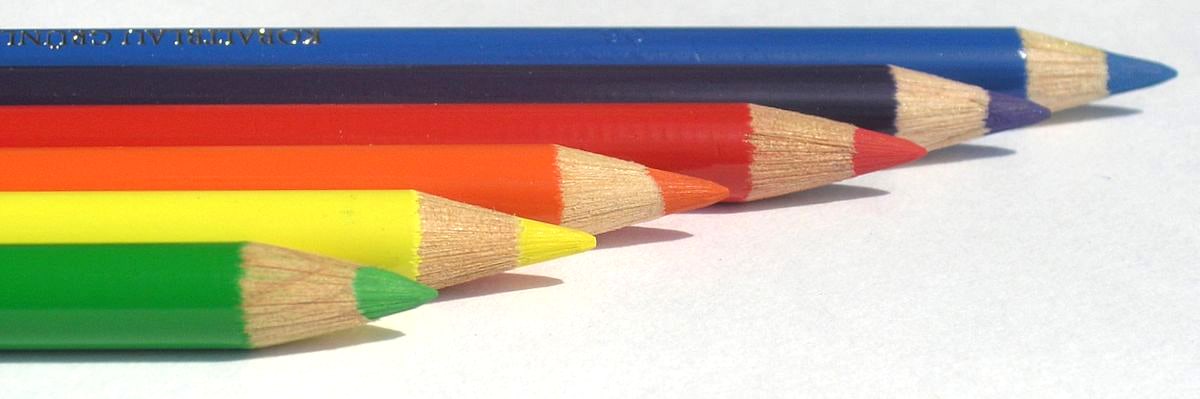
2. Pencils
I recommend a 24-pencil set of Prismacolor Premier Soft-Core pencils. This set has the basic colors (reds, blues, greens, yellows, black, and white) with enough variety to let you experiment, without burdening you with colors you may not use or unnecessary expense.
If you can’t easily get Prismacolor pencils where you live, look for the best pencils in your area. Go with at least a 24-color set, but buy the best you can afford.
3. Sharpener
A pencil sharpener is a must. A simple, hand-held sharpener is all you need to sharpen pencils. Prismacolor makes a very nice one for a few dollars, but you can also get them anywhere school supplies are sold.
A mechanical pencil sharpener gives you better sharpening with Prismacolor pencils, but I have also used hand-held sharpeners with good results.
The Kum sharpeners are a good value. The Kum wedge sharpener is made with two openings, one for standard-size pencils, and one for larger pencils. It’s high quality and inexpensive, though you will probably have to buy it online.
Or you can get a good, low-cost electric sharpener instead of a hand-held sharpener. They’re usually available starting at around $30.
4. Erasers
Erasers are often a tricky subject when it comes to doing colored pencils. Most erasers that work well with graphite only smear colored pencils. That’s because of the binders used in making colored pencils.
If you opt for an eraser, get a kneaded eraser or mounting putty. You can lift color with both without smearing. What’s more, you can shape both types for lifting small areas of color.
Another good eraser is the Tombow Mono eraser. Many artists swear by these handy little tools. If you only get one eraser, this is a good one to buy.
5. Drawing Board
Even if you work at a desk or on an easel, you’ll want a rigid support to attach your work-in-progress too. I like to use the empty pads of drawing paper because they usually have a thick cardboard backing that you can tape a drawing to while you work on it.
Leave the cover on the empty pad, and you also have a protective covering for when you’re not working on your art.
6. Colorless Blender
A few of the companies that make colored pencils also make a colorless blender or something similar. Basically, it’s a pencil without pigment and they’re great for blending without adding color. One is all you need to get started.

7. Glassine
Glassine is a very smooth paper that does not pick or smear color. It’s used for a variety of things, but what you’ll use it for is to lay on your drawing as you work. Lay the glassine on your drawing, and rest your hand on the glassine. This not only keeps skin oil from the drawing paper, it keeps the paper clean and keeps you from smearing color that’s already on the paper.
Can’t get glassine? A clean piece of drawing paper, tracing paper, or even printer paper can also be used as a hand rest. They may smear more easily than glassine, but they are better than no shield at all.
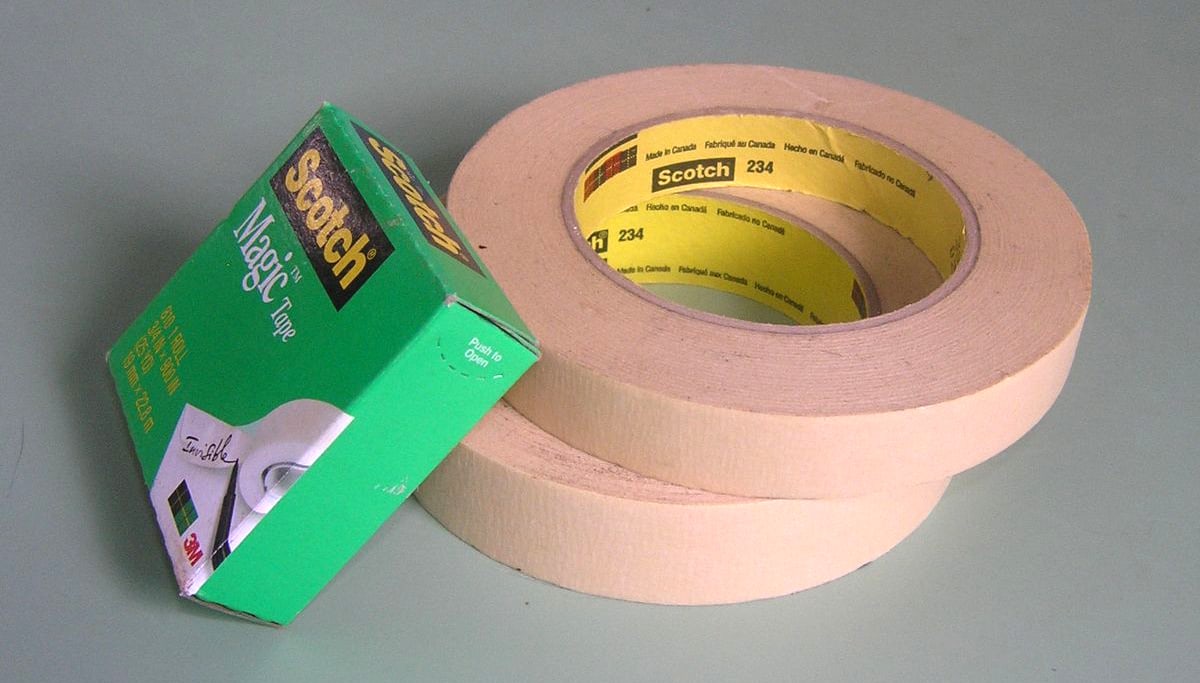
8. Tape
Good, artist’s quality masking tape is useful in a couple of ways. The most common use is in taping your drawing paper to your drawing board to hold it securely and keep it flat. But masking tape is also good for lifting color if you happen to get too much color on the paper.
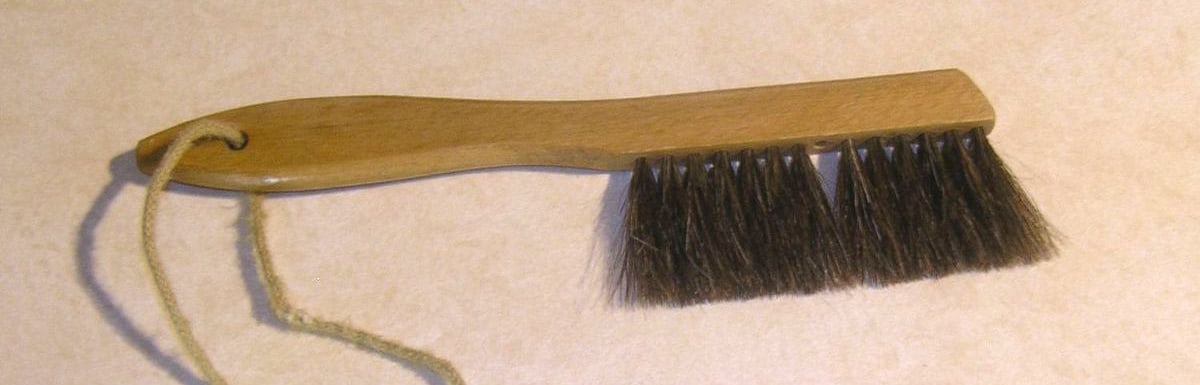
9. Brush
A large brush is handy for sweeping away eraser crumbs. You can use your hand, but doing so runs the risk of accidentally marking your drawing. You can also blow the crumbs away, but a brush is easier to use. Look for a large brush with soft bristles. Drafting brushes are ideal.
10. Someone to help you.
Don’t take this lightly. You can learn colored pencil the way I did, by trial-and-error.
But you’re getting started with colored pencils at a time in history when the internet is well-stocked with artists who are not only able, but willing to help you. You can watch videos on the internet, download tutorials to work on at home, do online courses, or attend in-person workshops. Make use of some of those opportunities to get started quickly and well.
One Additional Word of Advice
It’s advisable to buy the best tools you can afford. A few artist-quality pencils give you a better feel for the medium than a large set of student-grade pencils. The higher-quality pencils usually have less filler and a higher ratio of pigment to binder than less-expensive pencils. That makes them easier to use and learn with.
You can buy less-expensive pencils if you wish. That’s how I started. But I wasn’t aware of the differences and soon found that cheap wasn’t always less expensive.
I realize that not all of my readers are in the United States. If you are not and cannot get some of these supplies, substitute whatever is available where you live.
About the Author

Carrie L. Lewis has been painting and drawing since she was old enough to hold a crayon. In the late 1990s, Carrie began doing more colored pencil work, which is now her primary medium. Her focus has shifted from portrait work to teaching through her blog.
Website & Blog: https://www.carrie-lewis.com/
Follow Carrie: Facebook | Twitter | Pinterest
[thrive_2step id=’54762′] [/thrive_2step]


Leave A Comment