
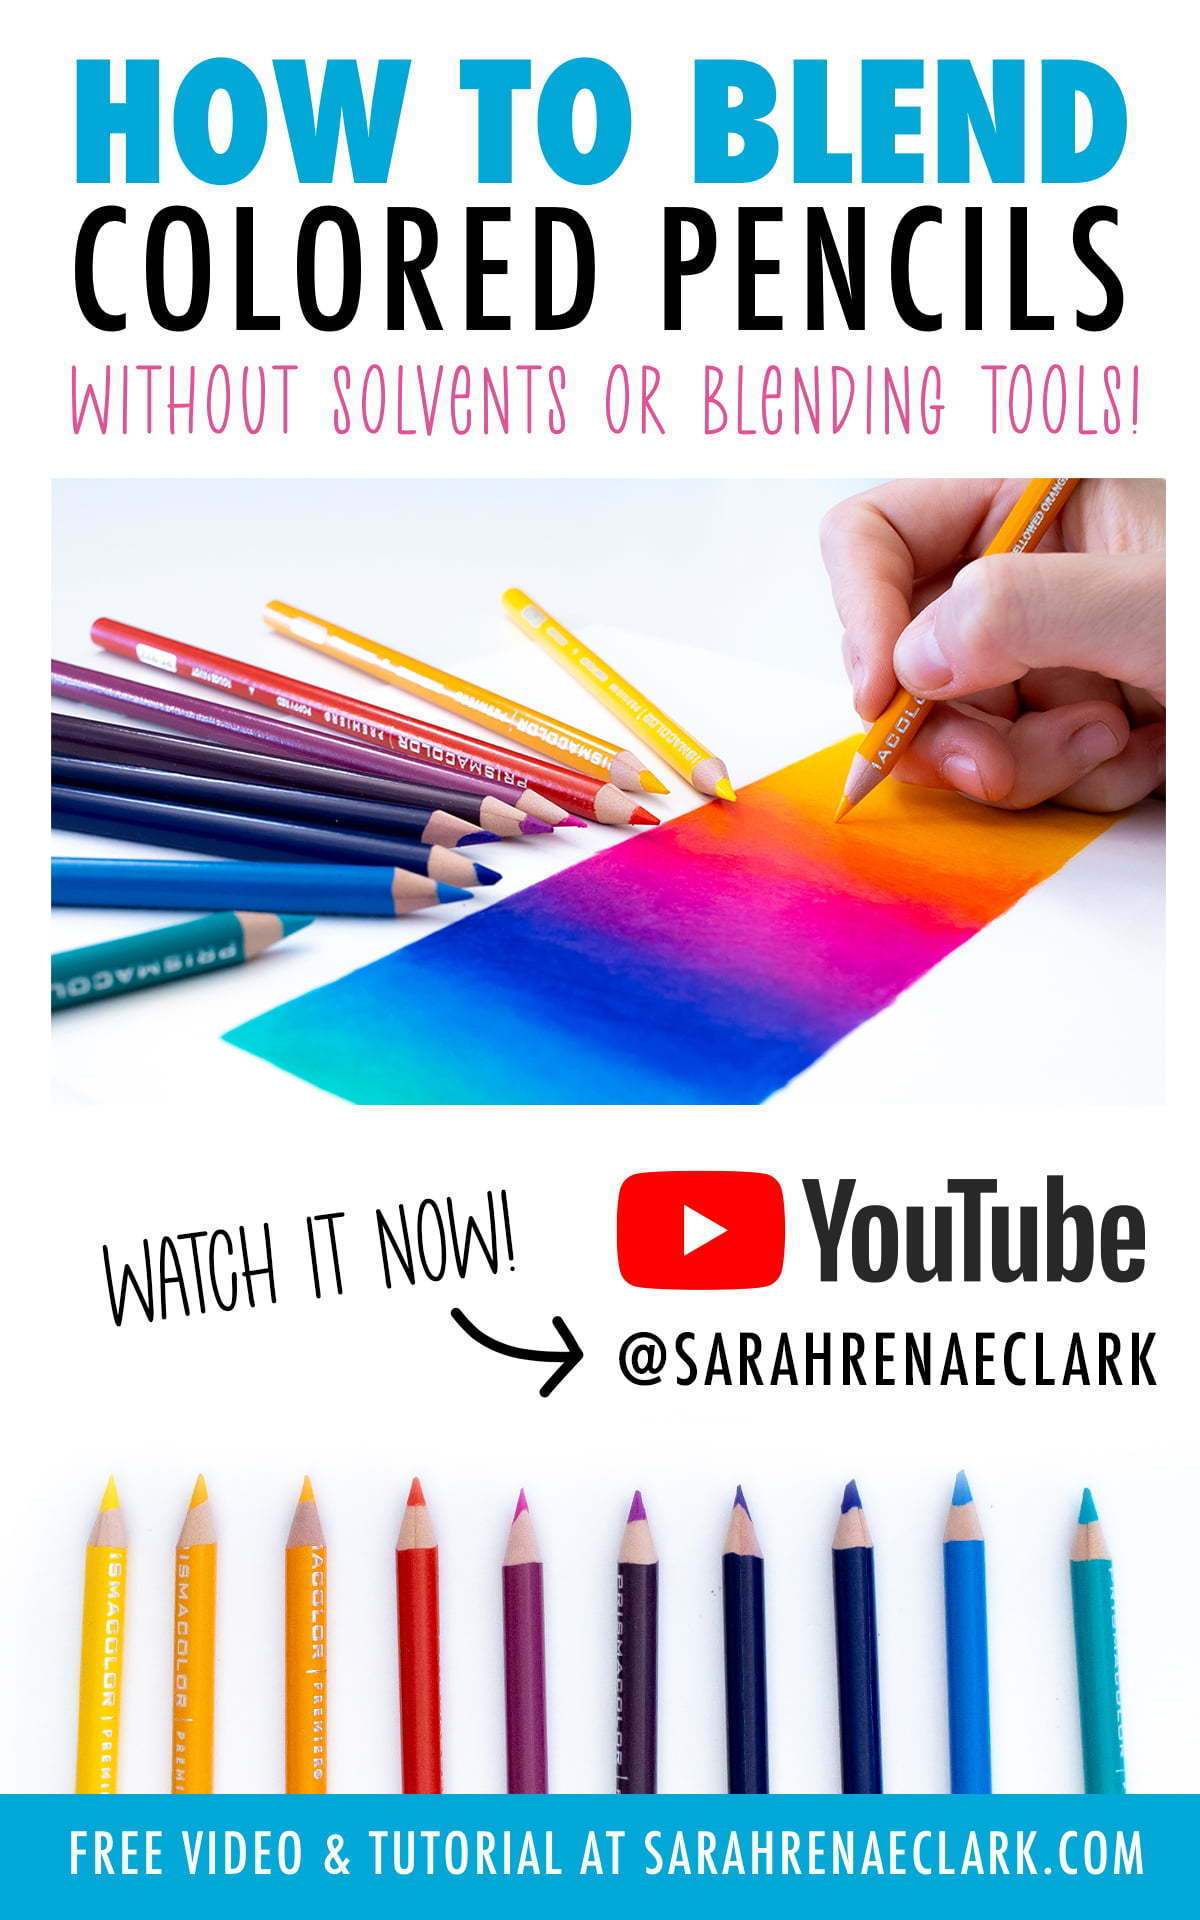
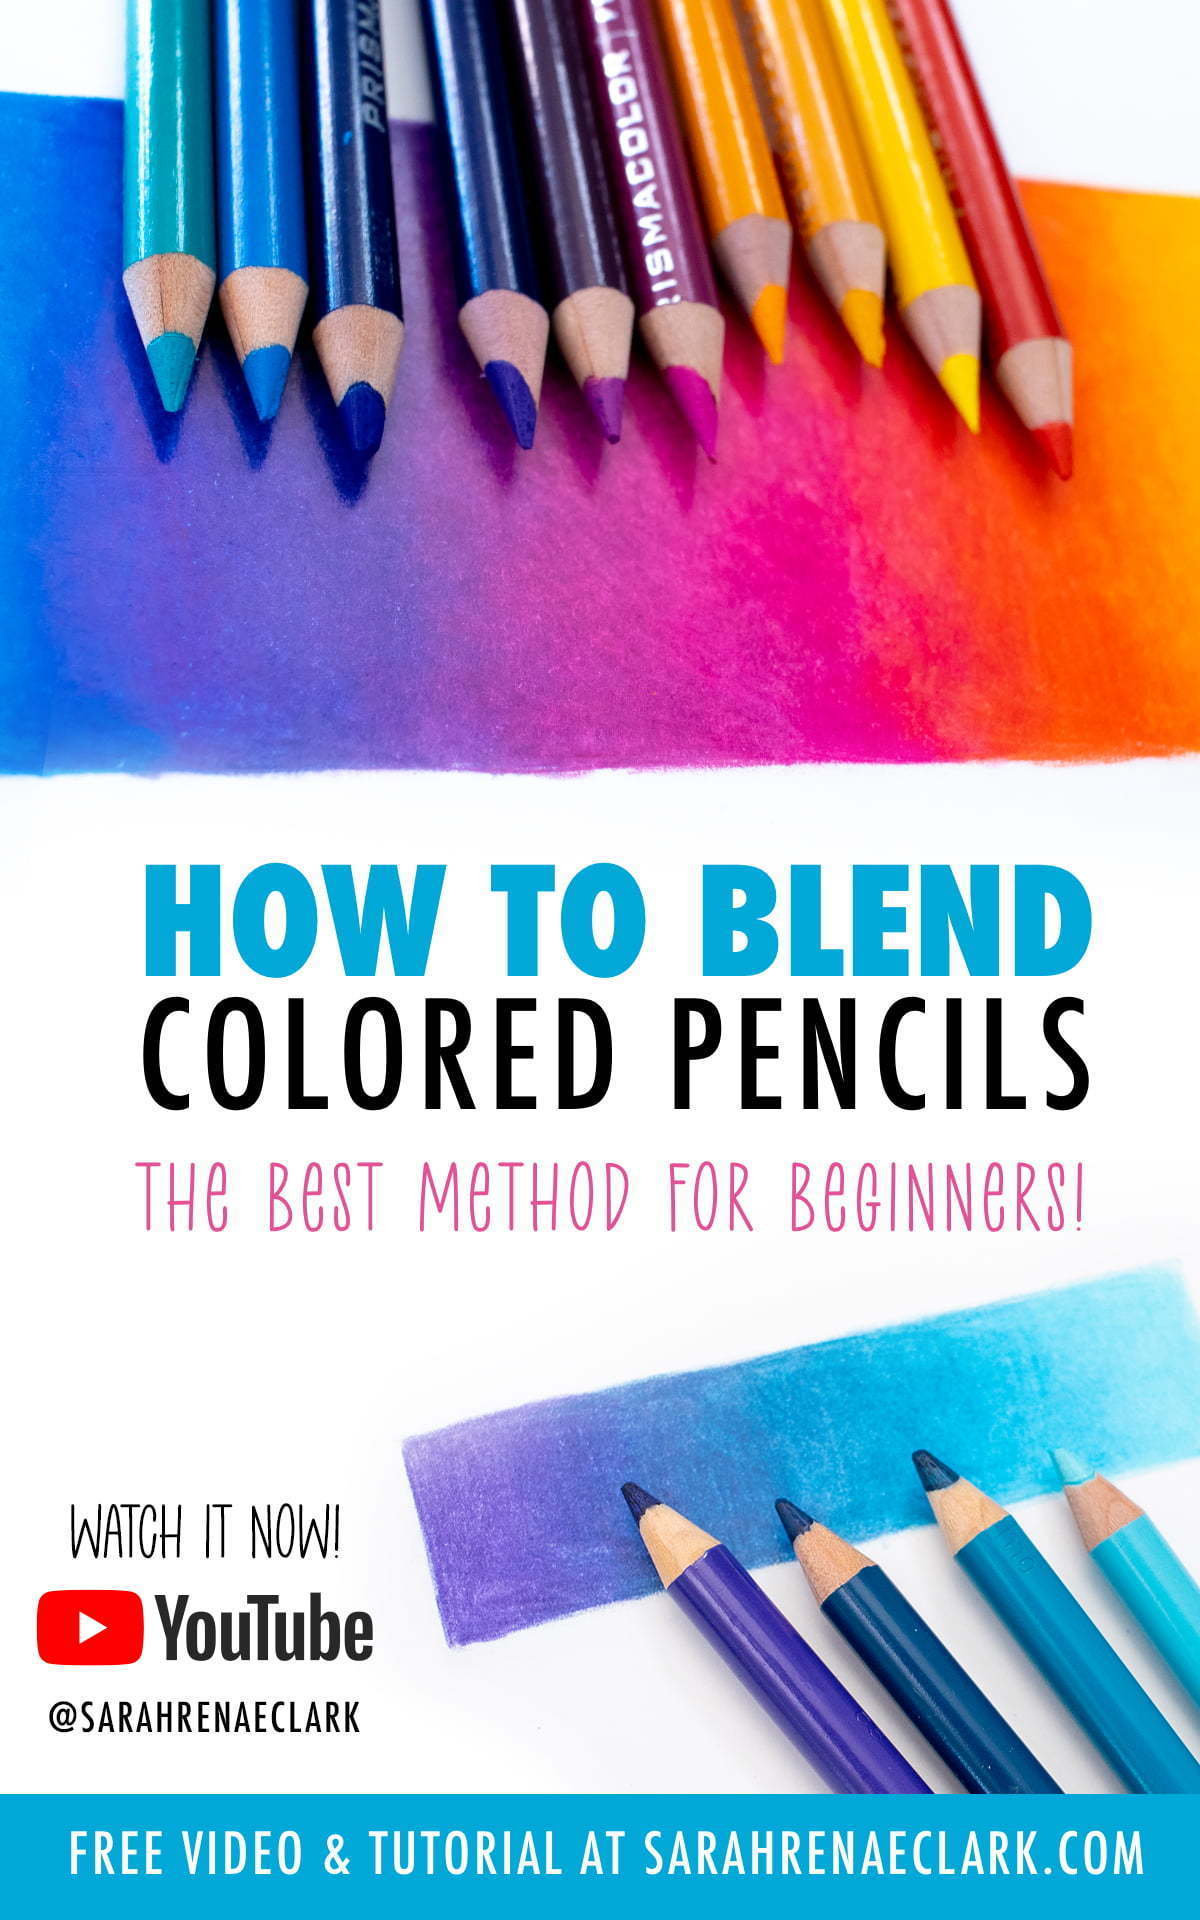
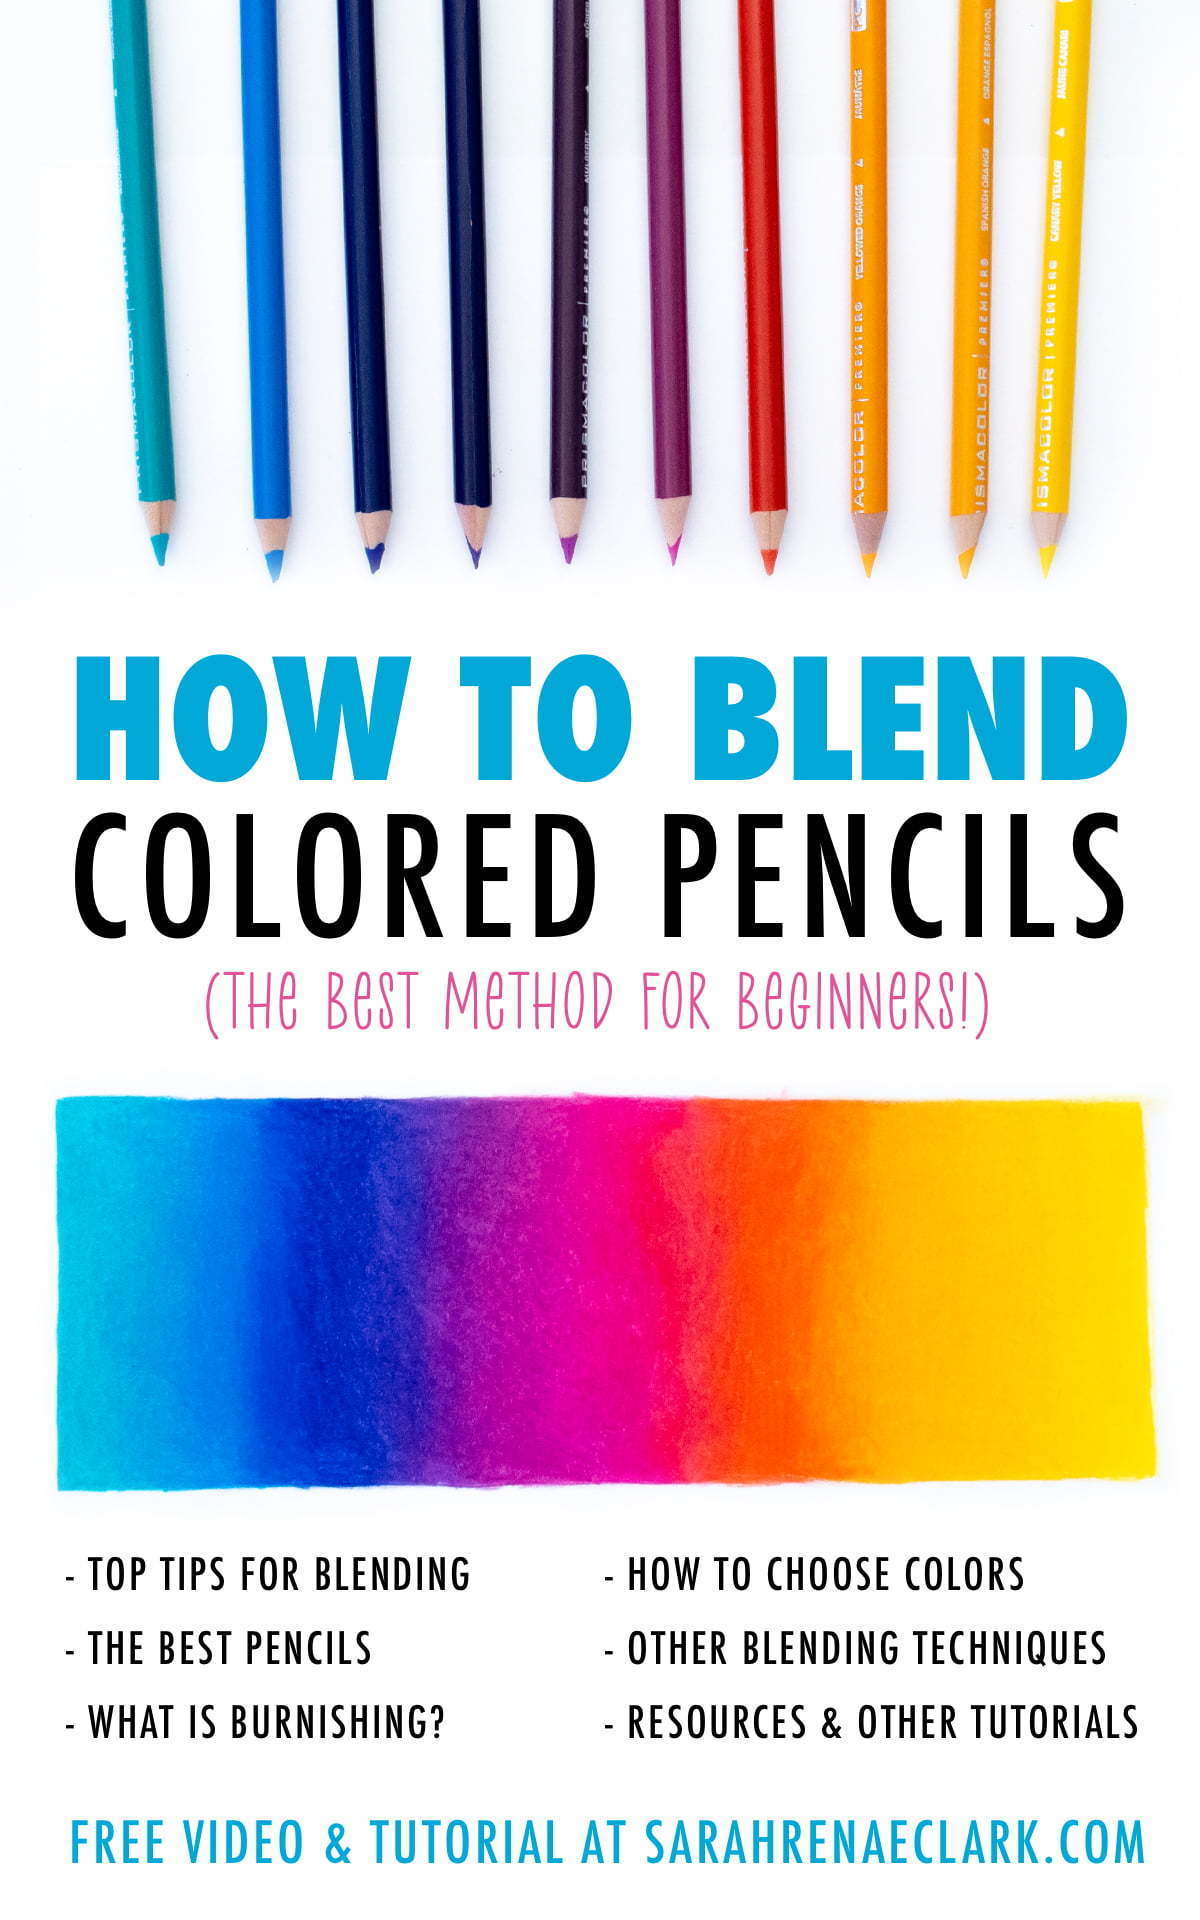
Blending colored pencils is a skill every artist should learn, and today I’m going to teach you the BEST blending method for beginners that I use almost every time I draw. You don’t need solvents, you don’t need extra tools – all you need is a set of pencils.
If you’ve just done a search for “how to blend colored pencils” then you’ve probably seen there are a LOT of different blending methods and a lot of different tools people use to help them blend pencils – so many that it can be overwhelming if you’re a beginner.
When I first started coloring, I did a similar search, and as a result I bought myself some baby oil, blending pencils, and a burnishing pencil… but I didn’t know how to use ANY OF THEM.
And honestly, I didn’t!
Instead, I ended up learning a very simple method, that I still use to this day in 90% of my drawings, and that’s the method I’m going to teach you today.
You don’t need solvents or fancy tools. All you need is a set of pencils.
This post contains Amazon affiliate links and I may earn a commission if you click them and make a purchase (at no cost to you).
Resources mentioned in this video:
- Prismacolor Premier Soft-Core Pencils (Wax-based Colored Pencils)
- Faber-Castell Polychromos Pencils (Oil-based Colored Pencils)
- The Color Catalog Companion
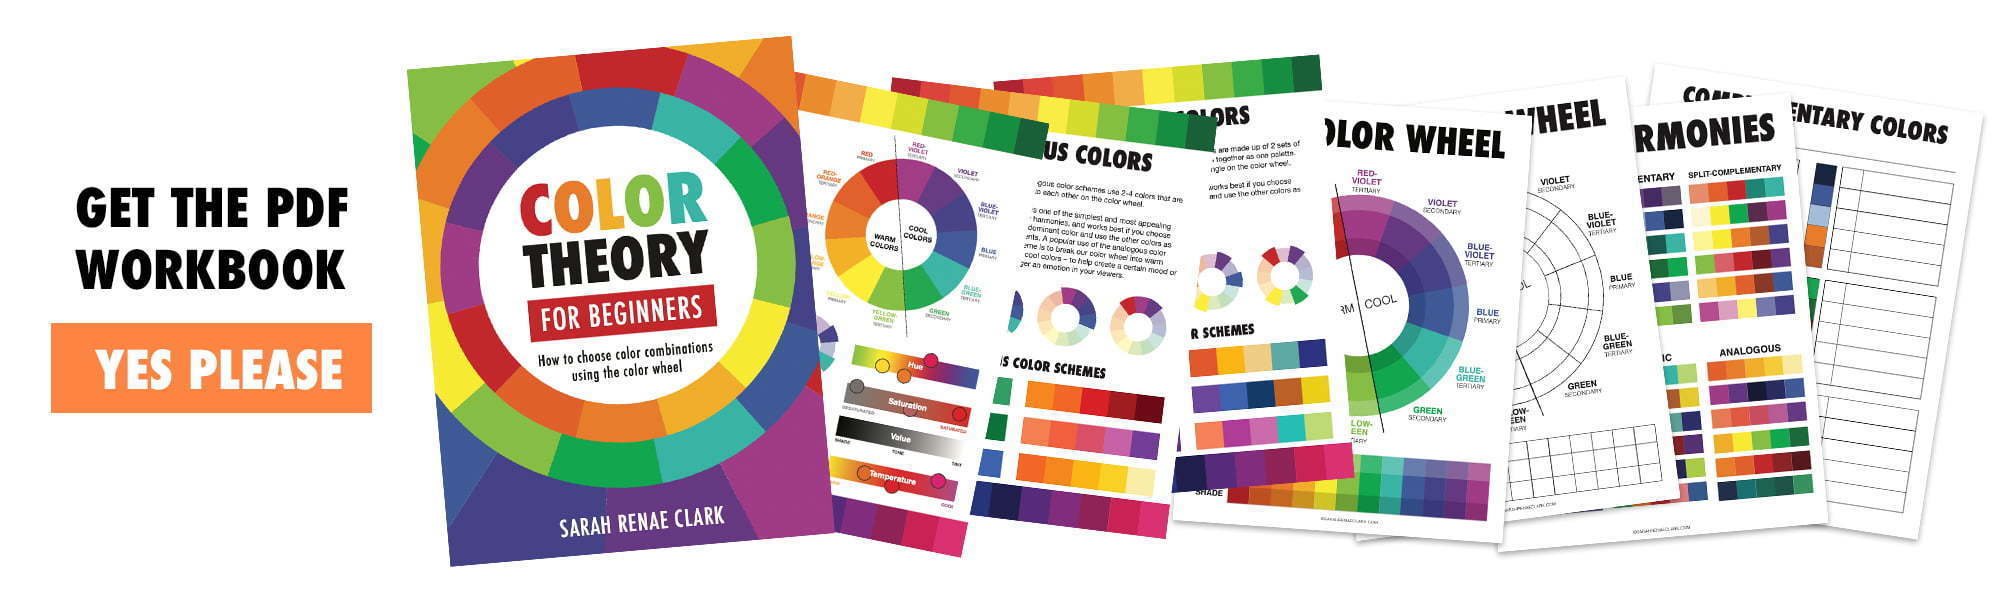
- Color Theory For Beginners (Color Wheel & Worksheets)
- Strathmore Bristol 300 Series Paper
About this method
This method is known by many artists as the LAYERING AND BURNISHING METHOD. It is the best method for beginners, and it is the FIRST method you should learn. In fact, you need to learn this method before learning ANY other method of blending, because this is the foundation for almost every other blending method, including using solvents, blending pencils, or other blending tools.
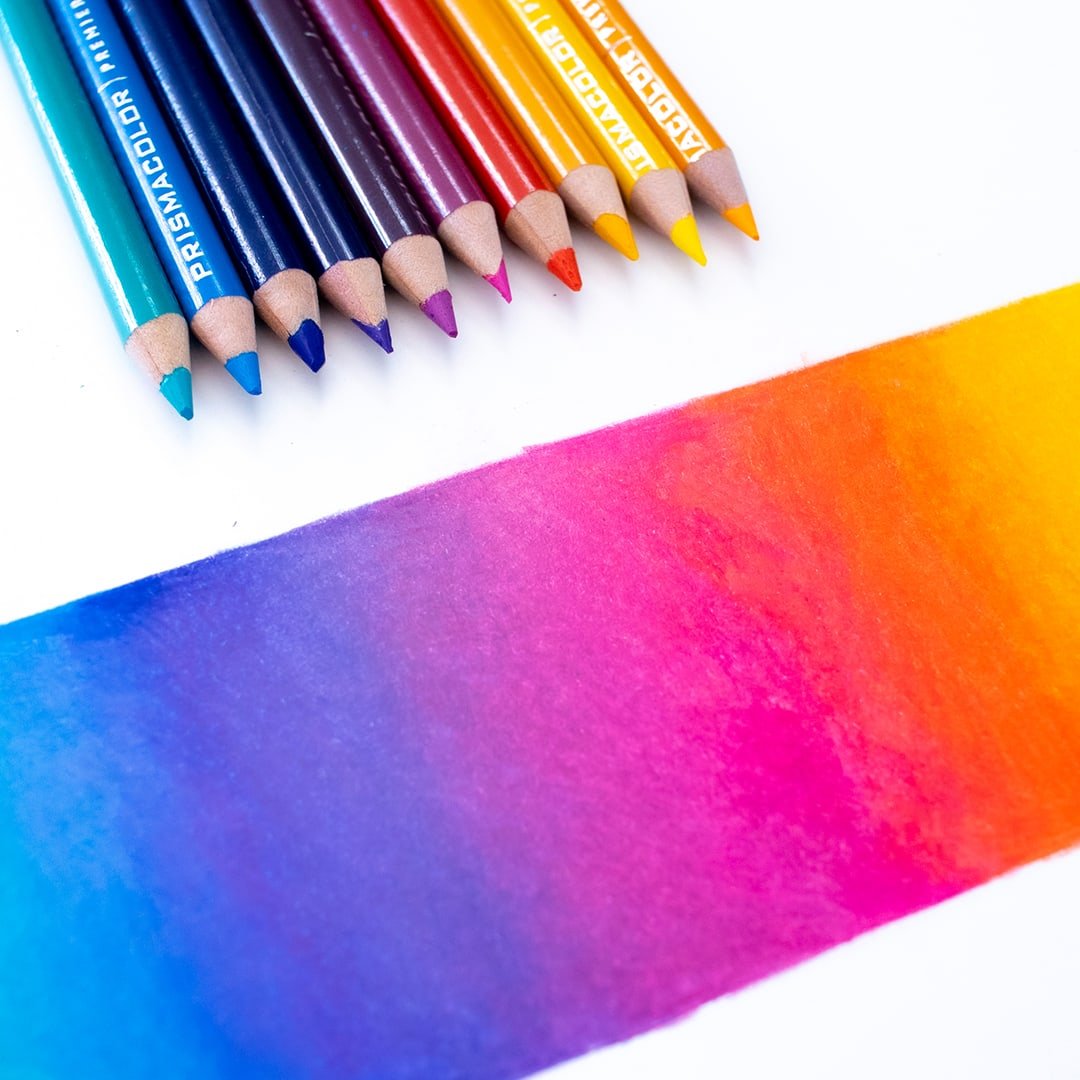
This method involves using light pressure and lots of layering and overlapping between colors to create your gradient. You can do this with as few or as many colors as you like – but it’s important to choose the right colors, which I’ll talk more about shortly.
The best pencils for blending
Generally, wax pencils like the Prismacolors are easier to blend with than oil-based pencils because they are naturally creamier.
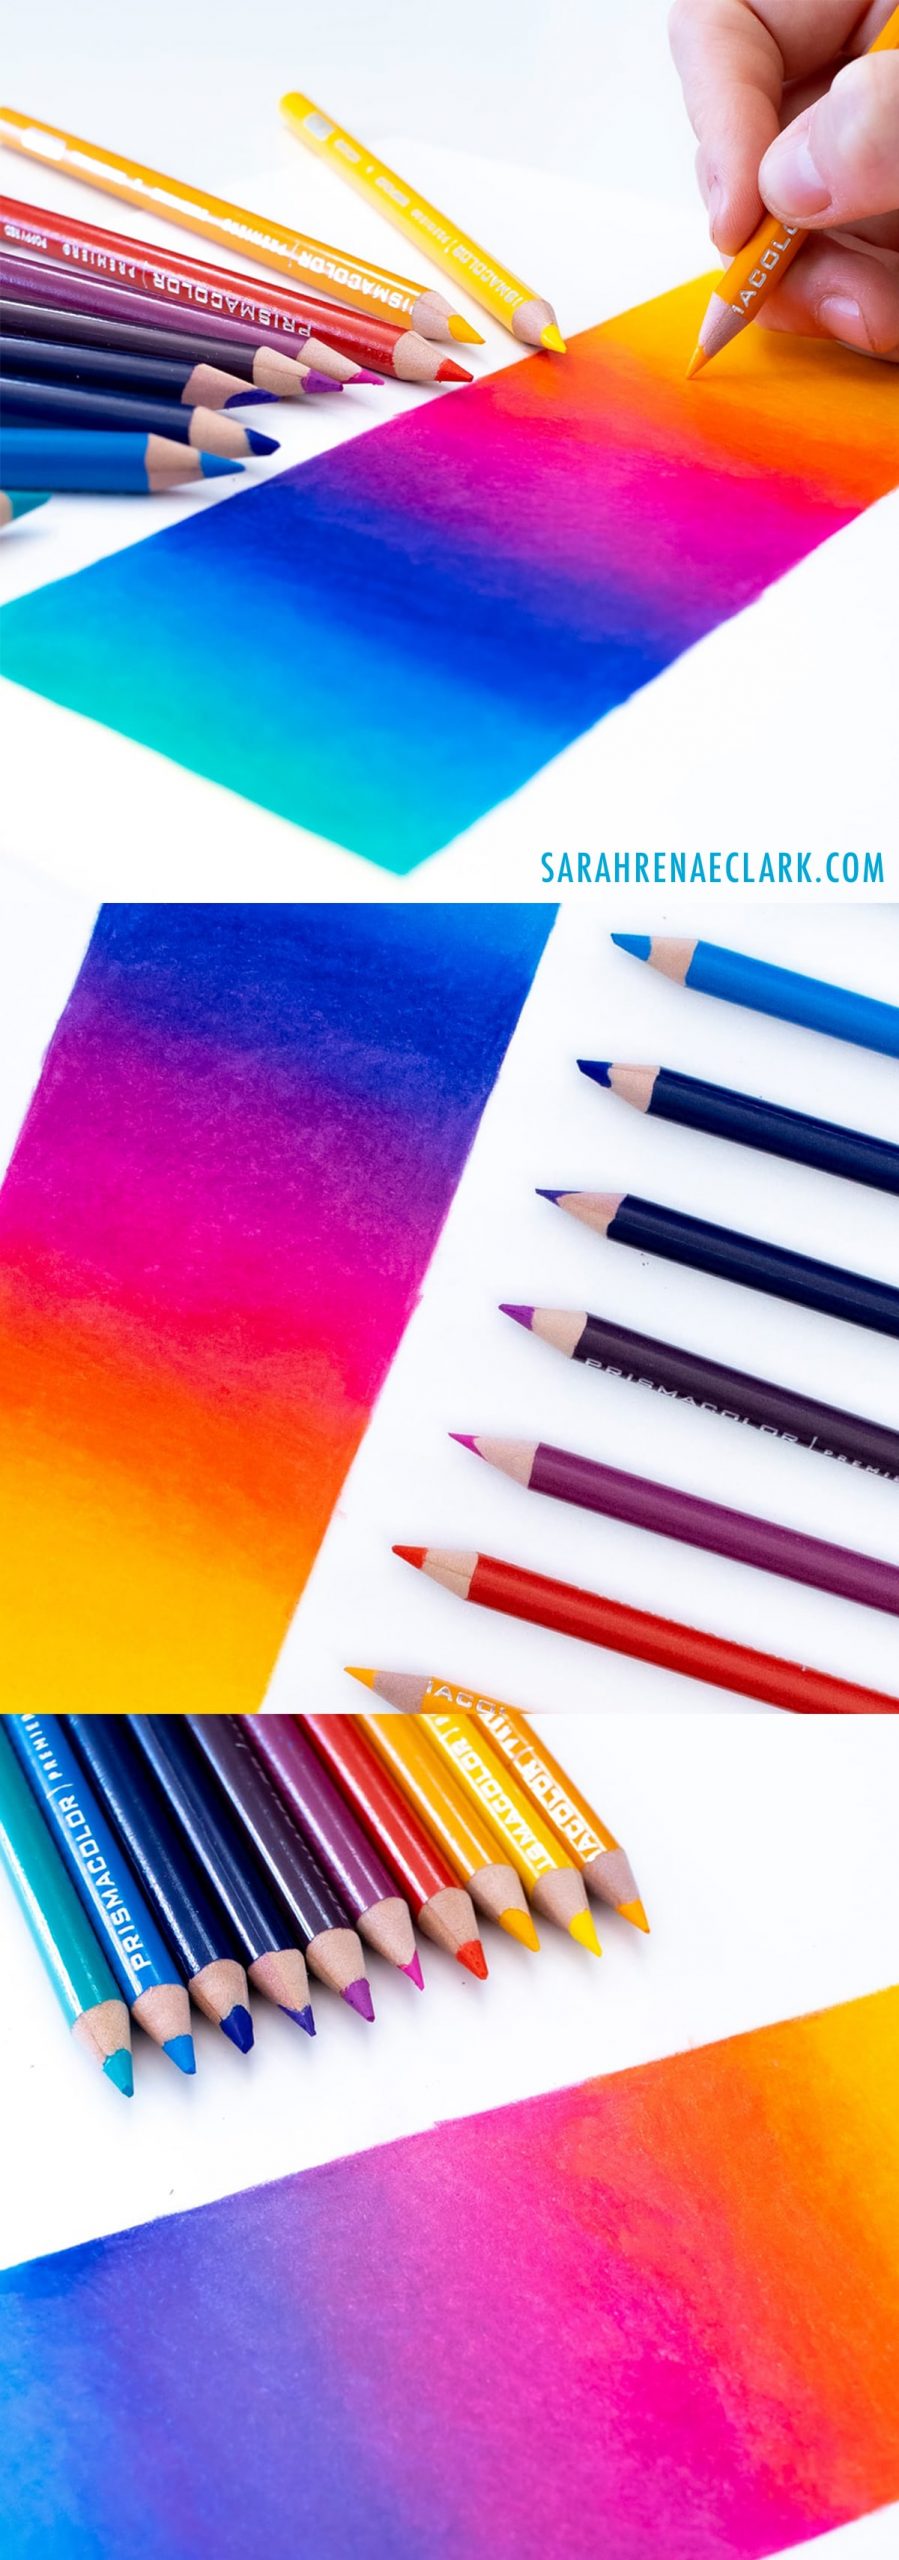
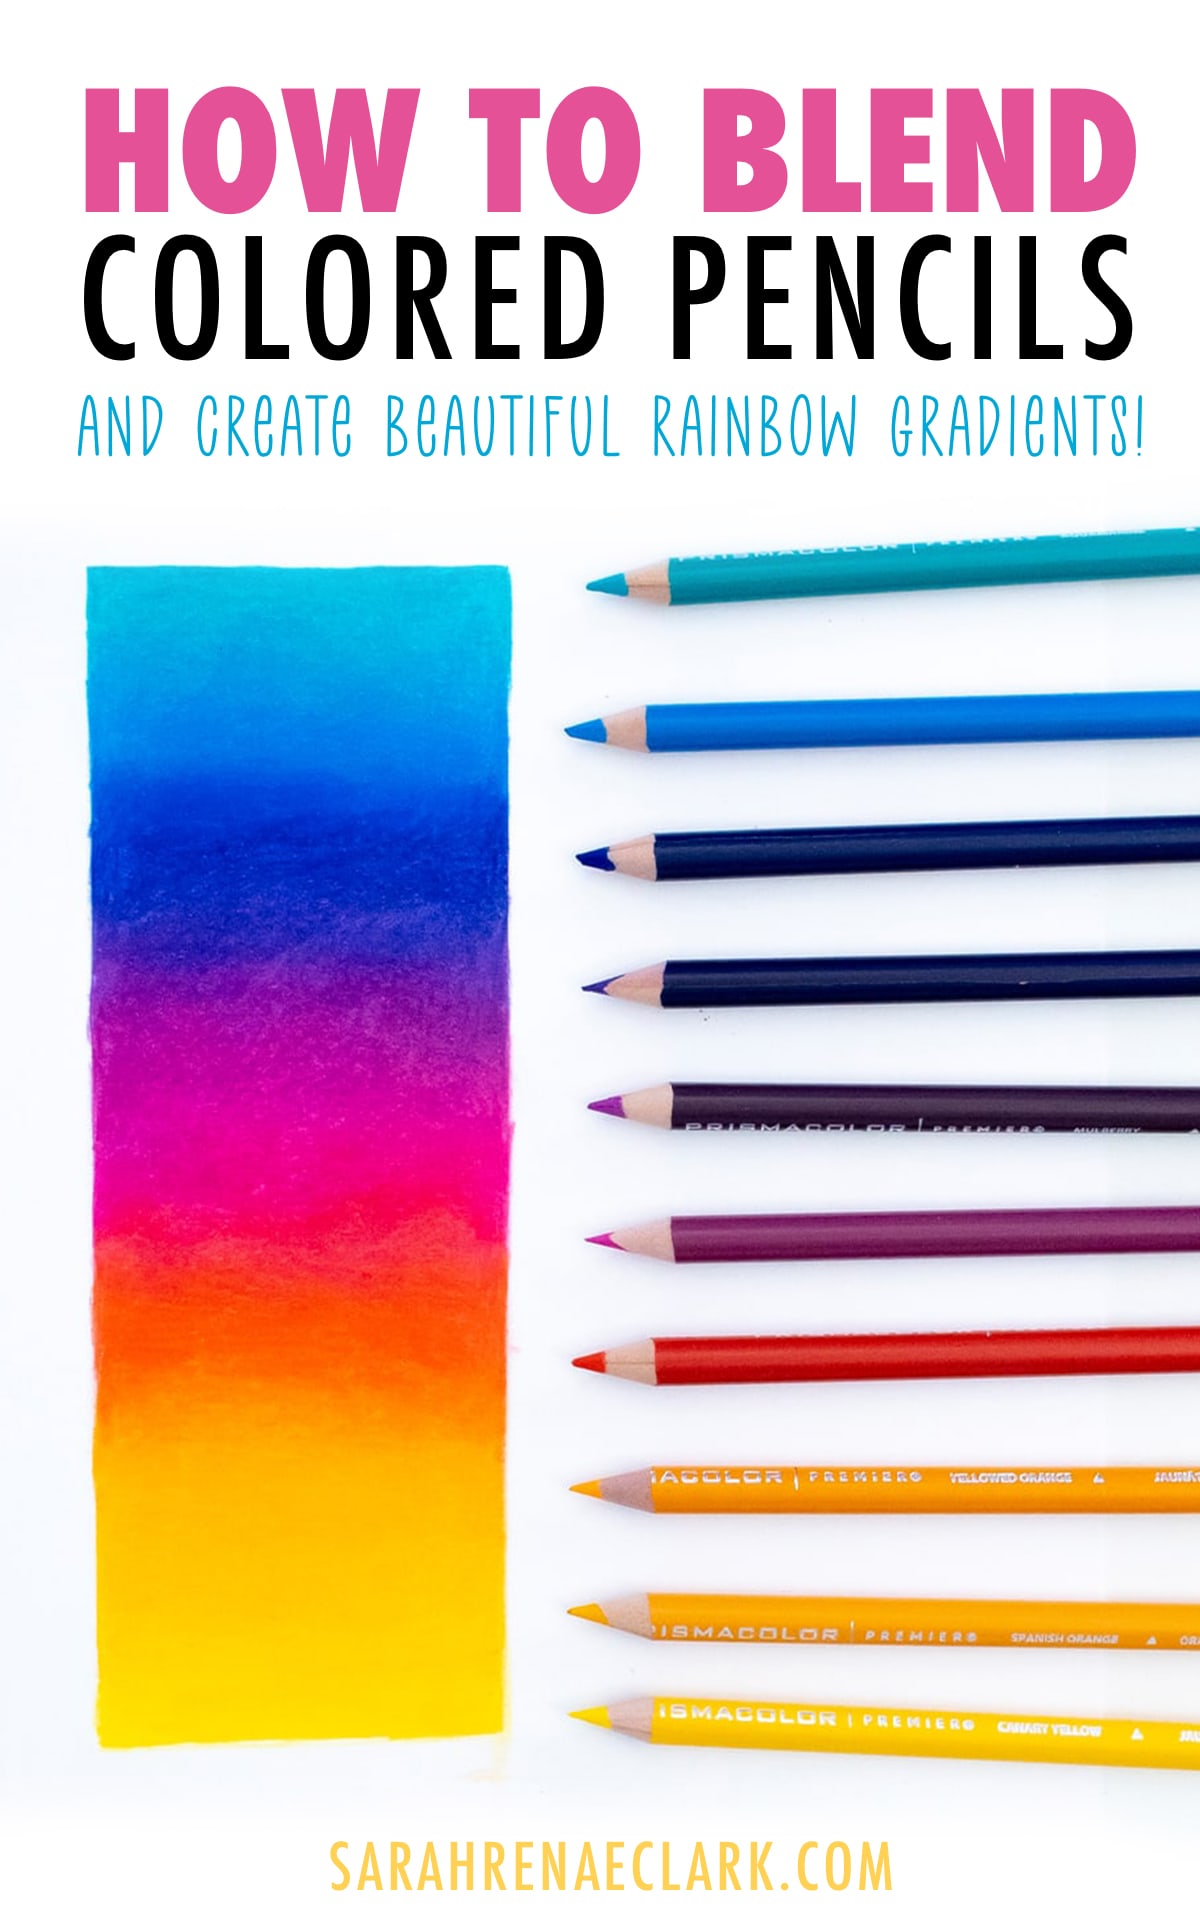
Today, I’m using Prismacolor Premier soft-core colored pencils. These are a wax-based colored pencil and are great for blending, especially for beginners – but you don’t need to have expensive pencils to create blends like this.
I previously compared these Prismacolors to 7 other more affordable brands to see how well they performed, and was really surprised at how well some of the cheaper brands were able to blend together with little effort.
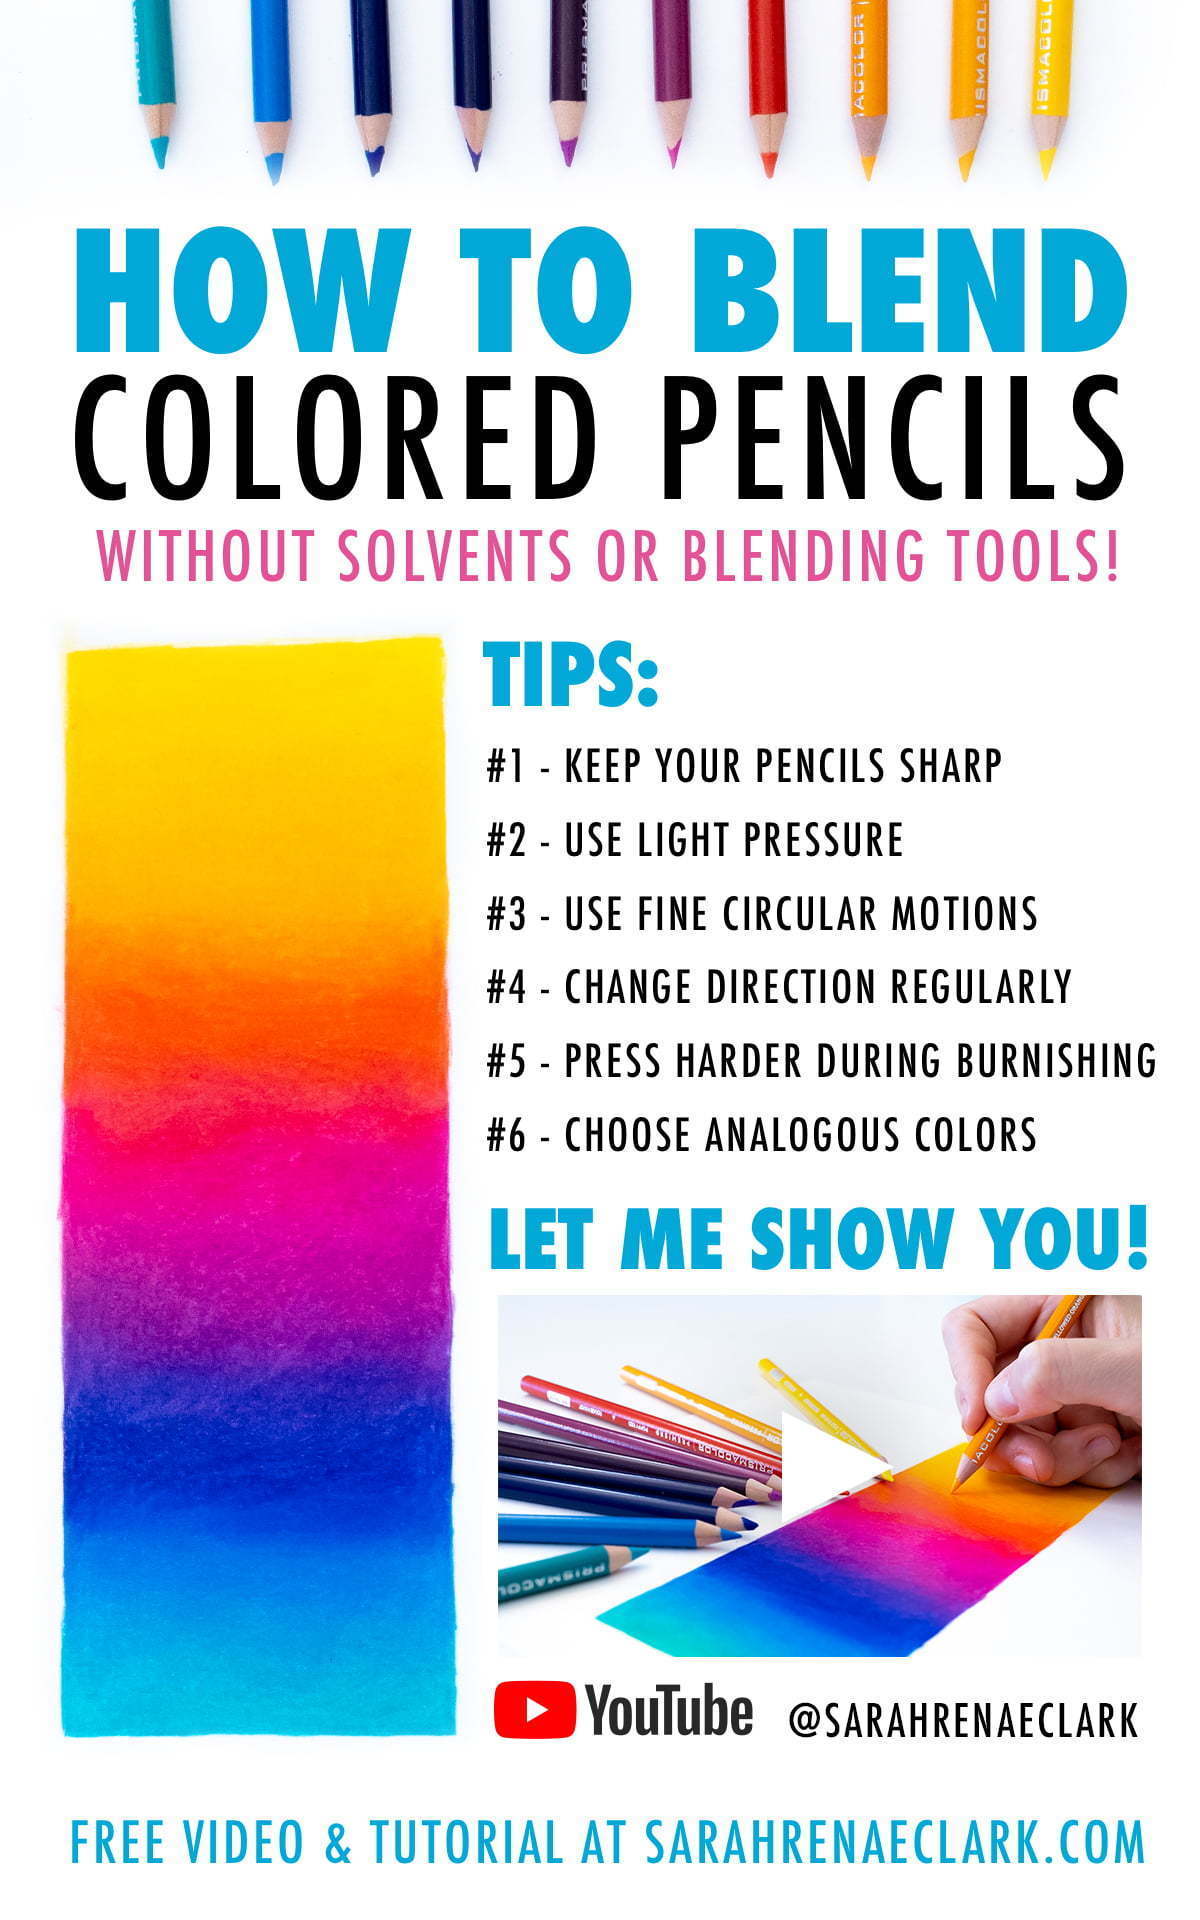
How to blend colored pencils: Tips for beginners
When using the layering method, there are a few important tips to help produce the best results.
1. Keep your pencil sharp
As with almost any drawing or coloring you do, a sharp pencil is the key to great results. It allows the pigment to get into the deepest parts of the paper and reduces the grainy appearance. It also makes it much easier for you to control the pressure and create smooth gradients, which brings me to my next tip…
2. Use the lightest pressure you can
With both wax or oil-based pencils, light pressure is key to creating a smooth transition between colors, especially when you first start working on your gradient. Wax-based pencils tend to be a bit more forgiving, which is why I think they are better for beginners when it comes to blending, but they still require you to control the pressure and work lightly if you want to create a smooth blend.
If you’re finding it hard to keep your pressure light, hold the pencil further back instead of close to the point. As you do more layers, you’ll need to add a bit more pressure, but we’ll talk more about that shortly.
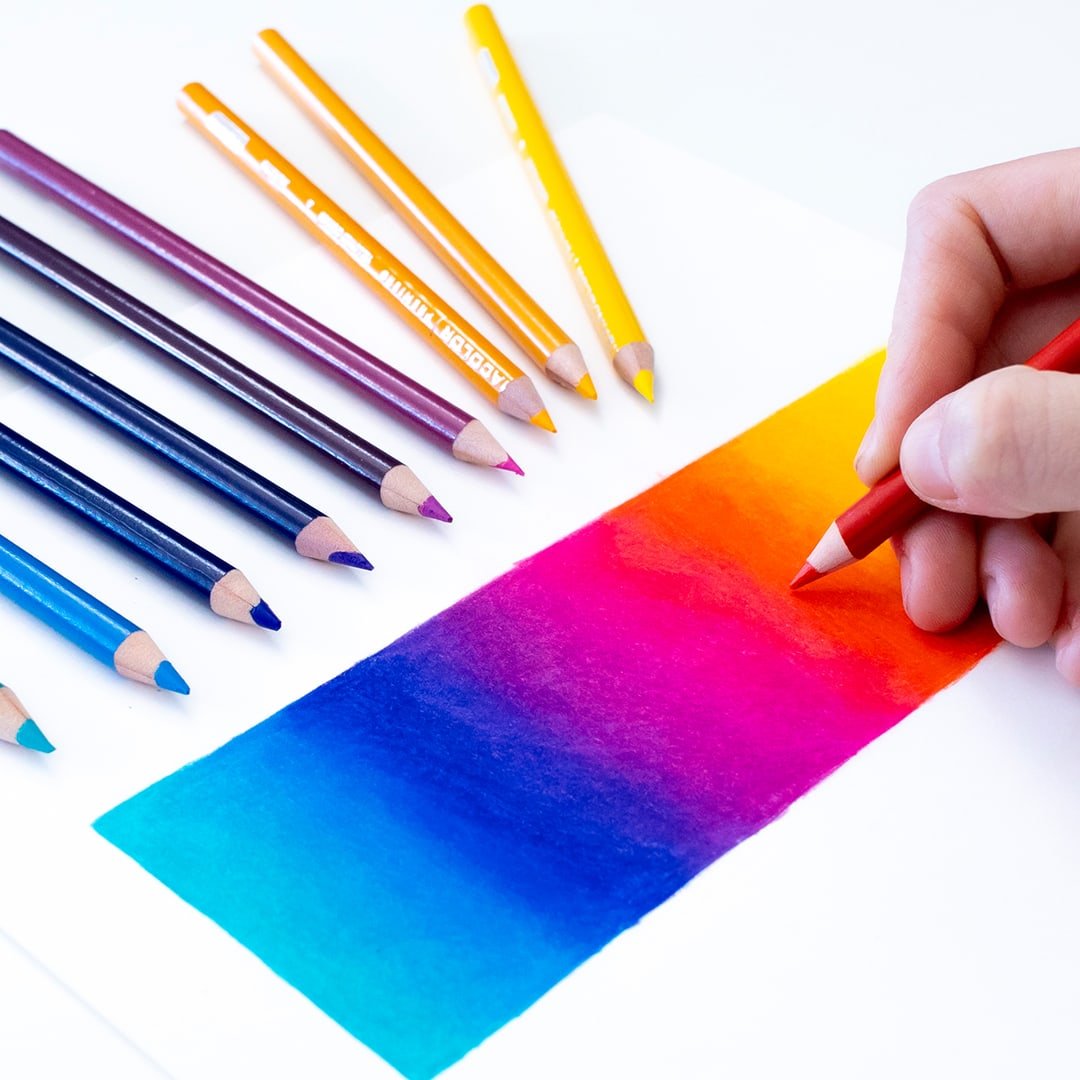
3. Use fine circular motions
Next, use fine circular motions, as this can help to avoid harsh line marks. This isn’t essential, but it definitely helps to reduce any obvious lines, especially if you carefully overlap the circles as you go, as you can see I am doing in this example. Even when I’m working more in straight lines, I’m still keeping a slight circular motion instead of creating sharp corners by moving back and forth.
4. Change direction regularly
And my final tip before we move onto burnishing is to change direction regularly. Much like the circular motions, changing the direction you are drawing can help to reduce any lines that start to appear from your pencils and can keep the overall smooth texture we are going for.
What is ‘burnishing’?
Now, let’s move onto burnishing. Burnishing is the same as layering, but this time we are applying more pressure to flatten the tooth of the paper.
Burnishing should always be the final step in your drawing. Once you’ve used hard pressure with your pencils, it is nearly impossible to add any more layers of pencil on top, because the tooth of the paper (the paper’s texture) get’s flattened in the burnishing process and can’t take in any more pigment.
The benefit of burnishing is that it removes all the extra white that you see on the page and creates a beautiful, smooth gradient, without the need for solvents or other blending tools.
Final tips:
As we finish up, if you find that there’s any extra wax build-up on your page from the pencils you are using, you can remove this with a tissue or makeup brush.
How to choose the best colors for gradients
There’s an important step before you start coloring any gradient and that is choosing the right colors, because not EVERY color will blend well together.
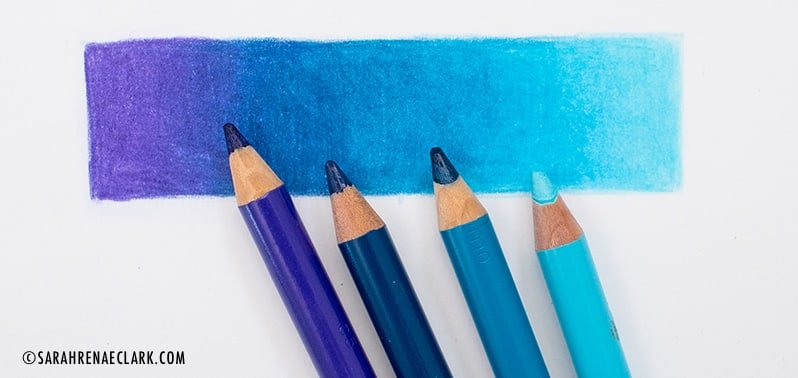
Ideally, you want to choose colors that are as close together as possible – some obvious examples would be a light and dark green, or a light and dark brown.

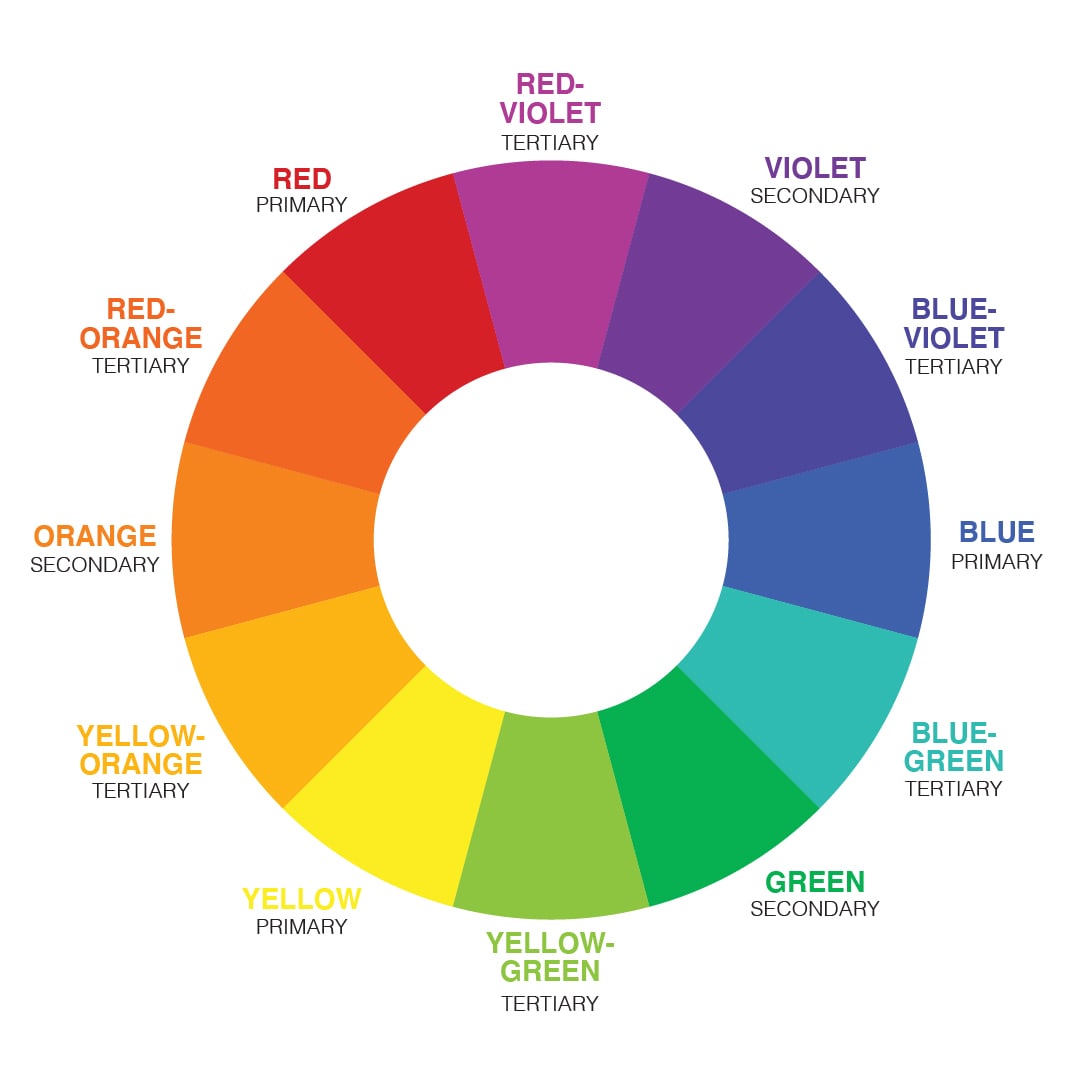
But some of the most stunning gradients are a little more adventurous in their color combinations, so I wanted to show you how you can choose those colors with confidence using a color wheel.
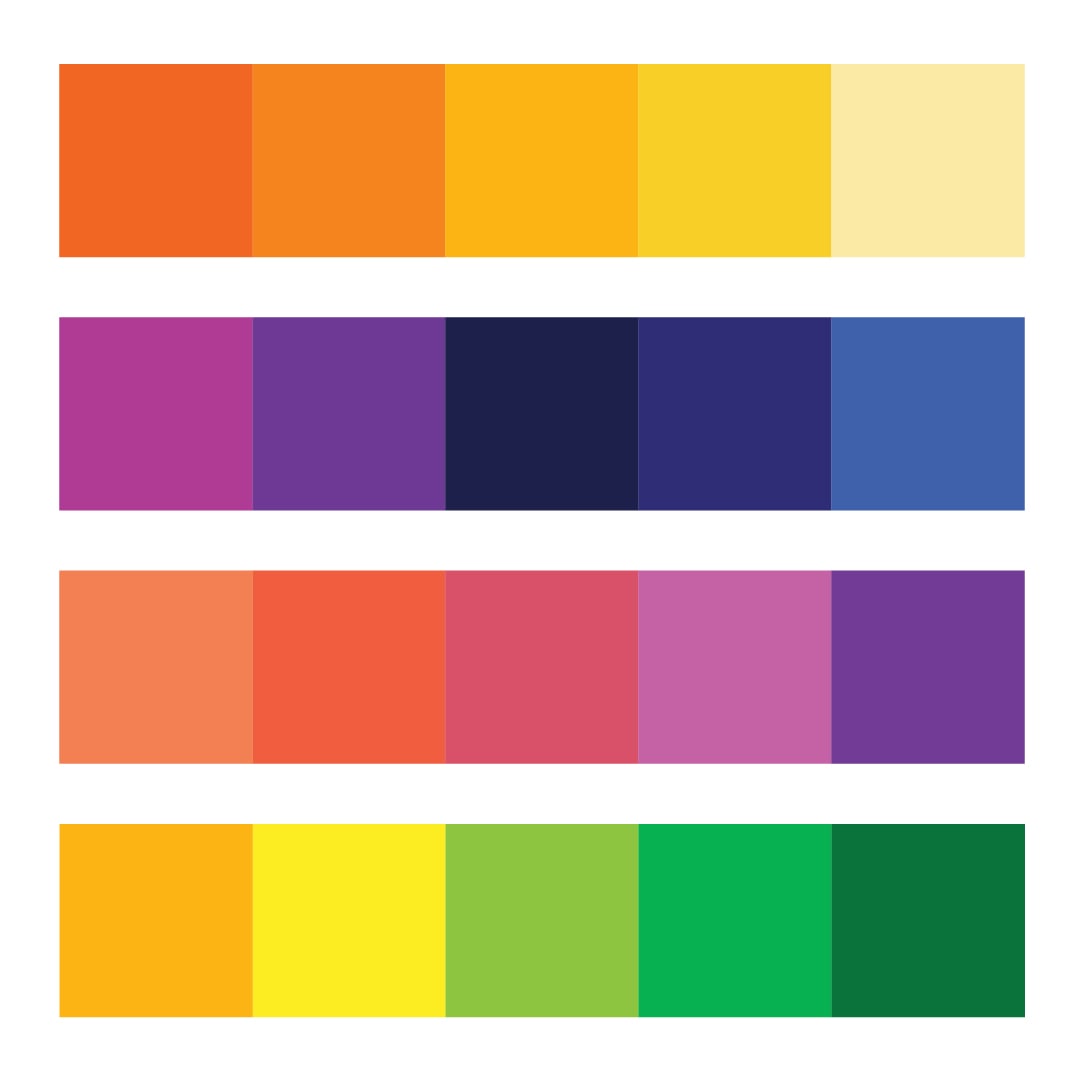
If you’ve watched my short Color Theory for beginner’s video, you may remember I talked about analogous colors – these are the colors that are next to each other on the color wheel – I have some examples here from my Color Theory Booklet below.
These color combinations can make for really interesting and beautiful gradients.
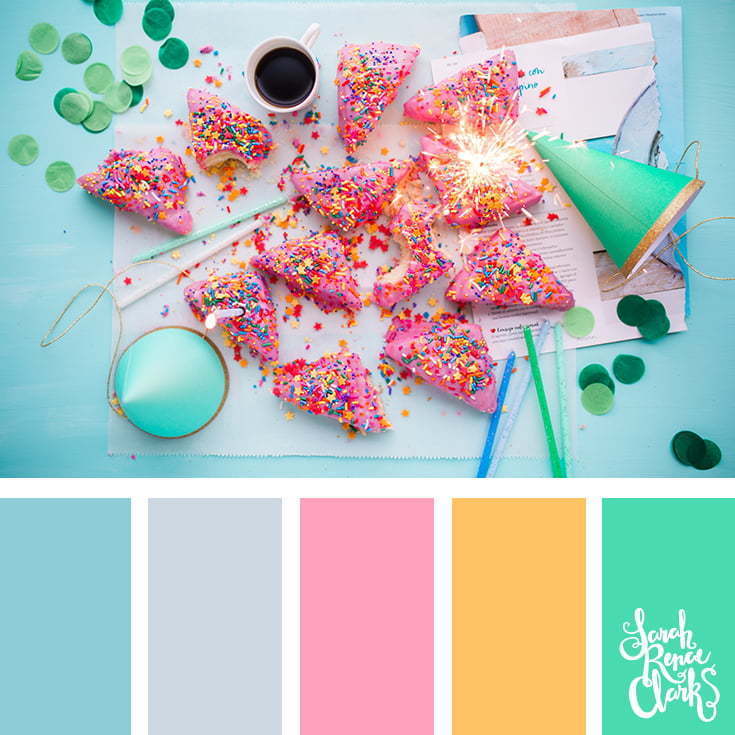
Now, if you’re wanting to take it a step further, and use a specific color palette, like those I have here in my Color Catalog Companion, you can do that too – I used this color palette to created this gradient – you can watch the process in the above video.

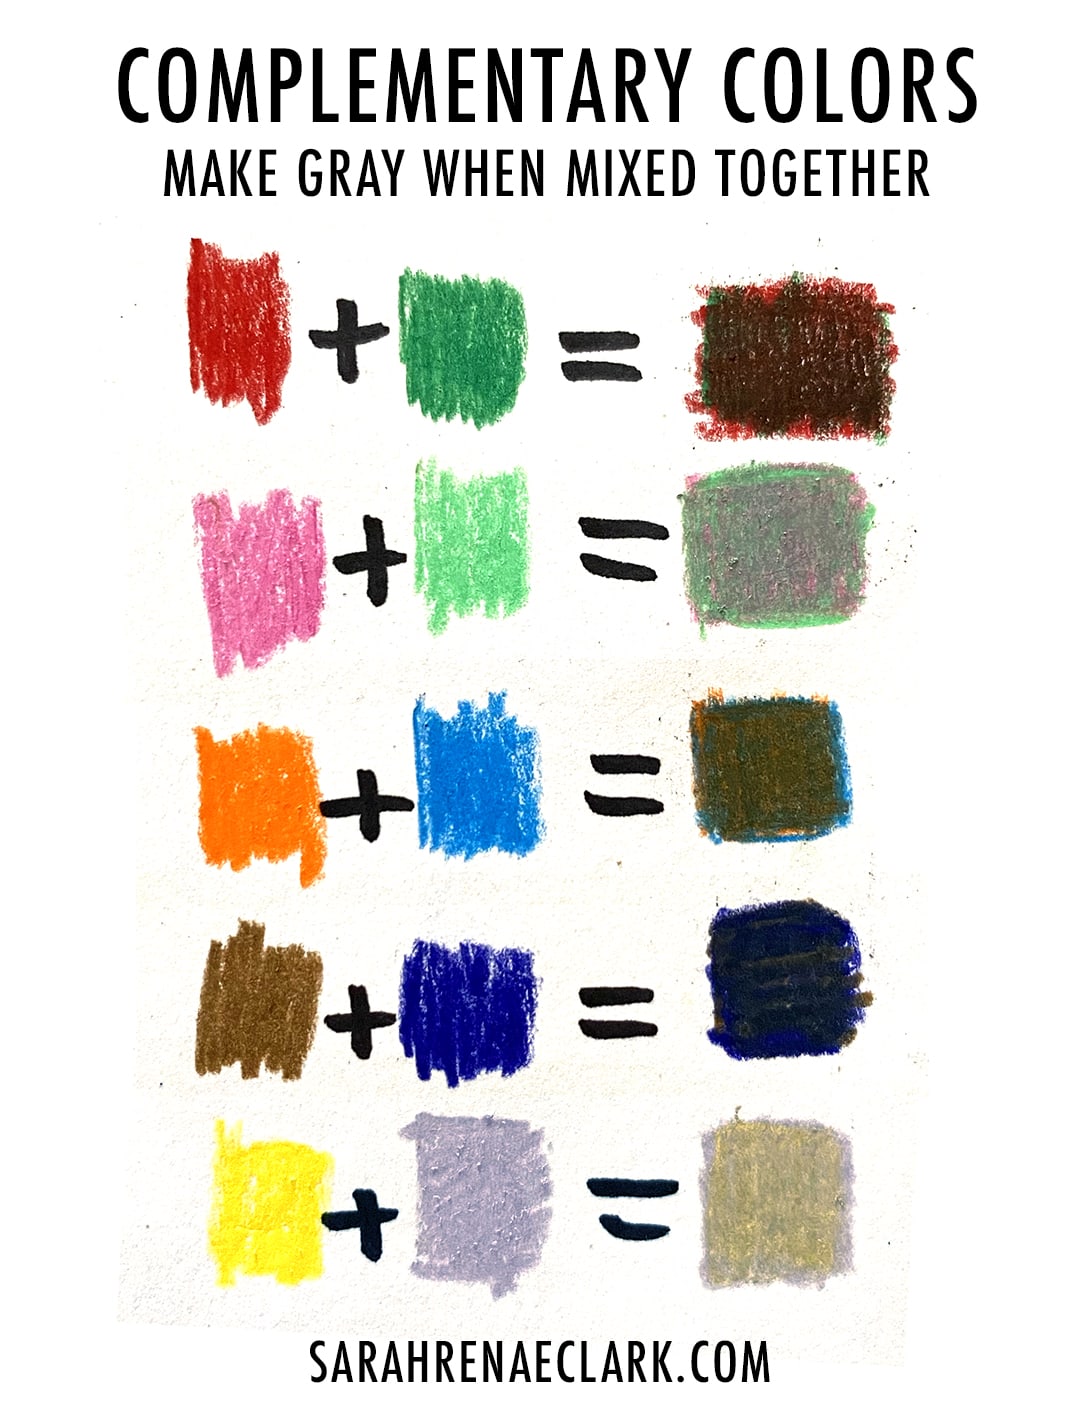
As you can see in the top example, mixing colors that aren’t naturally close together on the color wheel can create muddy colors with a gray tone. I’ve fixed this in the lower example by looking at my color wheel and identifying which colors are in between the two colors I’m trying to mix. I call these transition colors.
Using transition colors is our way of telling our gradient to “take the long way” around the color wheel, past the vibrant hues, instead of trying to “take a shortcut” through the gray section in the middle – because when we mix any two complementary colors together, they make gray.
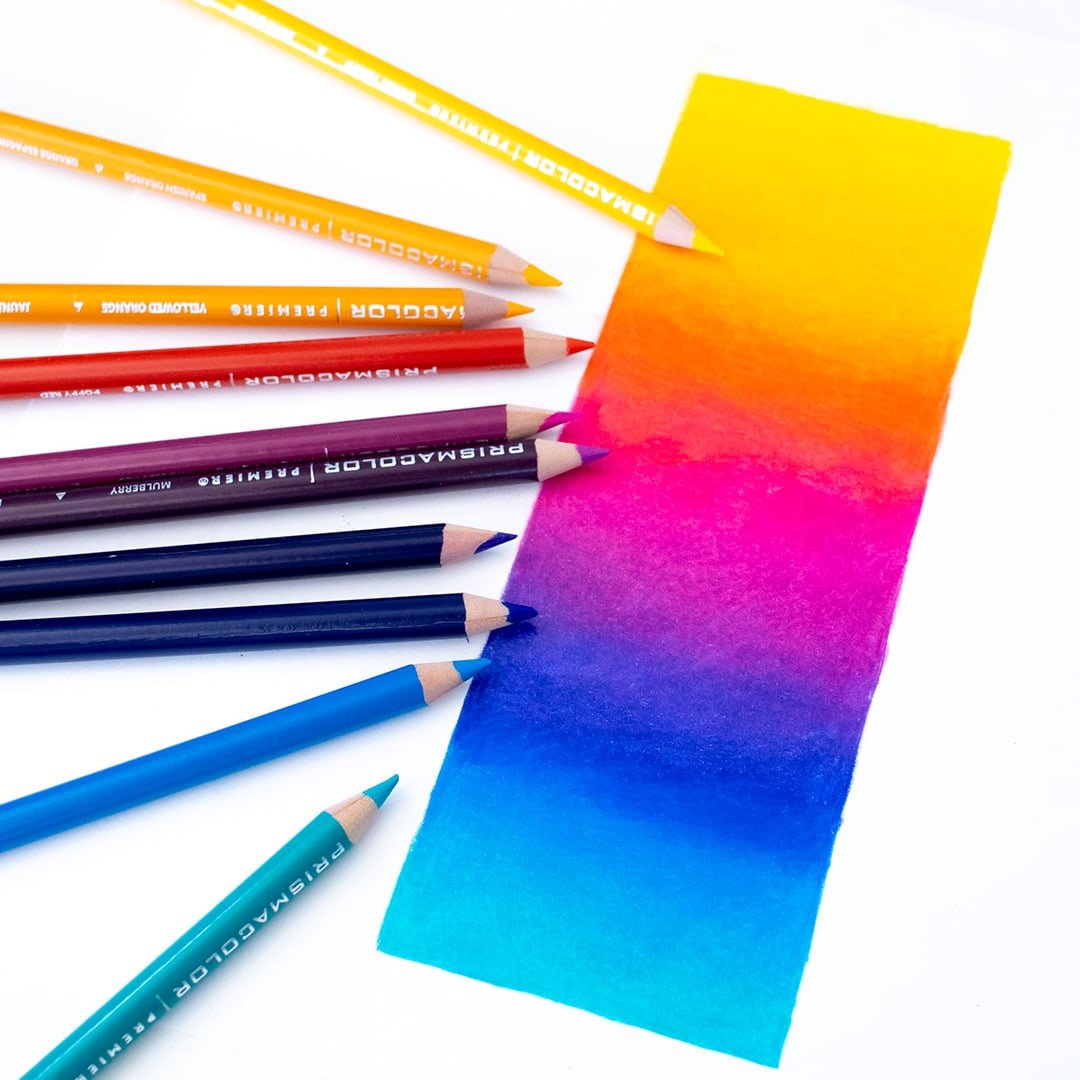
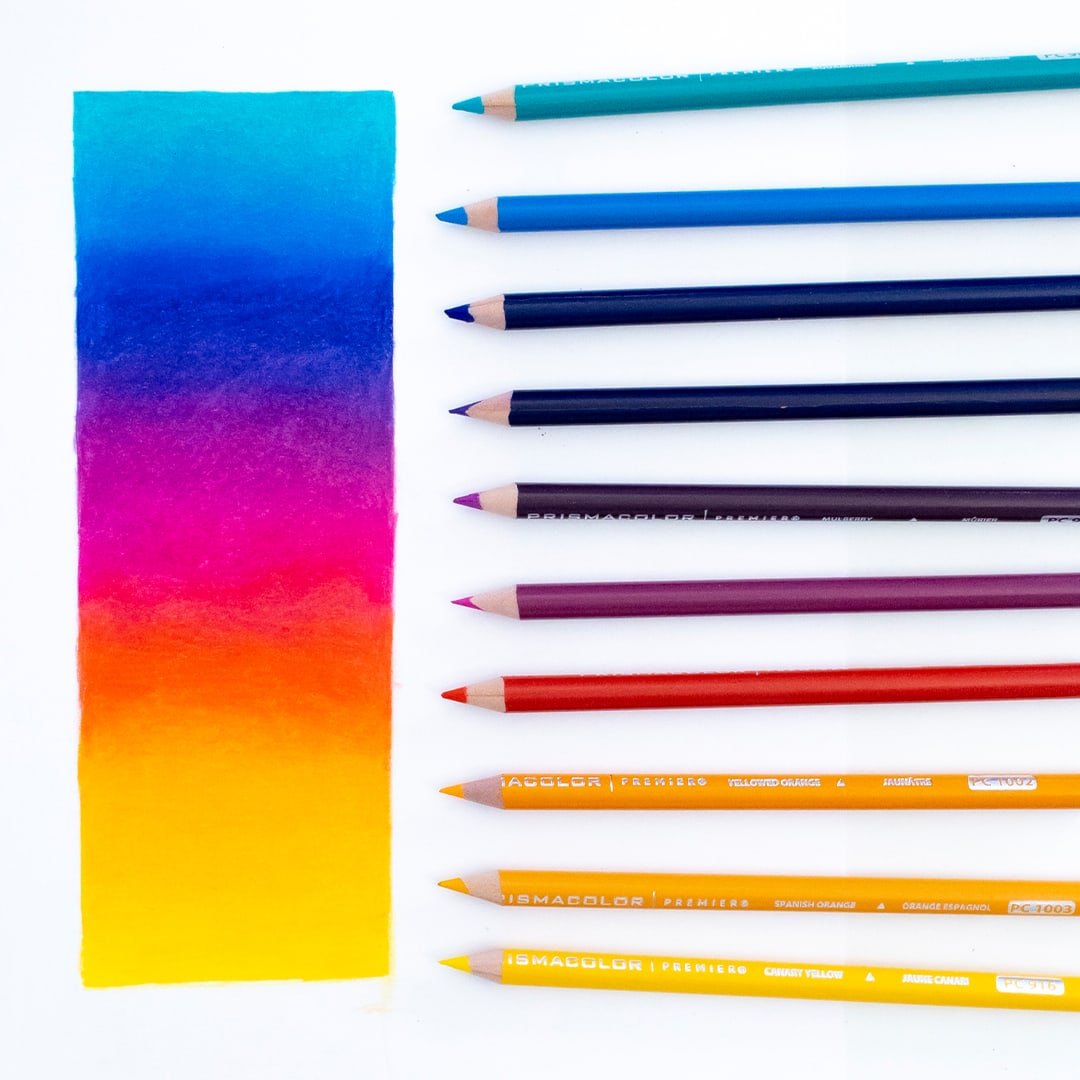
Using the “transition colors” brings those brighter colors into our gradient – so a yellow to pink gradient would go yellow > yellow-orange > orange > orange-red > red > red-violet (pink) instead of yellow > gray > pink.
If this is confusing, I recommend watching the above video because I talk through it in more detail there.
The key to remember is that similar colors will always produce a smoother gradient. Artist quality pencils can often create good gradients without as many colors, but the cheaper pencils will take a lot more work. Finding the extra transition colors will help you to create the best, vibrant gradients – and can help you to stop accidentally creating unwanted muddy grays.
Other pencil blending techniques
While I personally only really use the method we’ve just discussed for blending, there are some other blending tools available that you can use to blend colored pencils. These include:
- Blending stumps
- Blending or burnishing pencils
- White pencils – available in most artist sets
- Blending solvents
I have a guest post by Colour With Claire where you can learn how to blend with odorless mineral spirits, a white pencil, or a blending pencil in more detail if you are interested. She also goes through the layering and burnishing method we’ve covered today, with both wax and oil-based pencils.
My advice is always to learn the layering and burnishing method first, and then experiment with some of these other tools.
These tools will HELP, but they will not create your gradient for you unless you’ve already learned the basics of blending without them. Their job is to speed up the process or help you have more control over your work – they can allow you to have greater control over the color, to speed up the process, etc – but these take practice, and you still need a basic knowledge of layering and blending first if you want your gradient to look good.

How do oil-based pencils work differently?
I’ve used Prismacolor pencils in my example today, which are a wax-based pencil, so I wanted to quickly take a moment to discuss oil-based pencils too.
Generally, wax pencils like the Prismacolors are easier to blend with because they are naturally creamier.
Oil-based pencils like Faber-Castell Polychromos are better for fine details, easier to keep a sharper point, not as crumbly or waxy, and there’s no wax build-up on the paper. and a favorite for many artists – but they don’t blend together quite as easily as wax pencils. They take more layers and more patience. I’ve done an example in the video above, and here is the end result:
Wax pencils tend to be a lot more forgiving – which is why so many beginners like them.
Personally, I think it’s great to have a combination of both if you can afford to do so – so that you can use your wax pencils for your backgrounds and gradients, and then the oil-based pencils for your details.
Do I need expensive pencils?
The next question that I often get asked is “do I need expensive pencils?” And the answer is NO!
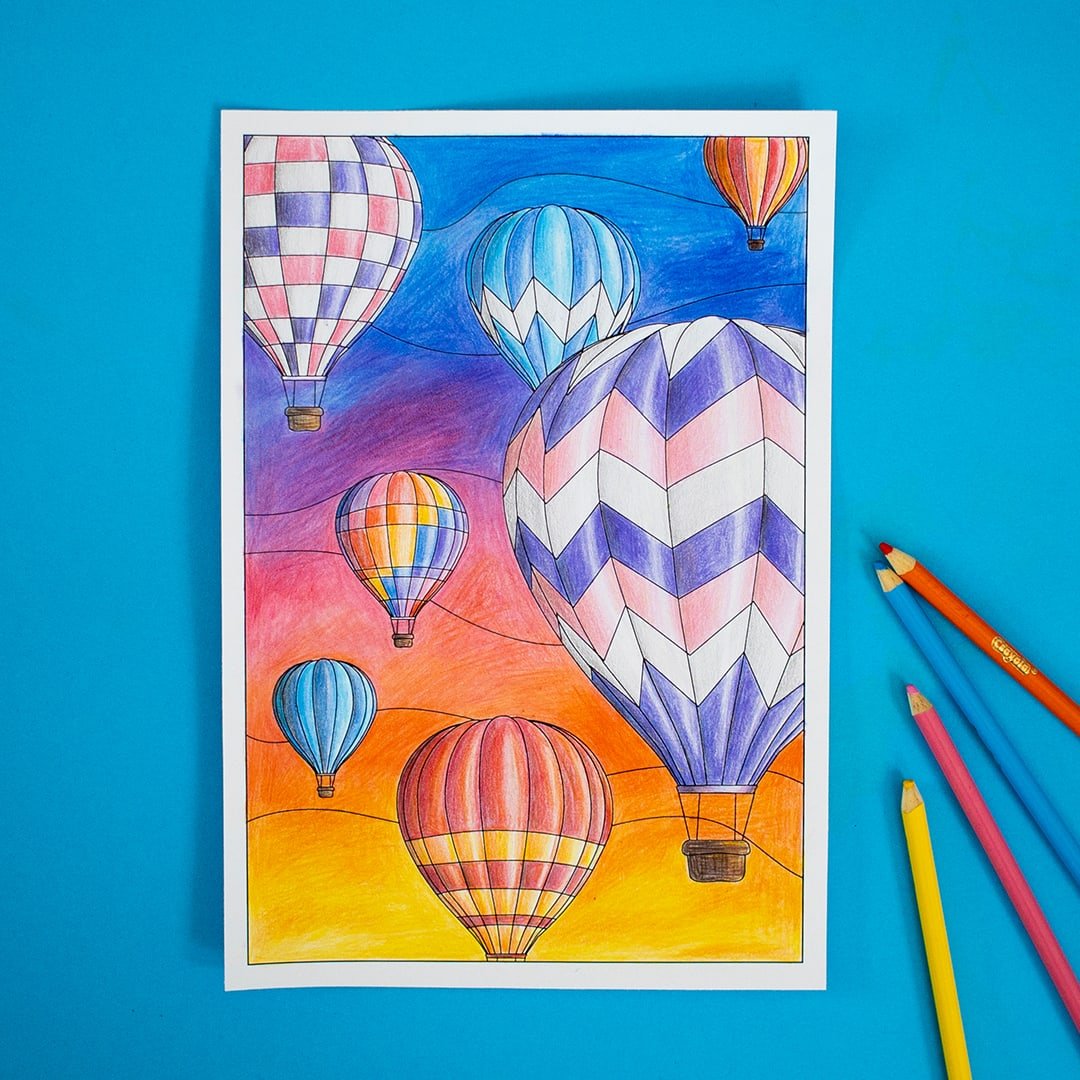
Expensive pencils tend to be easier to work with, but that doesn’t mean you can’t produce great results with cheap pencils. Please take a moment to check out this post where I used just 12 cheap Crayola pencils to create this ombre sunset – WITHOUT the transition colors that I’d usually recommend when using a cheaper set like this. Anything is possible with lots of layers and patience.
What paper is the best for colored pencil blending?
And while I’m not an expert on paper yet, I do recommend getting yourself some artist-quality colored pencil paper if you’re serious about coloring or drawing. I’ve been using this Strathmore Bristol 300 series paper in this tutorial today after it has been recommended by many artists better than me – and in the future I hope to be able to give you some insights of my own on exactly what paper to look for to get the best results when you create.
You don’t need fancy tools, solvents or even expensive pencils to create beautiful gradients with your colored pencils. You just need pencils, paper, patience and practice.
If you’ve found this article helpful, please comment below and remember to share it with your friends!
Other Coloring Tutorials For You:
- The Best Prismacolor Alternatives: I Put 7 Affordable Colored Pencil Sets to the Test!
- How to Make Any Color from 12 Colored Pencils (+ FREE Color Mixing Chart)
- How to Use a Color Palette
- 5 Easy Tips to Instantly Improve your Adult Coloring Pages
- The Best (and Worst) White Pens for Drawing: The Ultimate White Pen Test!
Really appreciate your honest opinions and how you relate it to your genuine experiences – loads of valuable helpful information – I am a beginner coloured pencil ‘artist’. Thanks.
Hi Sarah,
Could you please provide the names or numbers of Prismacolor pencils you used to create the rainbow blend above? I would greatly appreciate it. Thanks so much
I bought some Brutfuner oil pencils, and I’m still kind of confused as to how to use them. Do I just draw or colour anything I want and then use one of those wooden pencils to rub it all together and blend it? Would it be better to use a solvent? Can these be used on canvas?
Don’t be confused by the word oil – these can just be used like normal pencils.
I am a beginner in coloured pencil art I have learnt some valuable and helpful information from your video
i learned a lot from this video thank u and this is a request that ,can u make another video on oil based color pencils plzzz and explain how to blend them well
I actually talk about oil-based pencils later in this video. The method is the same, except you’ll want to focus more on layering, as you can’t “push” the pigment around as much.
Are Crayola color pencils oil based or wax based?
wax-based
I found your video comparing 20+ brands of pencils. I listened and I listened again. I took notes. Then, I got out my set of Prismacolor Premier pencils. You have truly inspired me to use colored pencils rather than Coptic markers. I am so excited after watching your blending and burnishing video. I am a recently retired teacher and appreciate a good teacher. You have clarity to you voice, organized, and knowledgeable. Thank you so much. My 13 year old granddaughter asked for a set of pencils for Christmas after watching one of your videos today. You have enriched two lives and I’m grateful.