
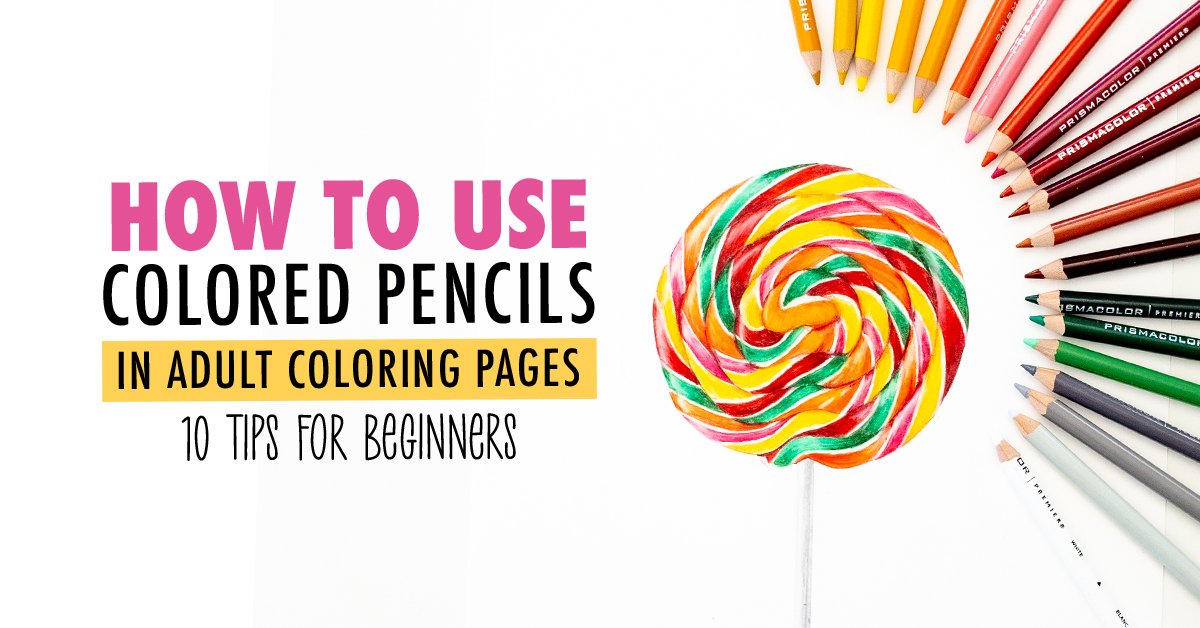
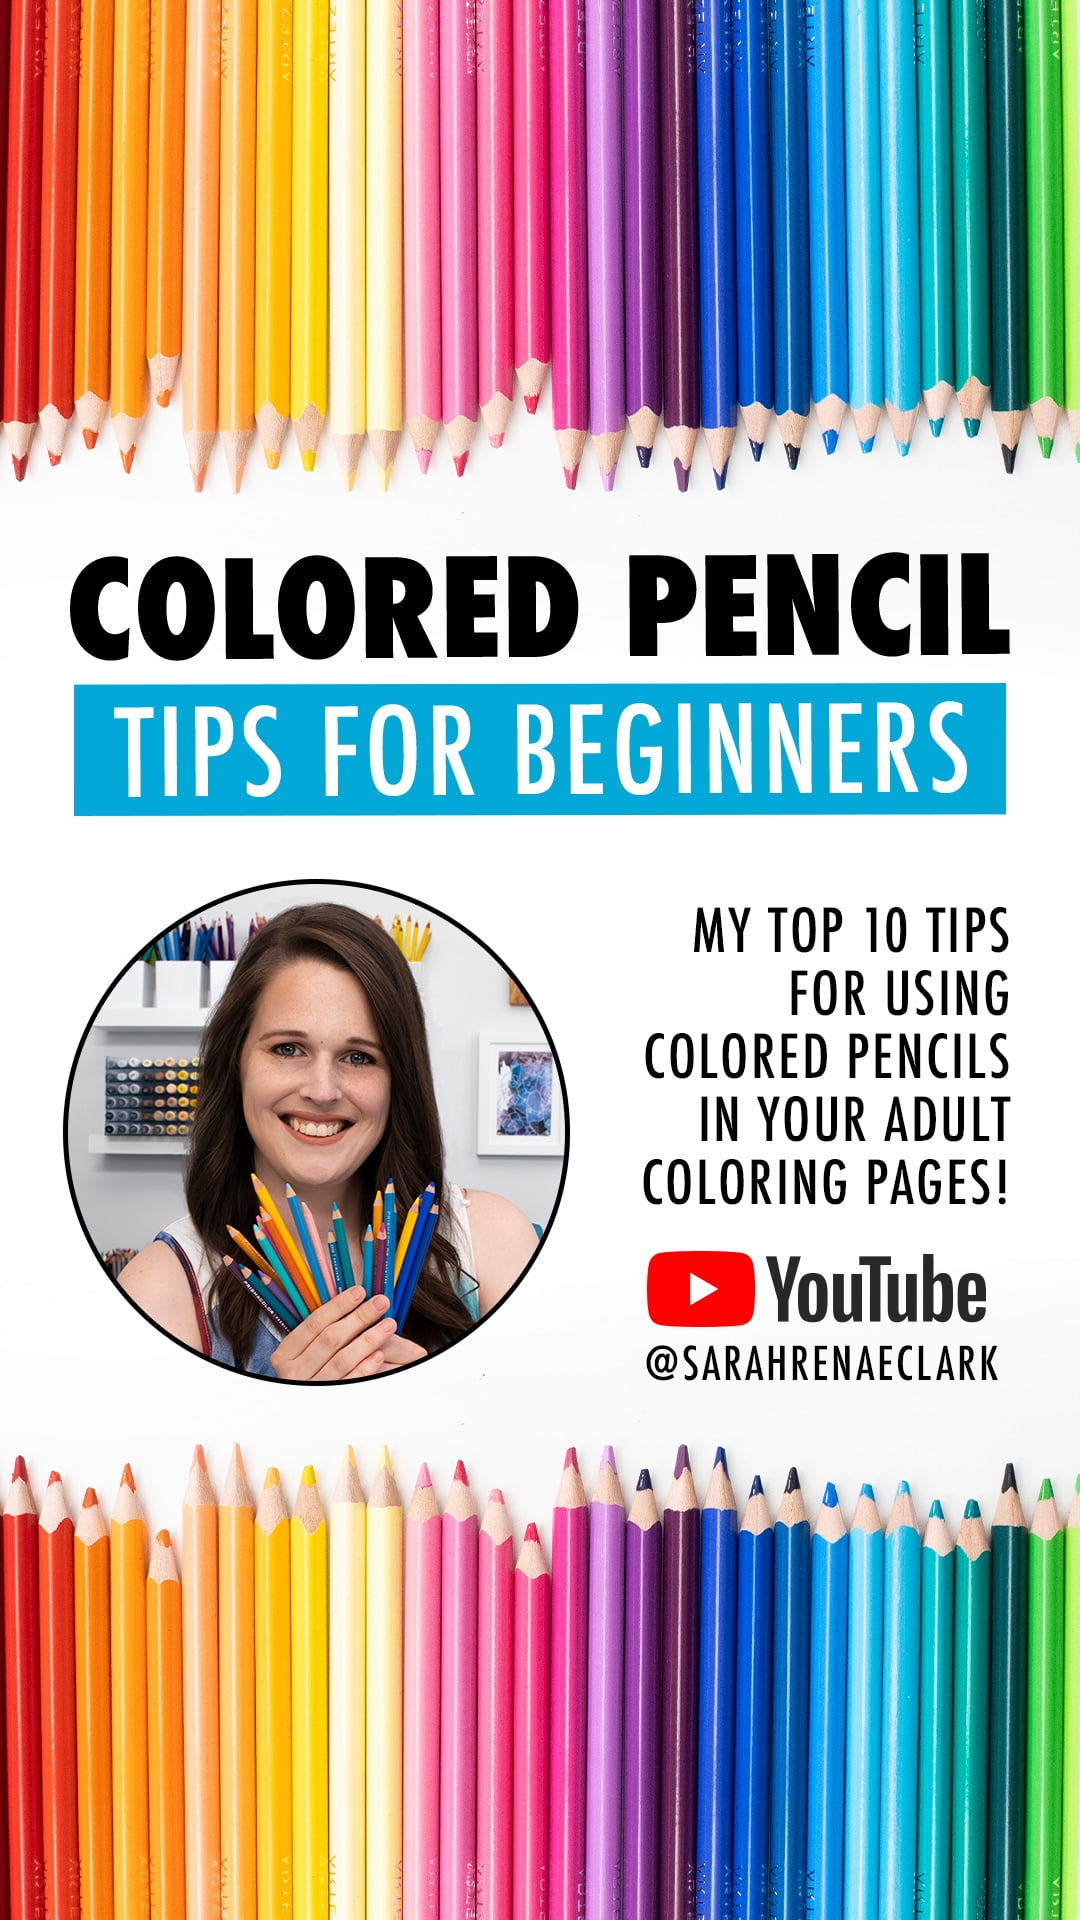
Adult coloring can be the perfect way to relax, connect with your creative side, and brighten up your day.
You don’t need to be a professional artist to create something amazing, and today, I’m sharing my top tips to help you get started with colored pencils so you can move past the confusing beginner questions and focus on the fun part of getting creative.
Disclaimer: This post contains affiliate links for Amazon and I may earn a commission if you click them and make a purchase (at no cost to you).

I have been making adult coloring books since 2015 when I was looking for a creative outlet to help work through postnatal depression and my Mum’s cancer diagnosis.

I never expected that my little hobby would develop into such a passion with a bigger purpose. My art became my haven, and I realized that coloring and drawing could be a powerful tool to unlock creativity, reduce anxiety, and bring encouragement to me and the people around me.
I believe it’s OK to color outside the lines. It’s OK to take risks and try new things. And I believe that experiments and mistakes can lead to beautiful things!
Even if you’re not a ‘creative’ person, you have what it takes to create something amazing. So if that sounds like something you’d love to be a part of, please join my free Facebook community here.
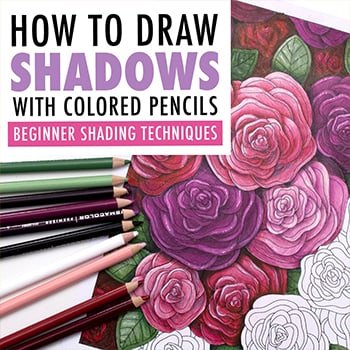
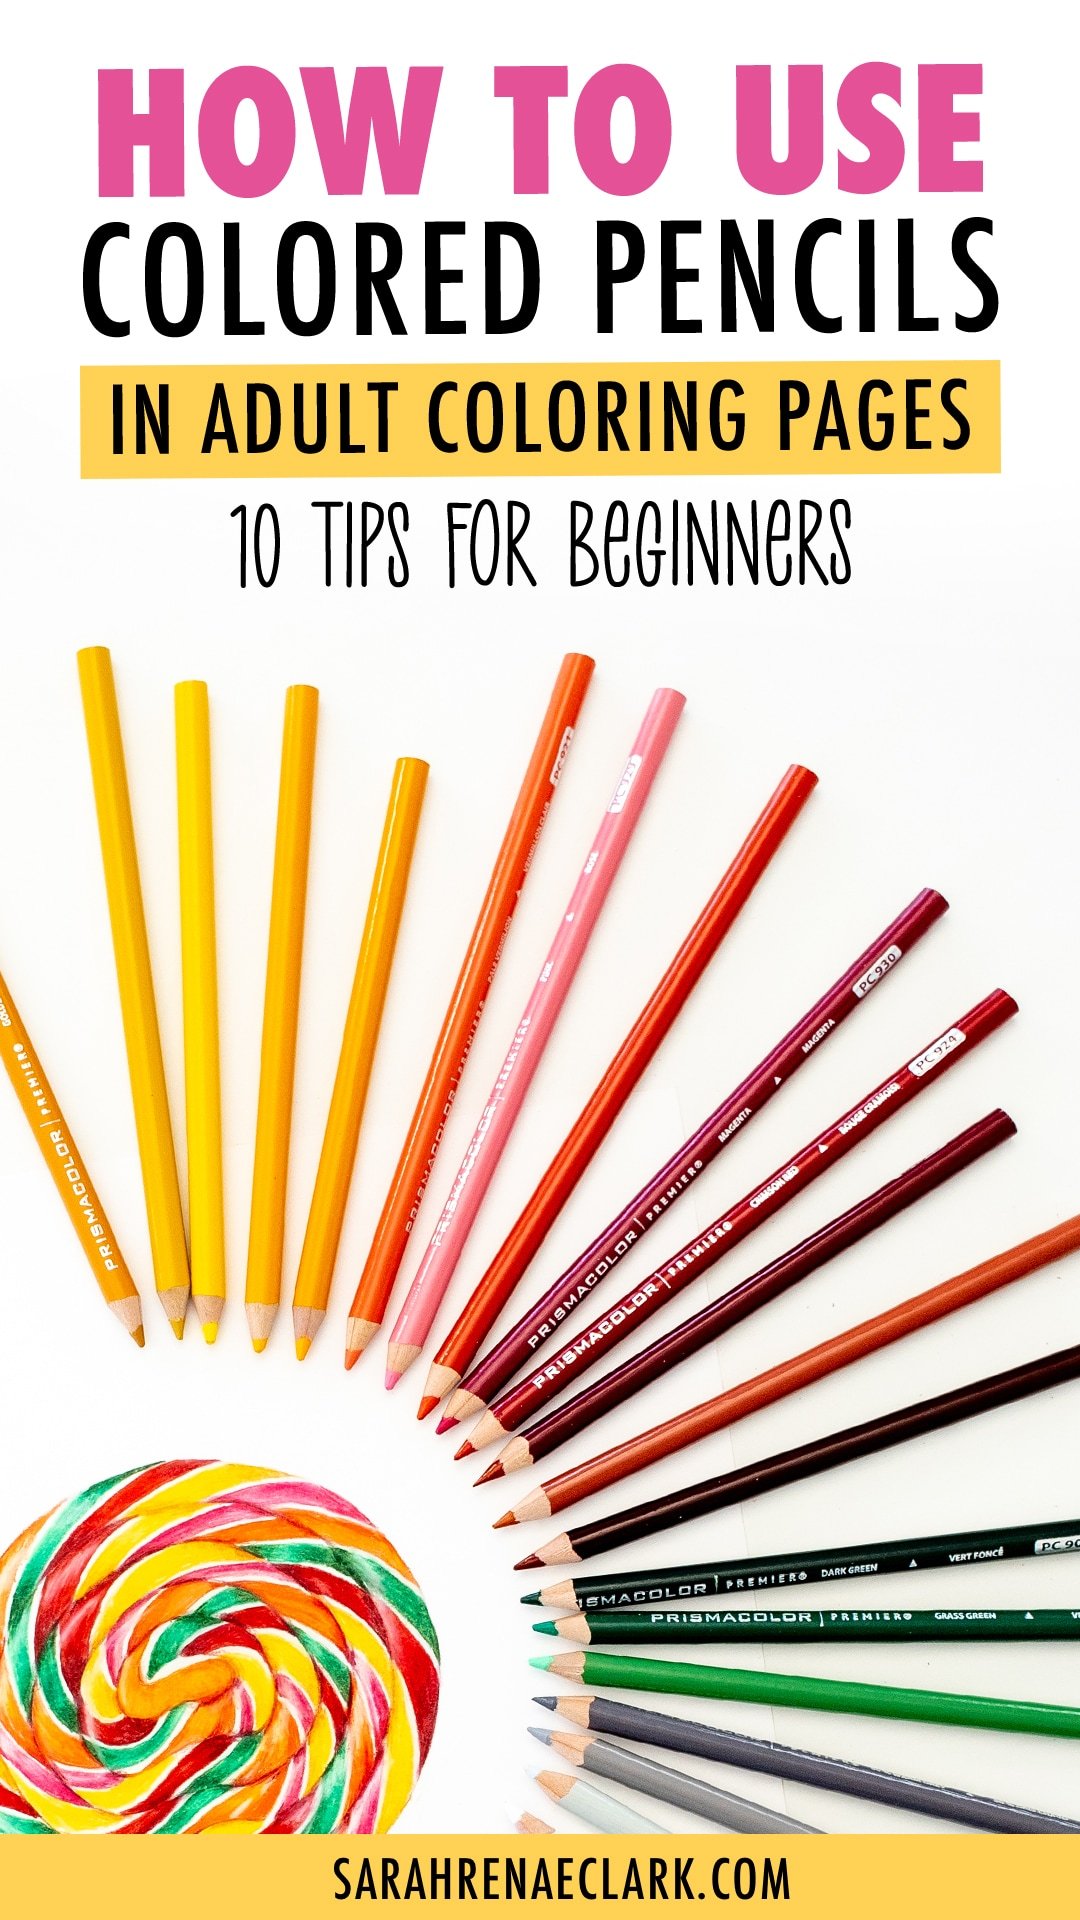
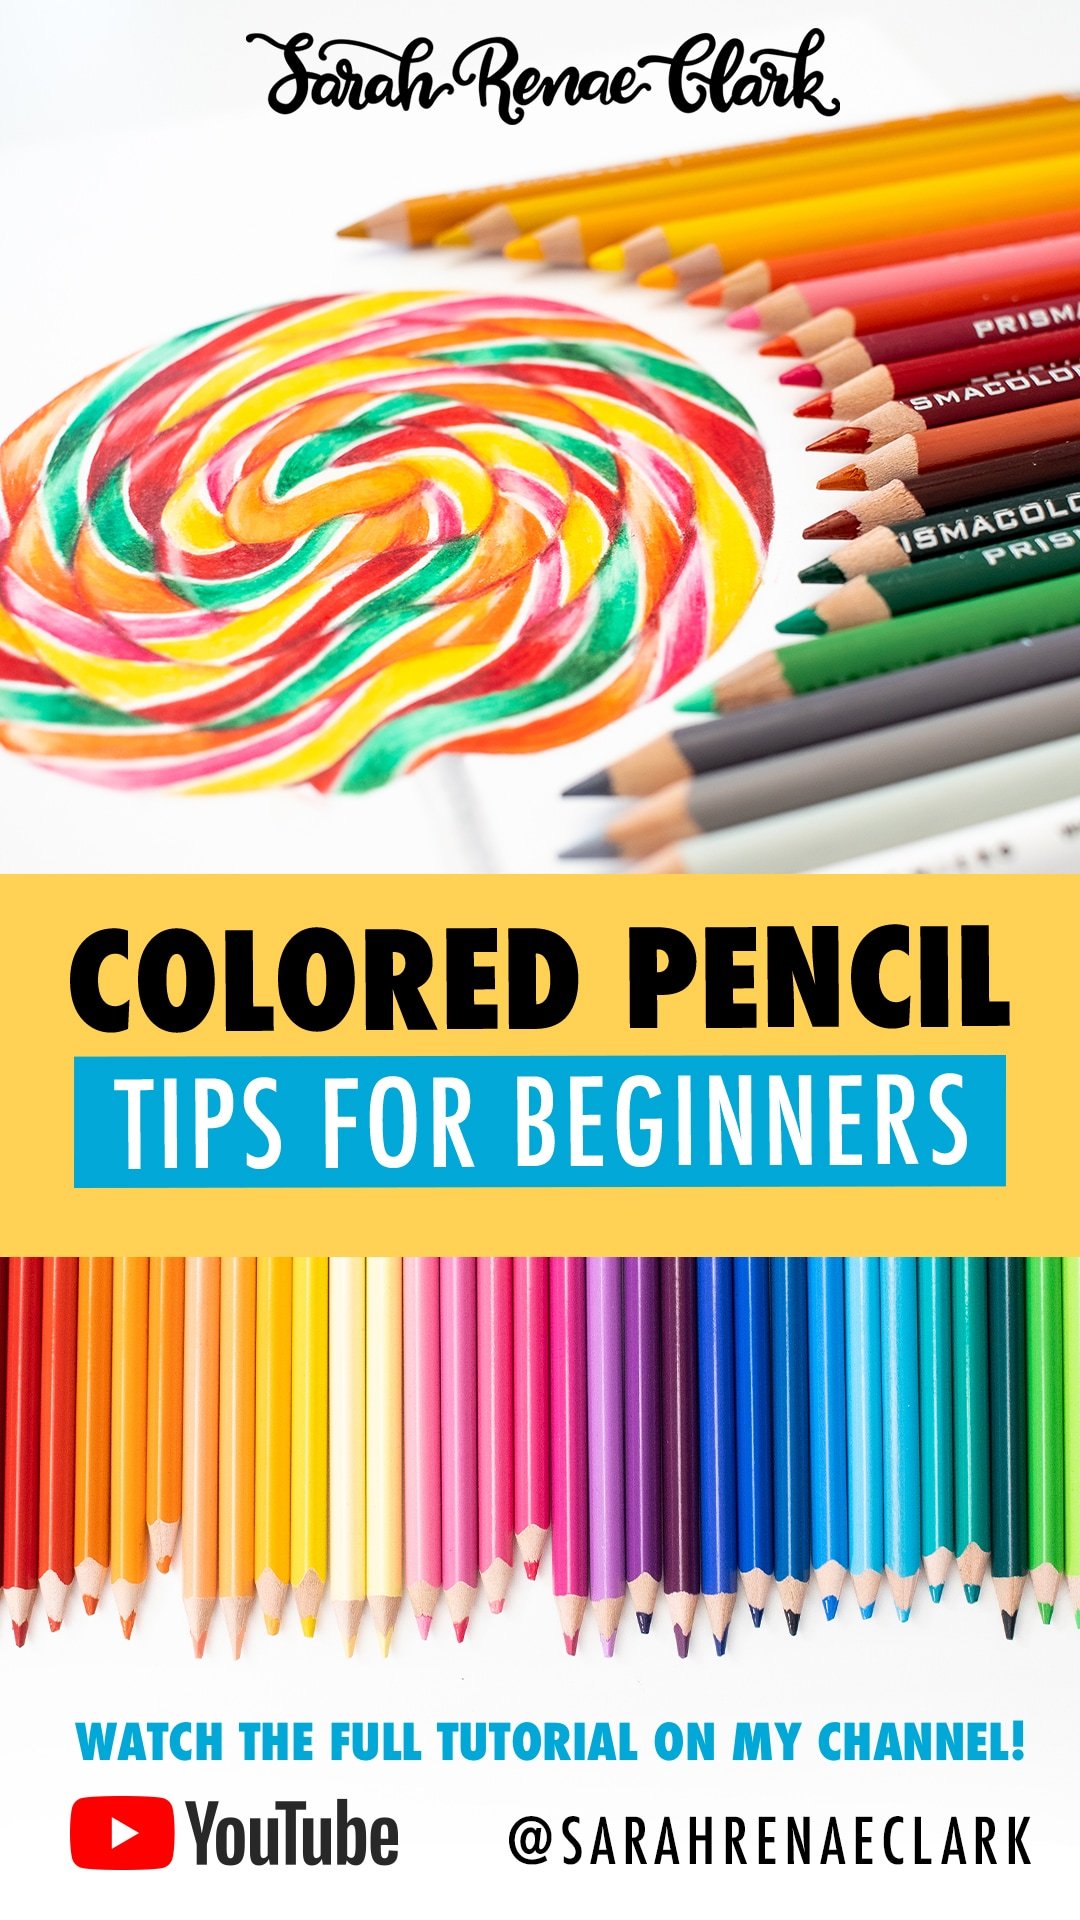
In this post, I’ll be talking about colored pencils. They are a great medium to get started with, whether you’re new to coloring books or a seasoned artist, and below is my top 10 Tips for getting the most out of colored pencils in your adult coloring pages.
Tip 1: Keep a sharp point
A sharp pencil is a simple key to great results. It allows the pigment to get into the deepest parts of the paper and reduces the grainy appearance. It also makes it much easier for you to control the pressure and create smooth gradients.
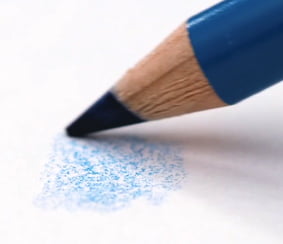
All paper has a texture, also known as tooth – it has very tiny ridges with lots of valleys that allow it to absorb a lot of layers of pencil. When your pencil is blunt, it won’t get into these lower ridges, AND you’ll often end up damaging the paper’s tooth, which will make it much harder to add more layers.
Don’t be tempted to keep drawing because your pencil is still working and laying down color. I used to do this a lot, and it was a mistake. A sharp pencil will always give you better coverage and a much smoother result.
Tip 2: Work in light, even layers
When you first start coloring, learning to work lighter and using more layers is one of the best things you can do to improve your art and create smoother results.

When you press harder with your pencil on the paper, you flatten this texture and get the color pigment into ALL the lowest parts of the paper. It creates a bolder color, removes the white, but also makes it much harder to add more pencil layers on top, and therefore impossible to create nice gradients and blends.
This is what we call “burnishing” – you can use this as the the final step in a drawing, where you press harder to remove any further white and make the colors bolder. We do it last so that you can do all your blending and gradients in the layers underneath. But once you’ve done this, you won’t be able to go back and add more details easily.
Pressing harder saves time and is a huge temptation, but it also creates harsh lines, can damage the paper, and will really limit your ability to create textures, gradients and blending effects.
No matter whether you are using cheap pencils or expensive pencils, learning to draw lightly is a great way to improve the look of your pages. you’re struggling to press lightly, try moving your hand further toward the back of the pencil. Holding your pencil further back and using the side of the pencil instead of the tip will make it much easier to use light pressure and keep your coloring smooth.
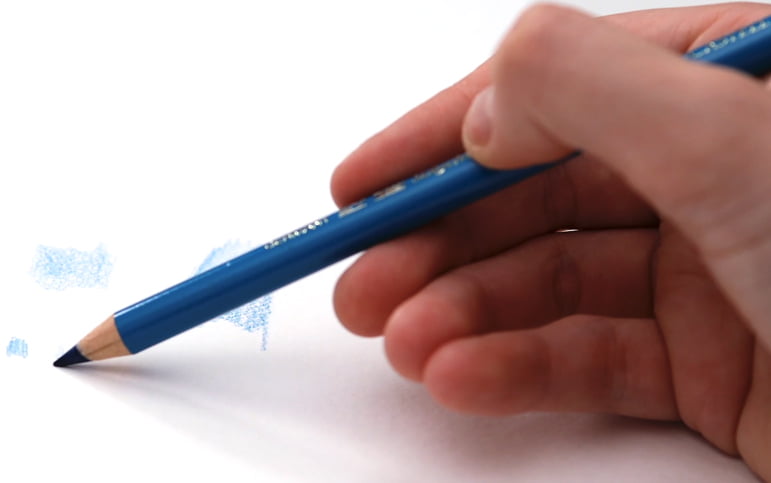
As a bonus tip, try drawing in small circular shapes instead of back and forth, as this will also help to reduce those harsh line marks.
Tip 3: Learn blending techniques
There are a lot of different ways to blend colored pencils, and the options can be overwhelming for a beginner, but it’s still worth learning a few basic blending methods to get you started.
The best beginner technique is to just keep layering your pencils like I’ve shown you in my previous blending tutorial, and finish with burnishing by pressing harder with the same pencils like we just talked about. You don’t need any extra tools for this method.
Once you’ve mastered this, you can experiment with some of the other blending tools around, like blending pencils, powders, solvents, and even household items or oils – in fact, I’ll be testing some of these out in an upcoming video, so make sure you’re subscribed on my YouTube channel so you don’t miss that video!
Whatever you try, I always recommend trying your blending on a test piece of paper first, never try a new method on your final artwork, just in case it doesn’t work as expected.
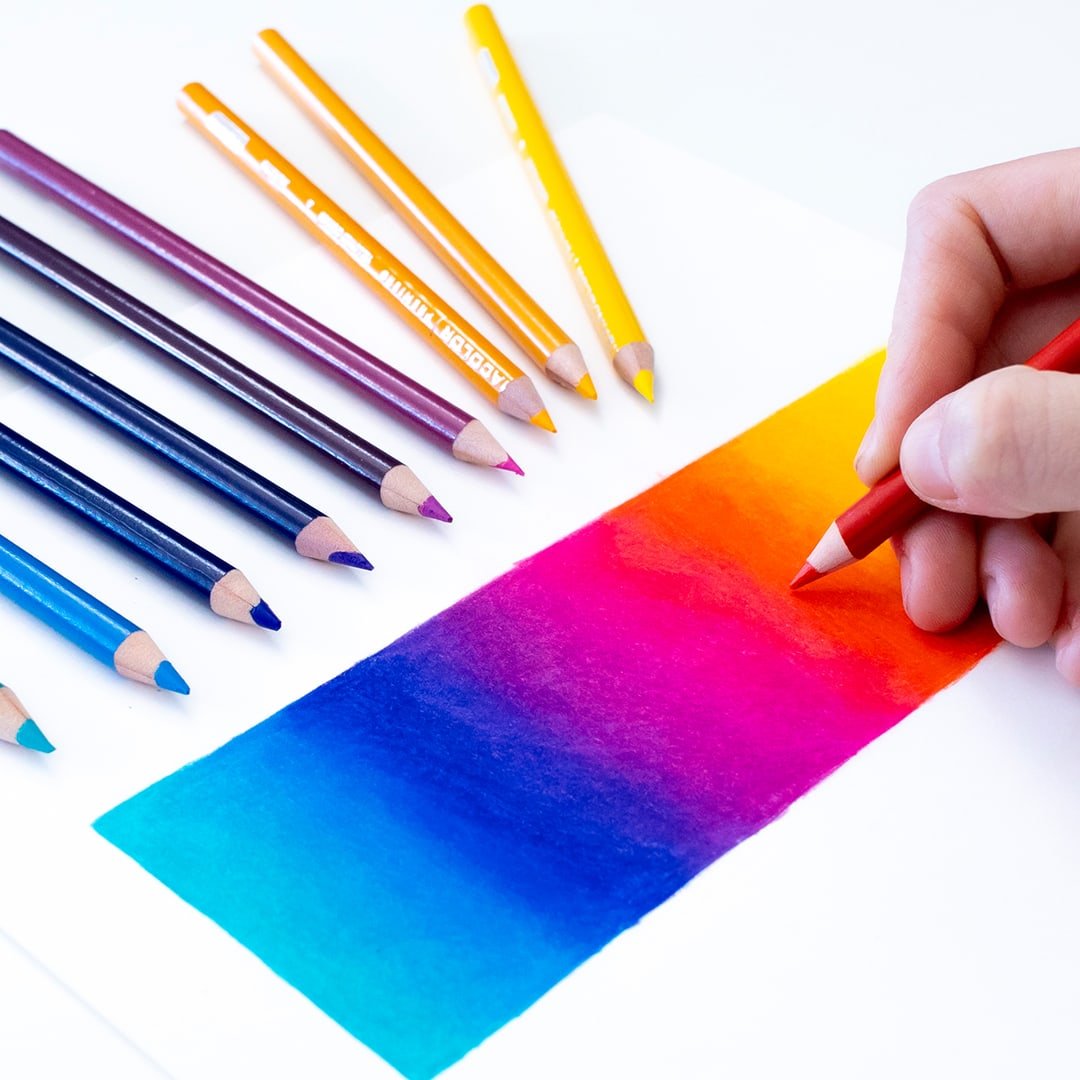
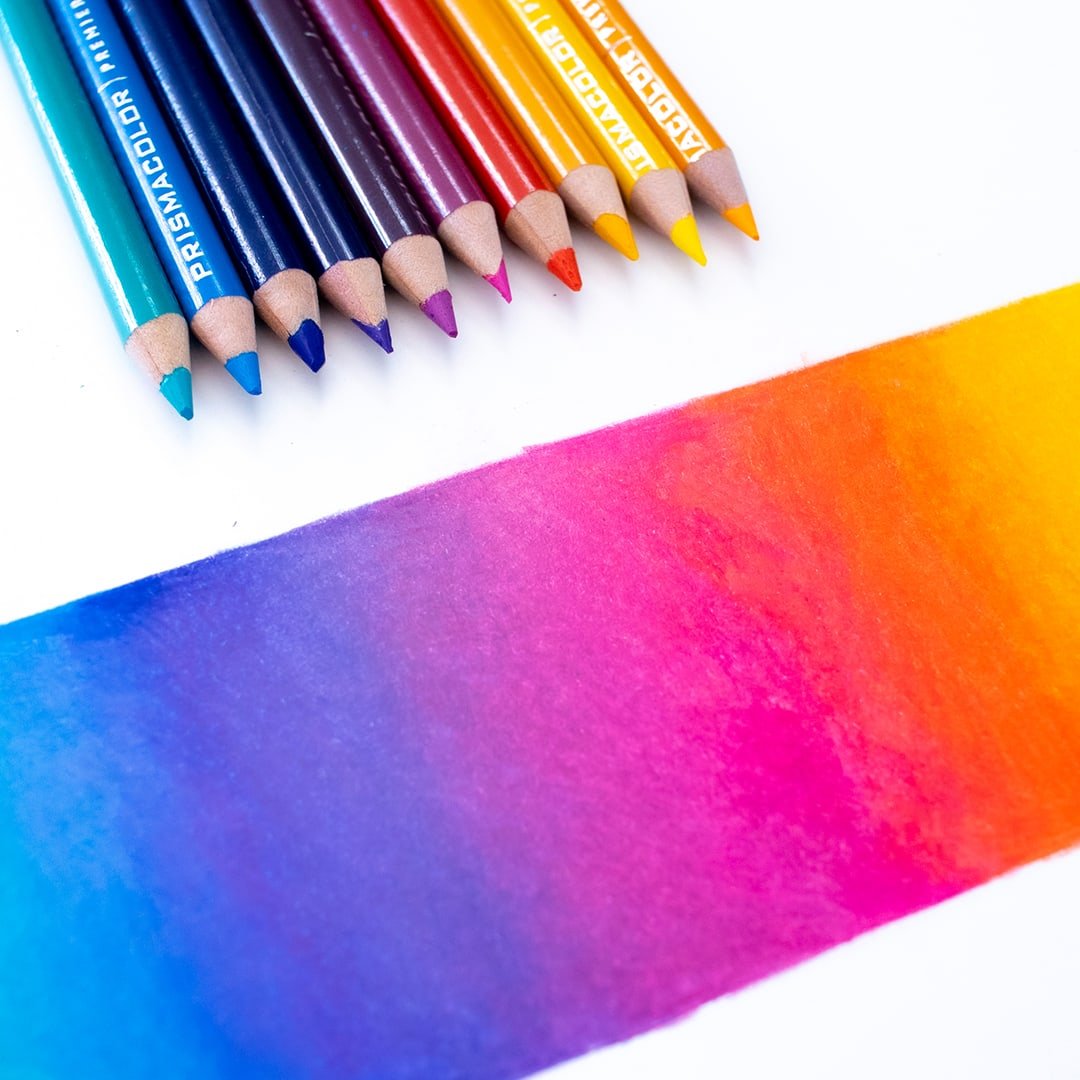
Tip 4: Use more colors
If your coloring pages are looking a bit flat, swap one color for 2 or 3.
Instead of using a single green to color a leaf, choose a dark and light green and color the same leaf with both. You can try layering them, creating a texture, creating a simple gradient, or even practicing some basic light and shading techniques (you can watch my tutorial on this here).

You don’t have to get too fancy. Just start simple by adding a second similar color every time you choose a new color. If you’re using a red, add a darker red. If you’re using a blue, add a light or darker blue.
Even without perfect blending skills, the slight change in color will give your coloring page more depth and make it look instantly more interesting.
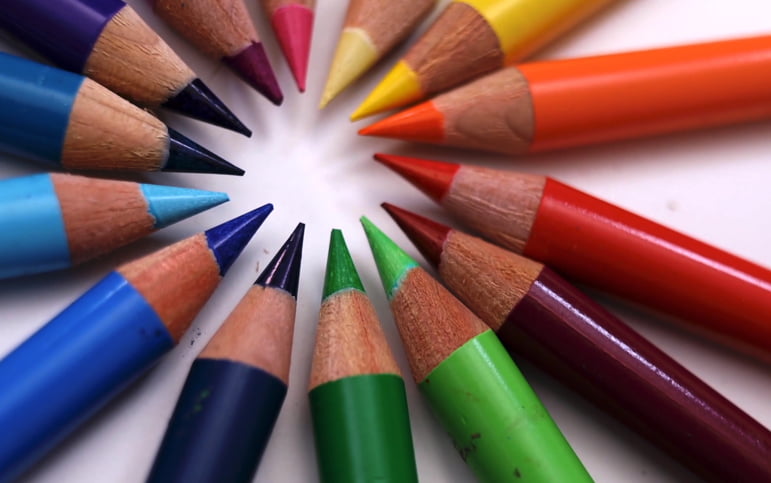
As a bonus tip, it can be really helpful to swatch out all the colors in your set whenever you purchase a new set of pencils. This can become a great reference every time you start to color, because you can easily see exactly what each color will look like, and you can even create some pre-selected matches of colors that work well together.
Tip 5: Use reference images
This is a bit of a secret from professional artists that many coloring book artists don’t think to use – and that’s to use reference images. This means using photos of the object you are coloring in as inspiration of the colors you could use, or to help you recreate the textures or lighting in your coloring.
If you’ve already got the Color Catalog, you can use the images in these palettes as reference images too! Otherwise, you can also find plenty of reference images on Depositphotos, Unsplash and Pexels.
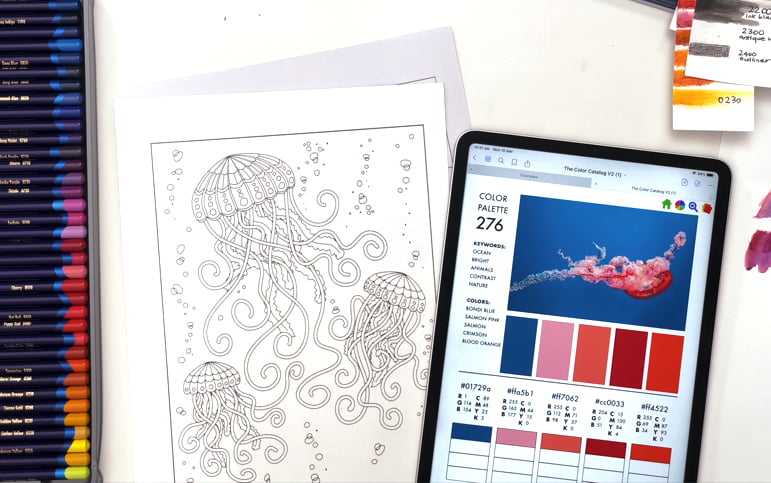
You can print your reference image out, or just keep it on a device next to you, and look at it as you are coloring. Try copying the style, the lighting or the texture – whatever you are using the reference image for. This can really bring a realistic look to your coloring page, even if you are coloring something whimsical or cartoon.
Tip 6: Watch tutorials and try new things
There’s no rule that says you have to learn all this on your own, and the fact that you’re here tells me you already know this. Tutorials are a great way to learn new techniques, learn quicker ways to do things, and to discover ideas or tools that you may have never considered otherwise.
We haven’t all been to art school – but with the internet, we have access to some of the best artists in the world, all in one place. So why not learn from the best!
But remember, it’s great to watch these tutorials, but don’t get caught comparing your skills to the people you are learning from. These teachers and artists are years ahead, so don’t compare your beginner skills to theirs, or you’ll end up discouraged. They started in the same place you are now, and they’ve made mistakes along the way too. So be encouraged to just give it a go, don’t be afraid to experiment, and challenge yourself to try a new technique from time to time.
Tip 7: Use a color palette or the color wheel
Using a color palette for your coloring page can help you to create a certain look or mood and can be a great source of inspiration to break through creative block and give you a starting point.
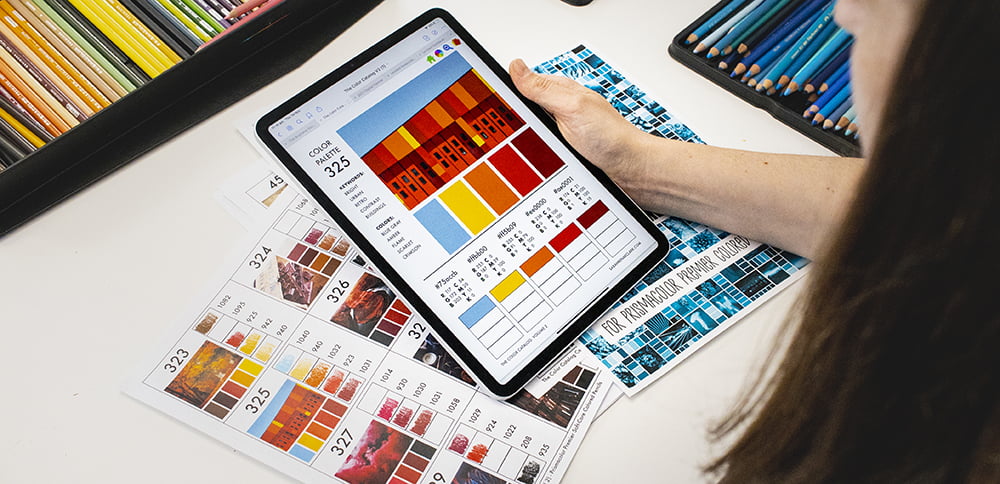
I don’t even remember what I used to do, because I never start a project now without browsing my Color Catalog for inspiration. It’s become such a fun part of my creative process, and helps me to think outside the box.
I don’t always stick to the palettes I choose. Often, it is just the starting point I need to help me start coloring and give me a general direction. It challenges me to work with colors that I wouldn’t naturally choose and move away from using the same few colors on every drawing.
Using the color wheel can work in the same way – and if you’re unfamiliar with how colors work, I recommend this short video I’ve put together to teach you how to use the color wheel so you can get a better understanding of why certain colors look better than others and how you can use them in your coloring.
Tip 8: Buy quality pencils
I remember buying my first professional set of pencils. It was so hard to know what to buy – a little overwhelming, actually.
There’s a lot to consider when buying pencils, so if you’re a beginner, don’t panic.
Ultimately, ANY mid-range quality pencils will give you a good start and will be a significant improvement on the no-name cheap dollar store pencils.
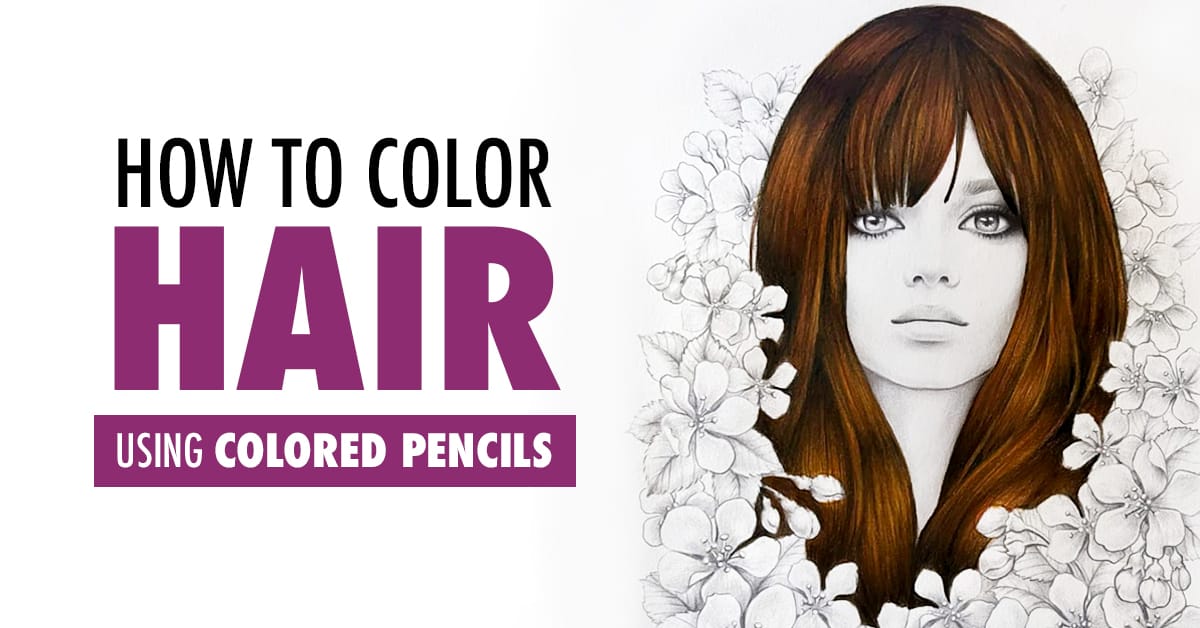
As a general guide, I recommend beginners look for a wax-based pencil, because they are softer, creamier and easier to blend than oil-based pencils. Oil-based pencils are a little harder to work with if you’re a beginner, but are often better for fine details like hair and fur.
I’ve got a few helpful videos to talk you through my top recommendations and favorite pencils, which you can read more about here.
But as an all-rounder for beginners, I think Prismacolor pencils are a great choice. And I still use them more than most of the other pencils that I’ve bought and tried over the past few years, including some much higher priced pencils.
You don’t need a huge set to get started. Just like I showed you in my previous video, you can layer and mix colors from smaller sets to produce a bigger range of colors- so instead of buying the big sets of 120, a set of 30-50 colors is perfect for a beginner.
But of course, if you like to own the complete sets, don’t let me stop you! I certainly LOVE having ALL the colors.
And if you’re wanting to try a few different brands before committing to one, you can often buy a few pencils open stock online or in craft shops. So buy some single pencils, and see which brand you like. Most brands will work together, so you can use these even after you commit to one brand later.
Tip 9: Buy quality paper
For a LONG time, I just used normal printer paper… but after upgrading to some better paper, I was genuinely surprised at how much my art improved AND how much EASIER and more enjoyable it was to use my colored pencils.
I’m still on the hunt to find my favorite paper… especially because everyone keeps asking!
But here are some general considerations:
– Paper varies a lot on preference, technique, and medium. Because we are talking about PENCILS, you’ll generally want a paper with more texture – not a shiny or smooth paper that’s intended for markers. However, even with pencils, there are a lot of different techniques and different artists prefer different papers.
– If you’re wanting to print your coloring pages, you need a paper that you can print on. So your printer also matters here, and this might eliminate some of the thicker or heavier papers that many colored pencil artists would recommend in general.
For a beginner, the most popular and highly recommended paper is a Bristol Vellum.
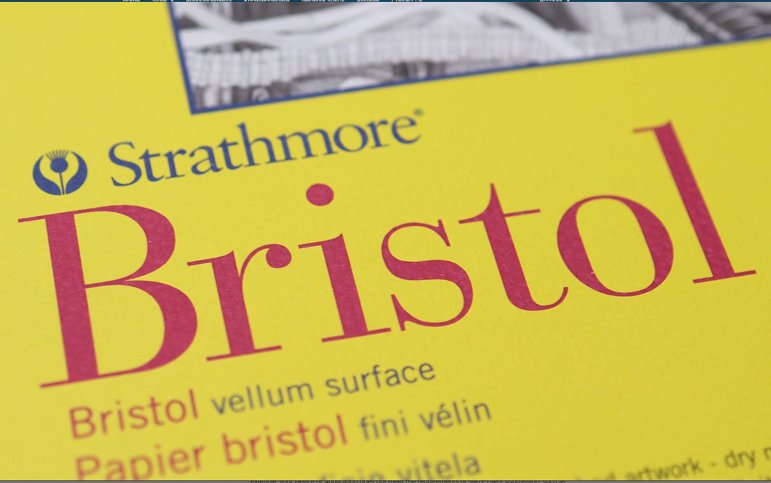
This kind of paper usually has enough tooth to work well with pencils, without having SO much texture that you need lots of layers to hide the white grain.
If you’re wanting to use solvents, watercolors or anything wet like the Derwent Inktense pencils I recently reviewed, you might want to consider upgrading to something a little heavier, like a watercolor paper or mixed media paper. These have a much thicker tooth and will handle the extra moisture – although they won’t always work in your printer, so it’s always best to buy a few single sheets first to try if you can find them.
There are some other tools that can help as well, so below are a few recommendations to help you:
Sharpeners
- Any basic sharpener works for a beginner.
- If your pencils are breaking a lot, upgrade to an affordable quality sharpener like Dahle 133 (one of the most popular choices among colorists).
Erasers
- Personally, I like using a Tombow mono zero eraser because it gets into small areas and can even be useful to create highlights.
- A kneaded eraser can also come in handy. It’s gentle on the paper and can be moulded into any shape to fit in tiny areas and is surprisingly good at removing pencil.
I also keep an old makeup brush handy to brush away loose pencil or eraser crumbs from my page as I’m coloring. This reduces the risk of accidentally smudging different colors onto your page or marking your work when you use your hand. You can use any kind of large brush with soft bristles.
I’ve also got some more tools in this guest tutorial by Carrie L Lewis, which you can read here.

Tip 10: Practice
All of this information is useless if you don’t put it to use. It’s not the tools or the expensive pencils that make the artist – it’s the practice.
I often see people, myself included, buy a new set of pencils and wait for the perfect project to bring them out – in fear of “wasting” them on anything else. But if you don’t practice with them, you’re not going to do that big project justice. Instead, take joy in EVERY opportunity to use your pencils, to use your supplies, and use up your coloring pages!
If you have a special page you’ve been waiting to color – just go for it! You won’t become an artist by watching tutorials, you’ll become an artist by practicing what you learn in those tutorials.
The best way to improve your skills is to just keep drawing, no matter what pencils you are using, no matter what paper you have, and no matter what your skills currently are.
We all start as beginners, and the only way forward is to take the first step.
To my fellow colorists and artists – please share with me below – if there was an 11th tip on this list, what would it be? And if you are a beginner – which of these 10 tips did you find the most helpful? I would love to hear from you and invite you to join my free Facebook group at the link below where you can share your progress and join our amazing community on your creative coloring journey.
Thanks for tuning in – I’ve collected some of my favorite coloring tutorials for beginners including some of the videos I’ve talked about through this video in a handy list right here so you can keep watching and best of luck with your coloring.
Resources and Links
I hope you’ve found this helpful! Please check out the above video, as I’ve included more tips and a full demo of this coloring page for you. I’ve included some links below to more resources you might enjoy too. Thanks for reading!

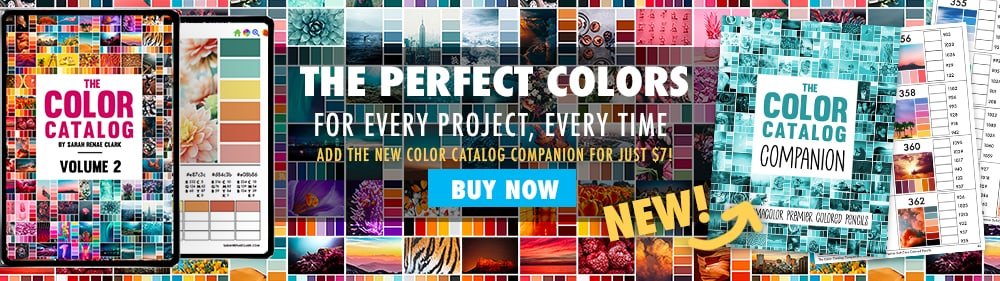
The Color Catalog
Choosing the right colors for your project can be hard, but it doesn’t have to be. Imagine a world of color in your pocket. The ability to find the perfect color combo for any project. That’s what I’ve created for you with The Color Catalog.
The Color Catalog is unlike anything you’ve seen before. It’s a fully interactive guide that has been crafted to extend your creativity and help you find the perfect color in any situation. Store the PDF on your mobile or tablet to find a color combination by color, keyword or collection in just a few taps. Or use the printable version to test out your own pencils or markers against each palette.
You’ll never be stuck for colors again.
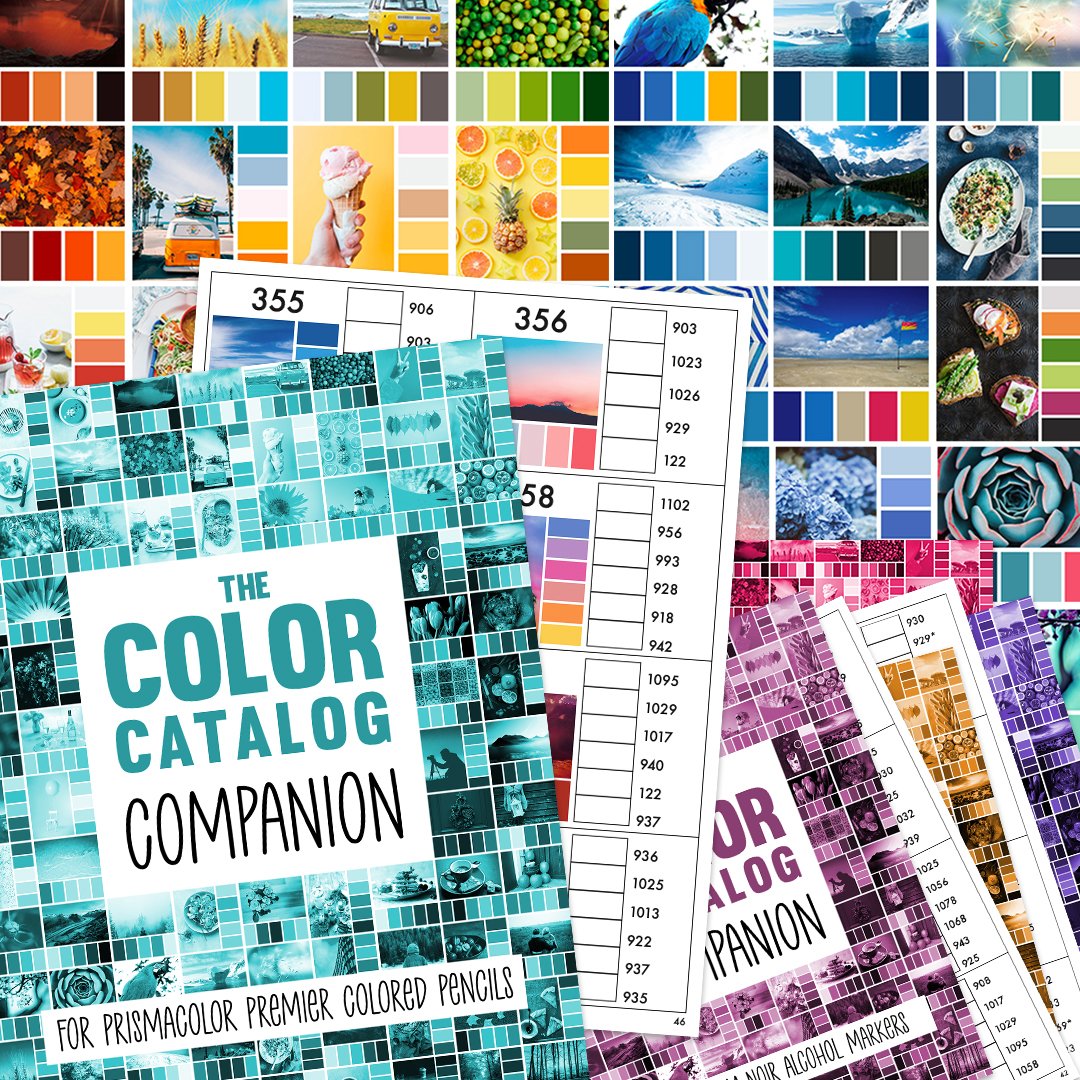
The Color Catalog Companion
The Color Catalog Companion is a new printable guide with every color palette from the Color Catalog where my team and I have pre-filled every pencil color for you for some of the most popular pencil brands (including the Derwent Inktense range) so that you don’t have to go to the effort of finding the best match.
Includes pencil and marker reference numbers for every color palette in The Color Catalog Volumes 1 & 2, PLUS a blank printable version with 8 color palettes to a page.
How To Blend Tutorial
Blending colored pencils is a skill every artist should learn, and so I’ve created a tutorial to teach you the BEST blending method for beginners that I use almost every time I draw. You don’t need solvents, you don’t need extra tools – all you need is a set of pencils!
Basic Shading Tutorial
Simple shading can turn a flat drawing or coloring page into 3D art that stands out and looks amazing.
In this two-part series, I’ll give you a few super simple methods you can use to give any flat coloring page some depth quickly and easily with shading. If you’re just starting out with adult coloring, this tutorial will help you take your coloring to the next level.
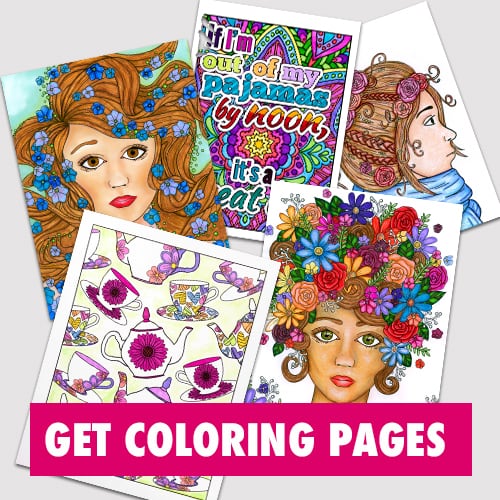
Shop For Adult Coloring Pages
When you can’t justify buying a whole book but have a craving for something new to color, my printable adult coloring pages will hit the spot! Choose one to dip your toes in, or fill your cart and create your own curated coloring book!

Hi Sarah Renae!
I’m new here and a complete beginner and I really appreciated this blog post & video.
You’re probably on top of this but it would be great if you could include an Amazon link that redirects for your non-American customers. (Especially us Aussies, lol.)
Thanks,
Karina
It’s on my list!
Hi, I came here to see if Spectrum Noir ever got back to you on the chronically breaking pencils, and if so, what did they do to help you?