
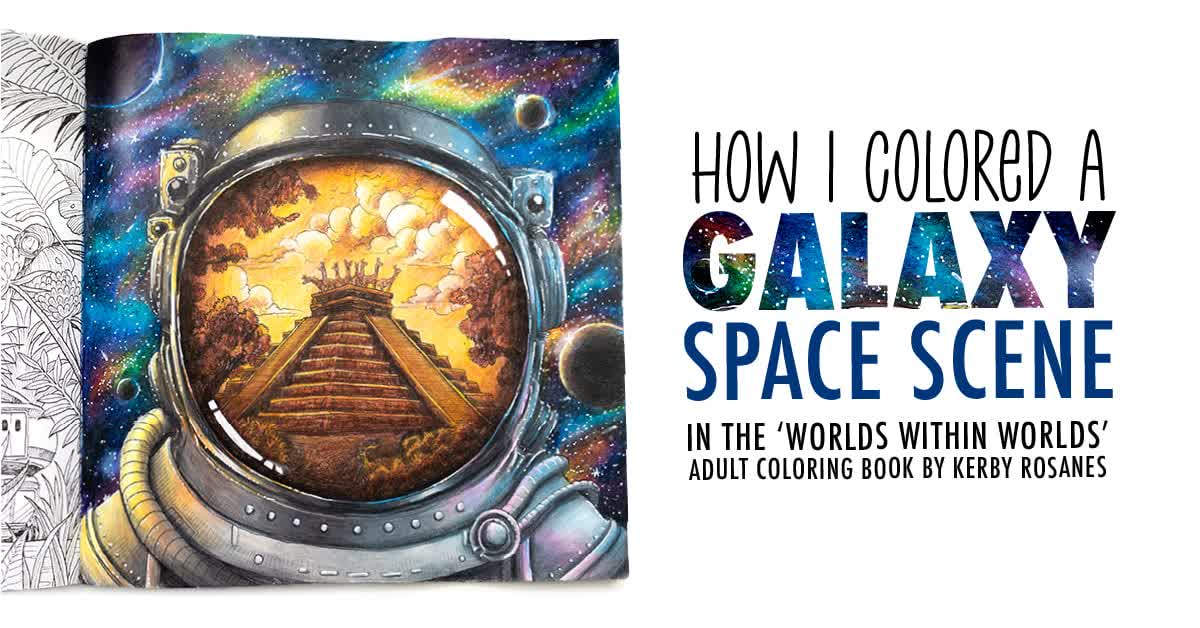
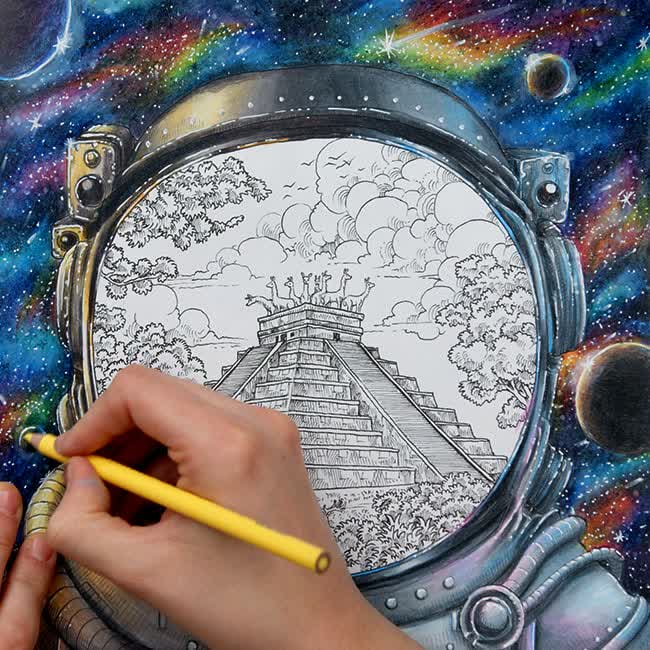
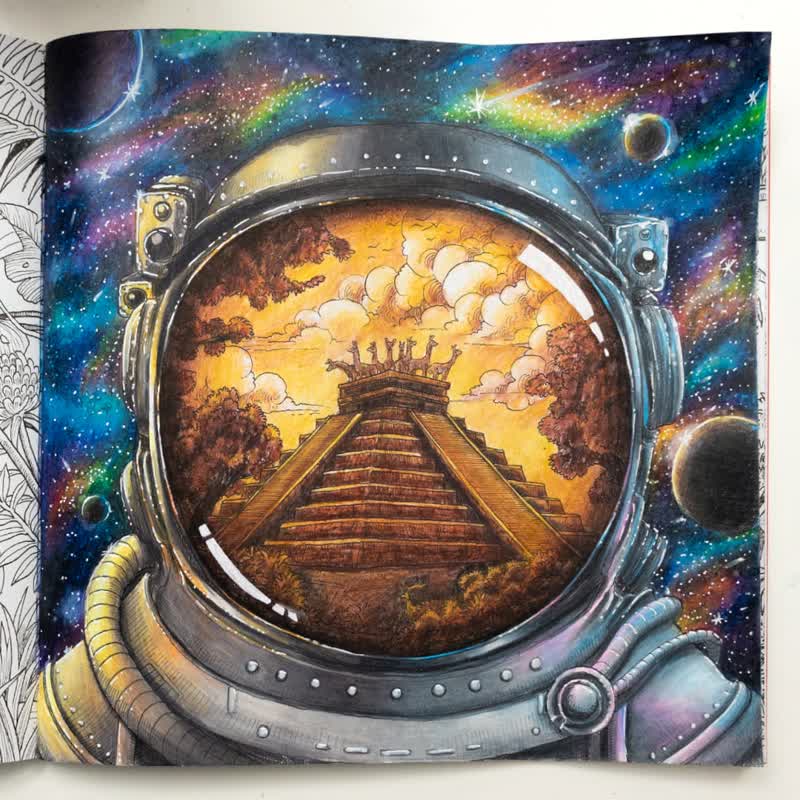
I’m taking on another adult coloring page from Kerby Rosane’s “World Within Worlds” adult coloring book, and this time, we’re heading into space!
Note: This content is NOT sponsored or endorsed by any of the brands mentioned in this post or video. This post contains affiliate links and I may earn a commission if you click them (at no cost to you).
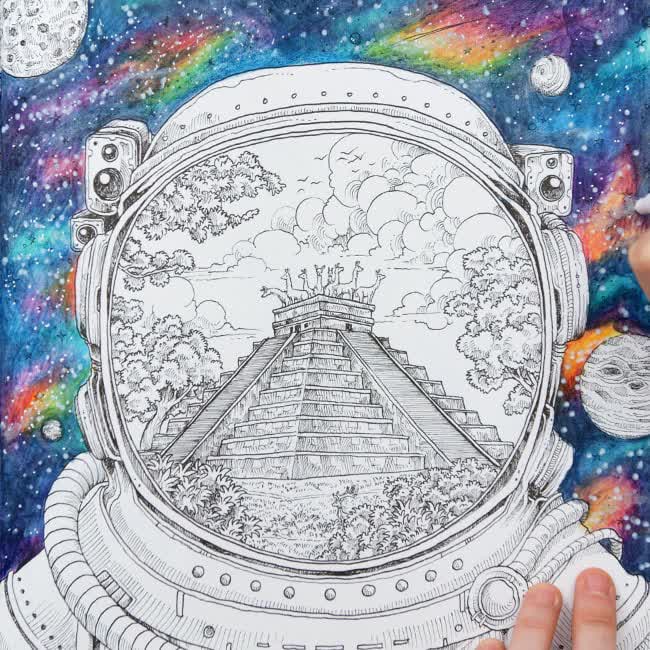
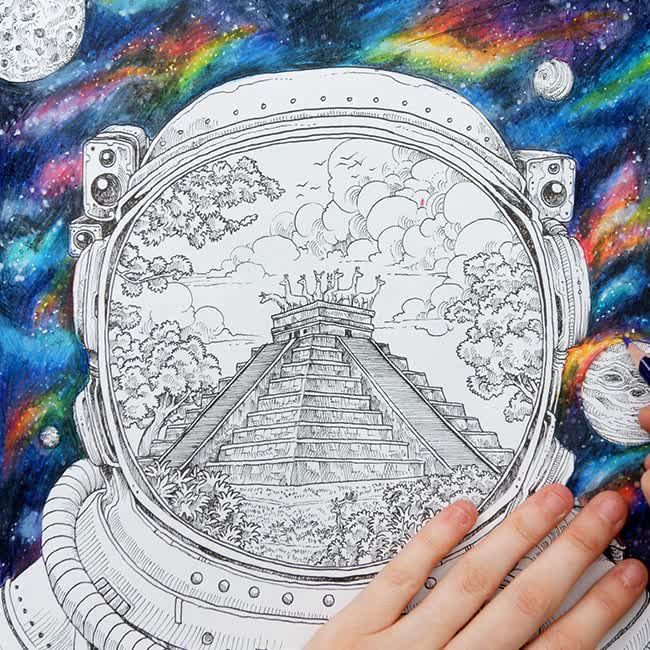
A coloring page like this brings a few opportunities to try something new and a few challenges that might intimidate a new colorist, we’ve got a space scene in our background, a completely different sky scene in the middle, and we’ve got the potential for some shiny surfaces on our spaceman.
To watch the full video of this project, you can see it on my second YouTube Channel HERE.
Here’s a breakdown of the steps I’ve included in this tutorial:
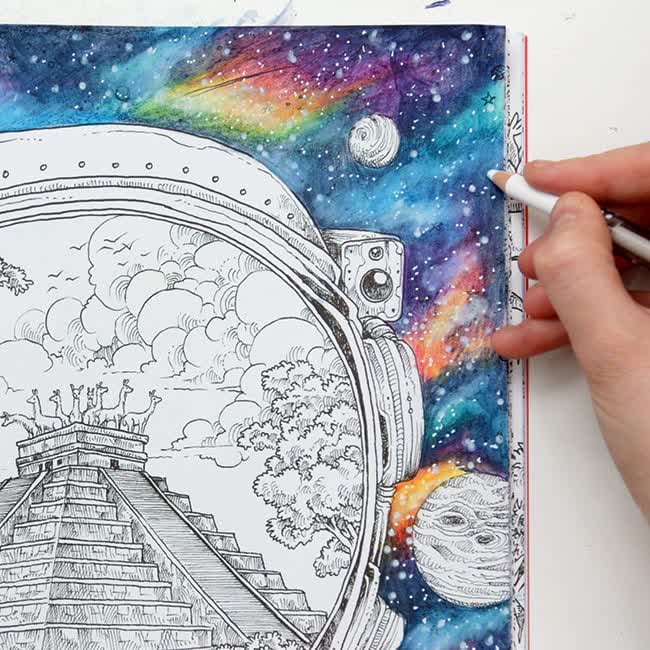
How to Color a Galaxy Background
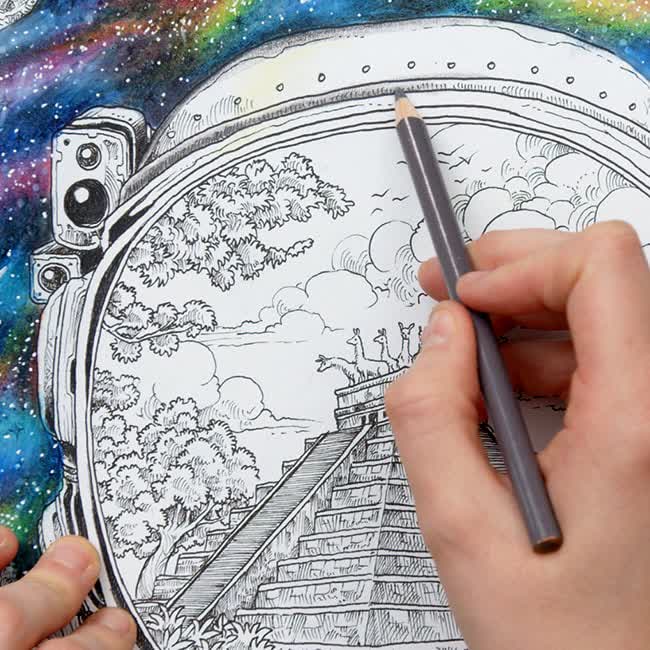
Instead of a simple starry background, I’m going all-in on a colorful galaxy background today. This is something that can be really fun to try, and there’s no perfect approach.
Resources Used:
Derwent Inktense Colored Pencils
Colors: 1210, 1220, 1300, 0720, 0700, 0230, 1700, 0210, 1100, 0840, 2110, 2300
Prismacolor Colored Pencils
Colors: 1006, 1011, 932, 901, 921, 1027, 1078, 938, 1003, 935, 929, 1022, 926, 132, 996, 989
Note: I didn’t use all of these colors
Other supplies
- Isopropyl alcohol
- Water brush pen
- Caran d’Ache full blender pencil
- Artistro white paint pen
- Faber-Castell Pitt Artist white pen

How to Color a Galaxy Background: Steps
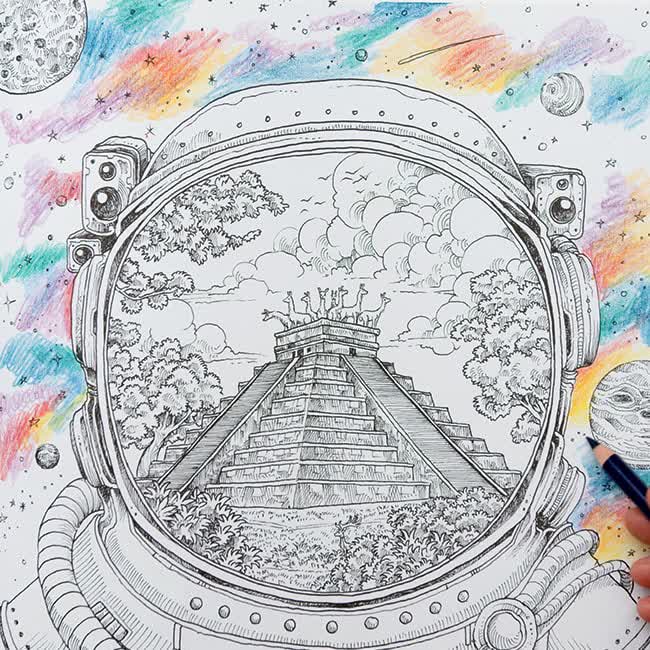
I’ve chosen to use my Derwent Inktense pencils again for a base layer. You’ll notice I’m starting with the bright colors first, and I’m being quite rough with my lowest layers while I decide where these are going. Using the inktense pencils allows you to be a little less detailed, but I’m also keeping my layers fairly light and using a circular motion, so all of this means that I can rush through this first step and focus more on where I want the colors to go.
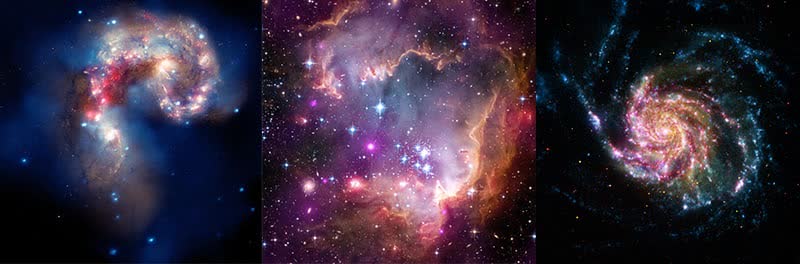
I’m not using any particular reference image here, but if you’re unsure of what colors to use or where to place them, a good starting point is to look at other galaxy photos (like these from NASA) or images online to see which colors naturally occur or look good together in these kinds of scenes.
And don’t be afraid to get creative and just have a go.
This still looks like a lot of scribbles at this point, but it will start to come together more as we bring in our darker colors and focus on blending some of these colors together more with some more layering.

My darker colors are all deep blues and I’ll finish off with some black later. At this point, I’m working more to blend my lighter pockets of color into my darker color, and in some cases I’m adding an extra color in between to given them a smoother transition – for example, I’m adding a purple between the reds and the blue, or a green between the yellows and the blue.

With the base layer of colors done, I’m using a water brush pen filled with isopropyl alcohol to activate my Derwent Inktense colors and blend my base layer

I’m being careful here not to just wash the alcohol over the whole area at once – because dragging the blue into the yellow or red will create a muddy color. So keep a tissue or piece of paper on hand to wipe your brush pen regularly in between colors.
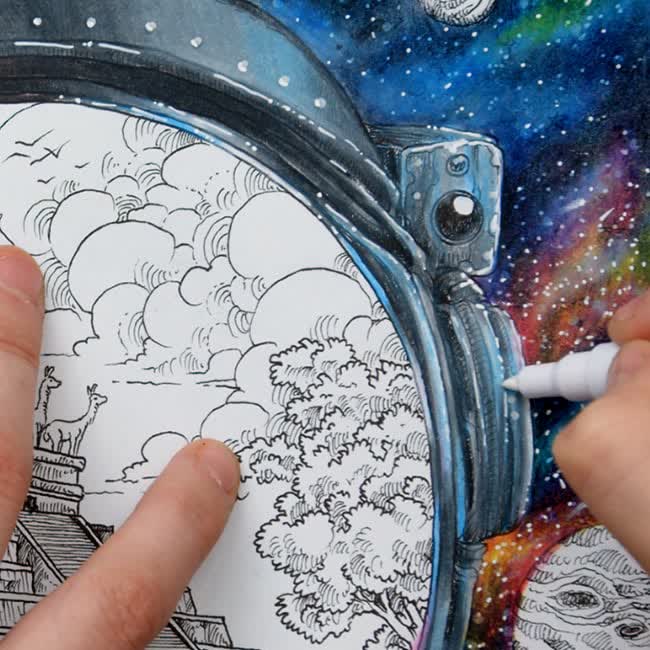
It’s time to add some white highlights in our background. I’m using both the large Faber-Castell Pitt Artist Pen and the fine-point Artistro white paint pen to create dots in various sizes, all over the galaxy background of my coloring page. Usually I leave the white highlights until the very end, but I’m adding some white highlights now to create a sense of depth. These highlights will be covered by our next layer of pencils and will partially disappear into the background when we are done.
So, we could just stop here. And if you’re starting out, this is a great simple way to create a galaxy effect. But we’re not done.
I’m moving to the Prismacolor pencils now and my goal here is to refine some of these details. I’m adding some extra colors, enhancing areas that need a bit more vibrancy, working on some of these blends a little more – and more than anything, adding a lot of darker blues and blacks everywhere.
It’s the blues and blacks that really make this for me. I love the deep dark space with the splashes of color. And the stars – they are now perfectly in the distance like we planned.
Although my Prismacolor pencils have left some waxy line-marks because I’ve used up all the texture of the paper and I’ve been pretty rushed through this – so my Caran d’Ache blender pencil is the perfect finishing touch to smooth this out, and I’m just wiping away the excess wax build up with a tissue.
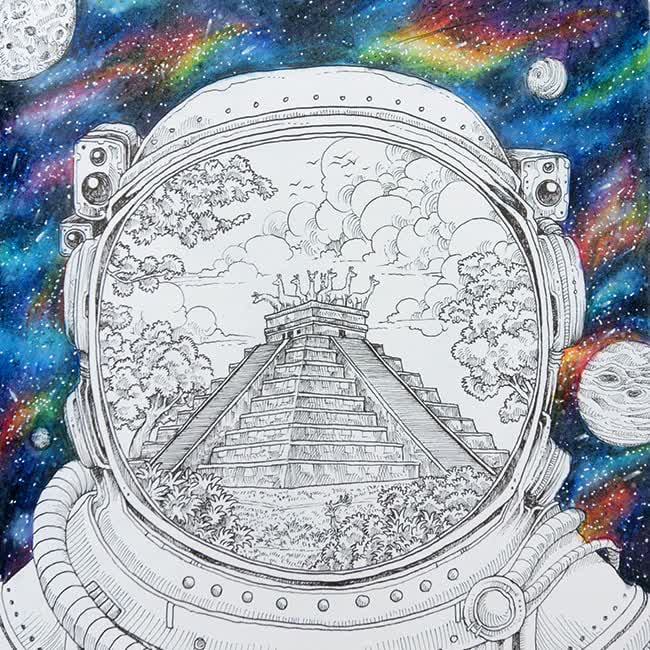
I’m finishing off the page with more white stars, this time with the fine-point paint pen only.
And the galaxy background is done. I’ll come back to the planets later. But next, I want to work on our spaceman!
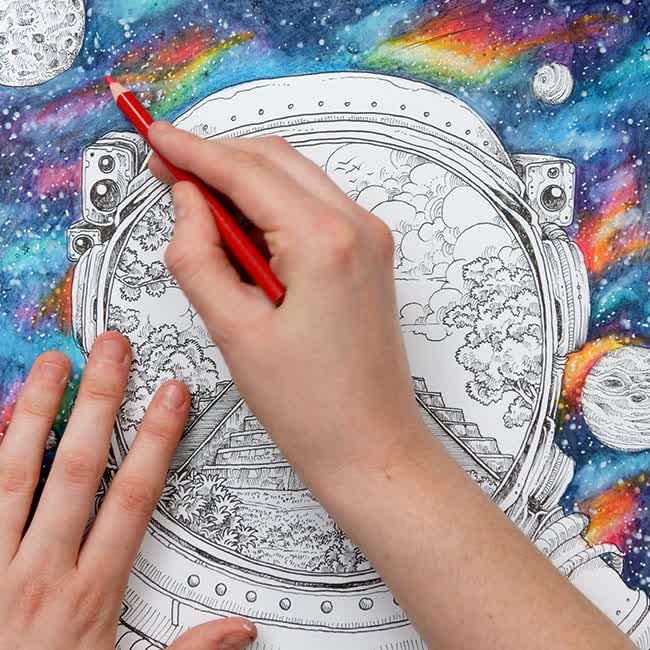
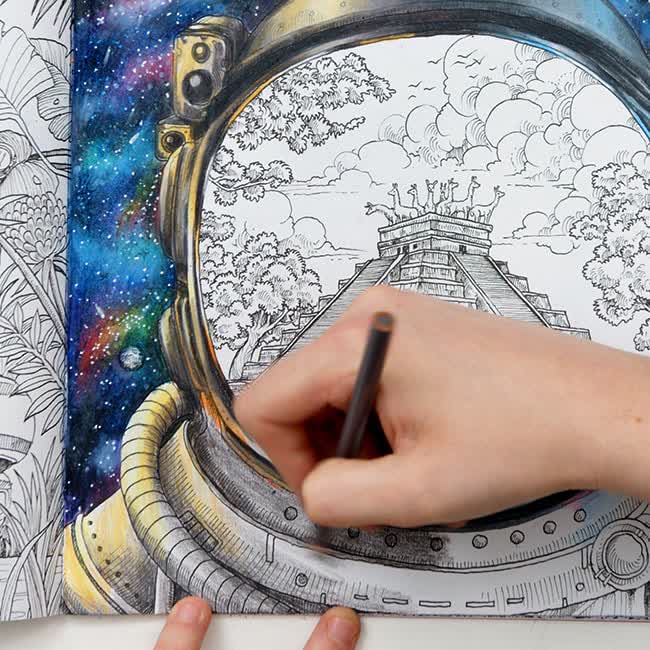
How to Color a Shiny Space Suit
Most astronauts are white, and I’m not sure if I want this to be a white suit or more of a silver suit, but in planning for this, I’m reminded of the Stormtrooper I colored back in my “how to draw white” video where I chose 2 light sources and the shadow fell down the middle. That was the first time I tried a light source like that, and I haven’t attempted it again since.

I’ve gathered my colors in 2 sets – I’ve got a warm set and a cool set, so we are going for a warm light on our left and a cool light on our right. In each set of colors I’ve got a range of light to dark greys, and then I’ve got a few yellows and blues as accent colors.
Resources Used:
Prismacolor Colored Pencils
Warm colors: 1058, 1054, 1052, 1050, 938, 1072, 1068, 1034, 1012, 1011
Cool colors: 1067, 1065, 1063, 1061, 1059, 938, 936, 903, 1022
Other supplies
- Artistro white paint pen
First, I’ve lightly drawn out where I think each of my lights will fall, so I have a bit of a reference point to work from.
One of the things I’ve found great about Kerby Rosane’s coloring books is that he includes quite a bit of shading for you in his linework, so if you’re unsure where to start, I always just start by blocking out the shadows in these areas first.

And from here, I’m just trying to think through what I already know about lighting and shadows to choose which areas should
be dark and light, but adding my accent colors in the lighter areas as well. It’s a bit of guesswork, but a fantasy scene like this can also be pretty forgiving
Around the rims and edges, I’m following a pattern of dark to light and back again, to create a shiny effect, like I’ve demonstrated in more detail in my How to Draw Gold tutorial. And I’m using more pressure as I decide each area looks right.
Here are some other videos that can help you learn more about lighting, shading, and coloring shiny objects:
1. How to Draw Shadows – Easy Techniques
2. How to Draw Shadows – Advanced Techniques
3. How to Draw Gold
4. How to Color White
I’ve decided to add some pink – although I’m not really clear on my plan for how this fits in. I just like pink and blue lighting together, so I’m taking a chance and hoping it pays off at the end.
I’m continuing to add my darkest colors in the shadows, and my lightest colors in areas that I think will receive the light, using my warm set on the left of the page and the cool set on the right of the page. I’m using the mid-tones to transition between dark to light.
I do want to add to some shine to this suit and helmet, so I’m bringing out my white pen again and highlighting around the edges and in the lightest areas.
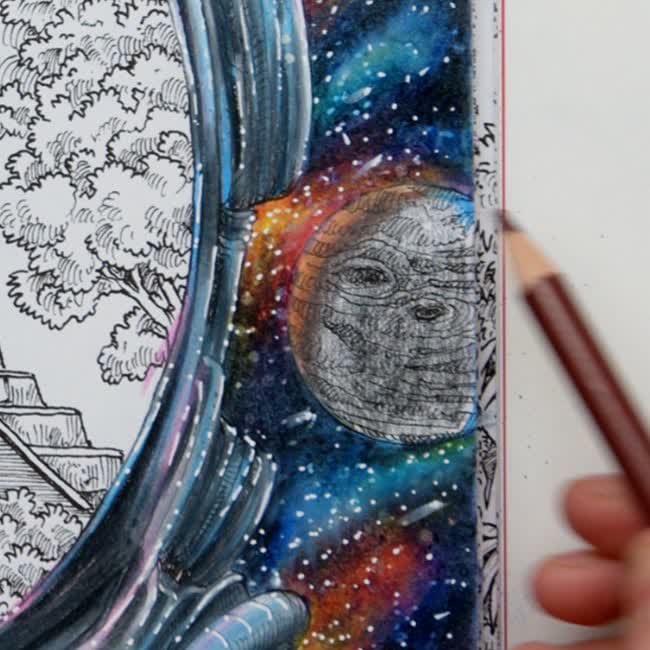
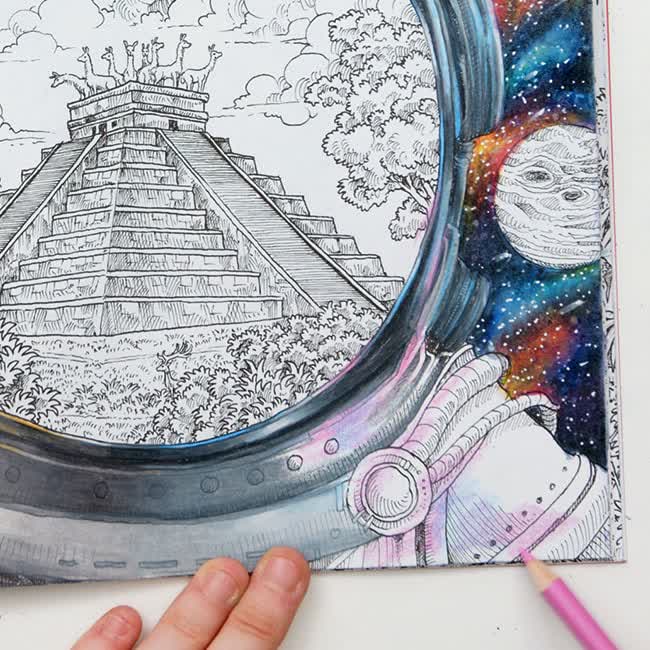
How to Draw a Planet Eclipse
It’s time to draw our planets! And instead of color them in like a 3D sphere, I’ve decided to create an eclipse effect with our colored pencils and white paint markers.
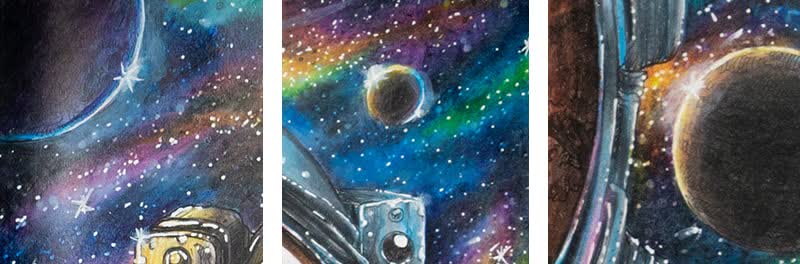

I’ve chosen to use the same colors that are already in my project – the blue and yellows from my space suit – but any color is fine here. I’m only going to color the very edge, and the rest of the planet will be a shadow.
I’m working with my paint pens again to create a lens flare along one edge of the circle.
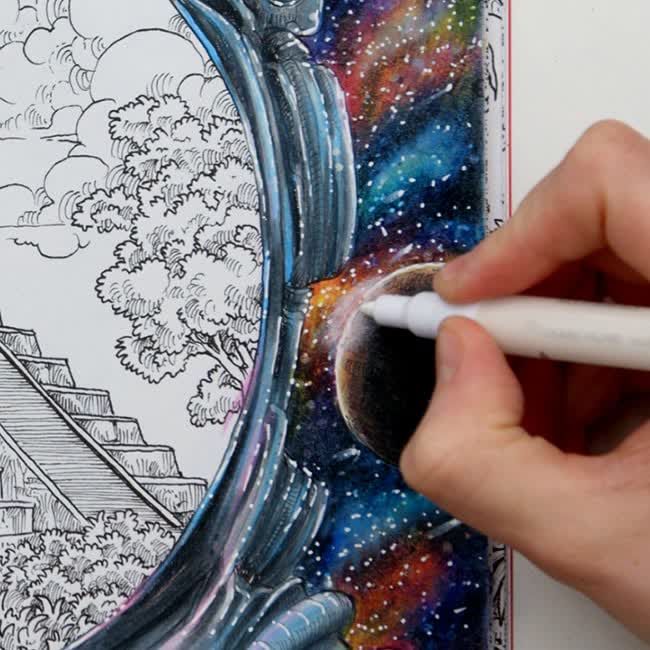
If you go too far – don’t panic. Let it dry for a moment, then use a pencil to rub over it to remove the excess.

For an extra effect, I’ve tried to create a subtle glow at a single point along my edge by using my paint pen and smudging it with my finger. Let’s be honest – there’s probably a better way to do this! But experimenting is half the fun, so do whatever works for you.
I decided to work with my pencils again over the white line after it dried, and then added another layer of the white. This is optional, but just creates a smoother transition between the white glow and the planet itself. Again, I encourage you to experiment!
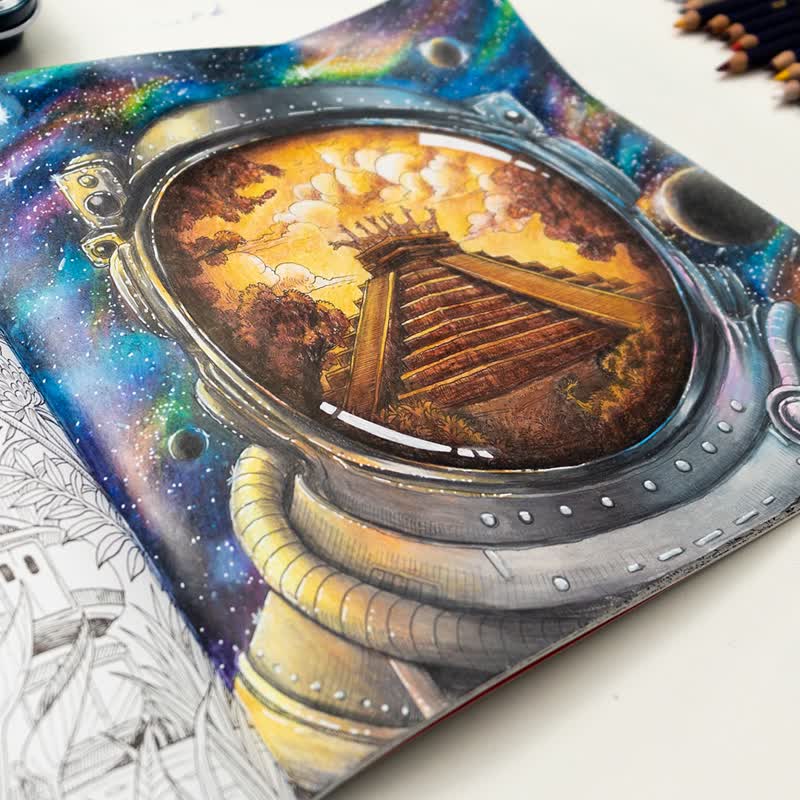
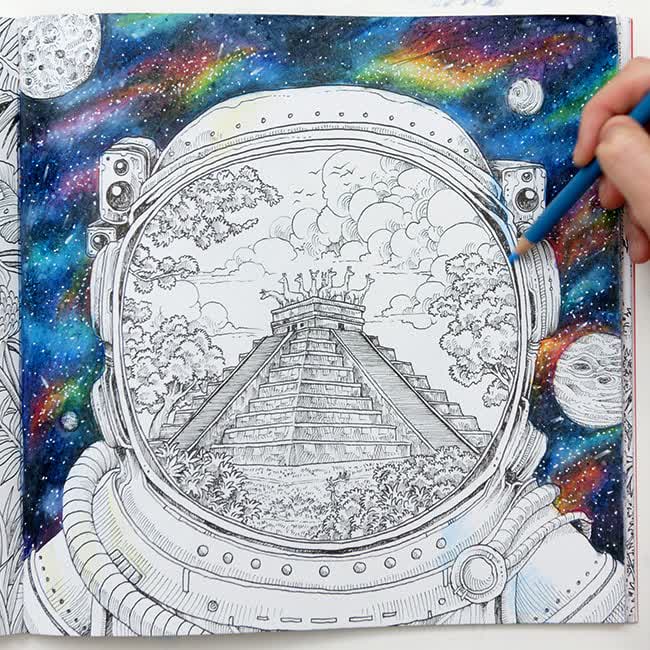
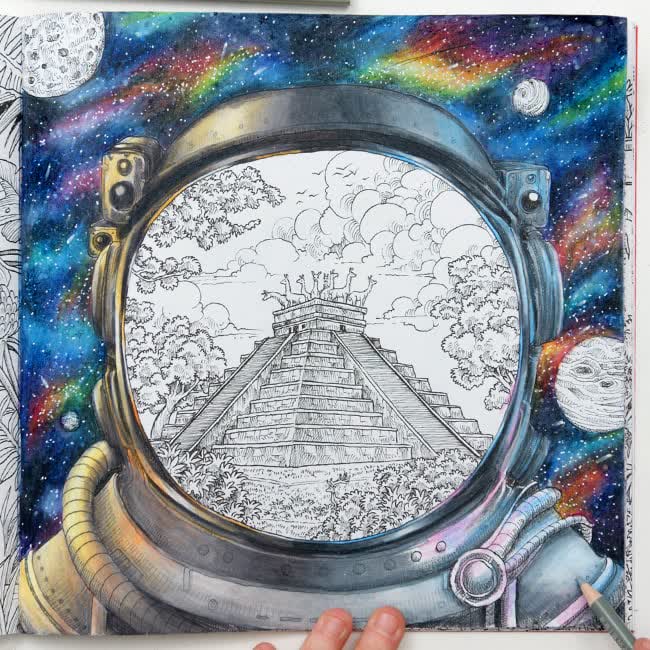
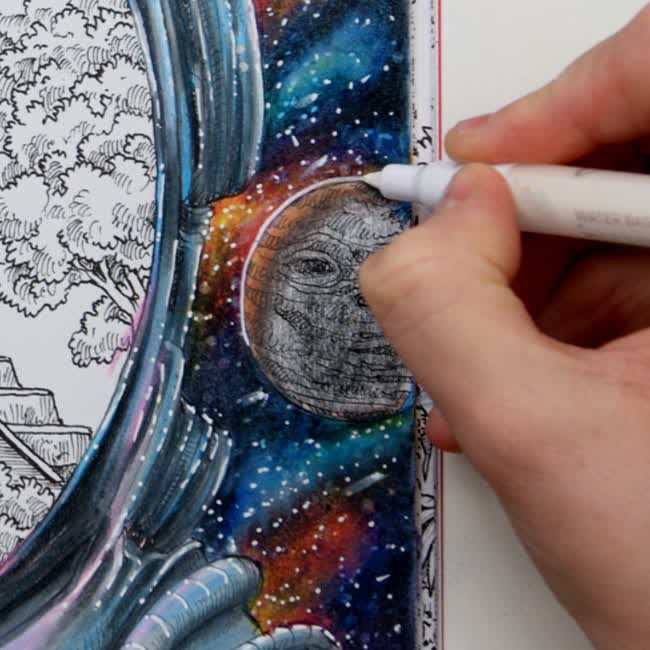
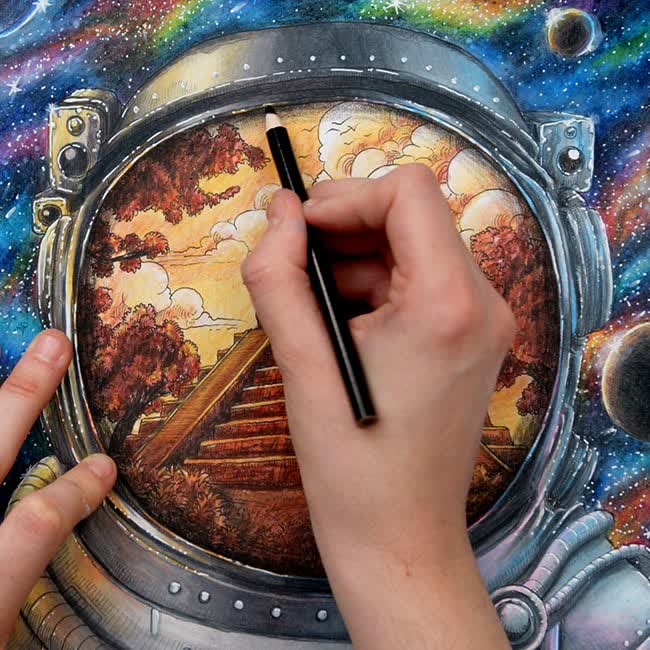
Finally, it’s time to head into our other world, inside the helmet.
How to draw a Sepia Monotone Scene
I’ve decided to limit myself to a somewhat monochrome color palette, to suggest that the space helmet itself has a gold color to it and the scene is a reflection.
Resources used:
Derwent Inktense Colored Pencils
Colors: 0220, 1800, 1910, 1920, 2000
Prismacolor Colored Pencils
Colors: 1012, 1034, 943, 1095, 938
Other supplies
- Isopropyl alcohol
- Water brush pen
- Artistro white paint pen
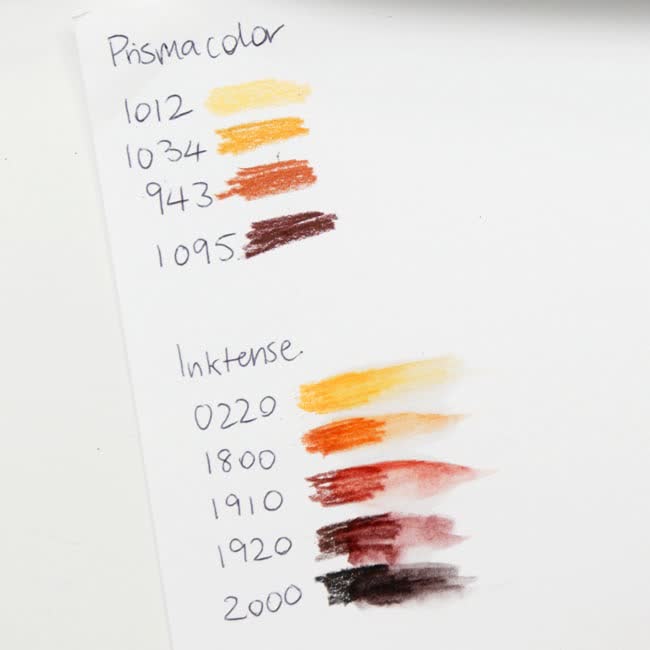
I’m working with the Derwent Inktense pencils again, and I’ve chosen just 5 colors ranging from dark to light. A monochrome color palette is one of the easiest to work with, because you’re just coloring light and shadows.
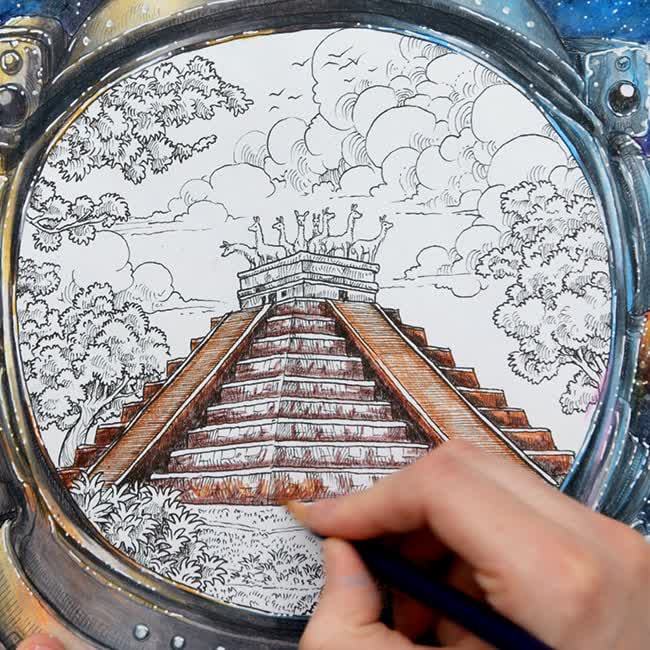
I started with the darkest areas first, and again, just chose the areas that felt like obvious shadows. Any area that was already partially shaded in the linework, or any areas that would be covered or shaded by nearby objects are all places I made the darkest.
I kept my sky light, and didn’t color the clouds at all at first.
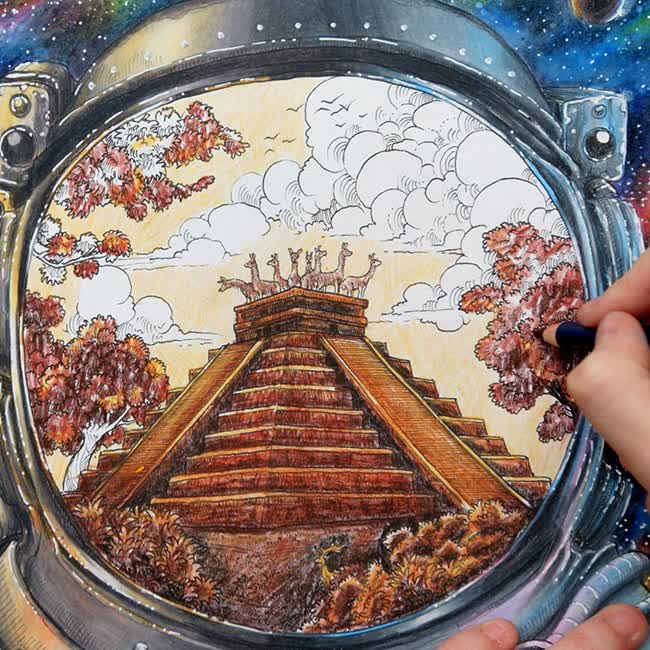
For the trees, I used a variety of colors, mixed among the leaves.
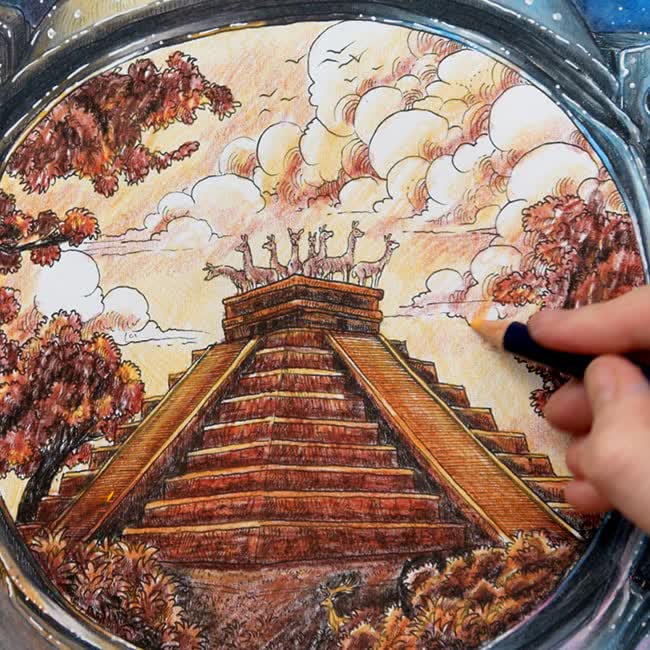
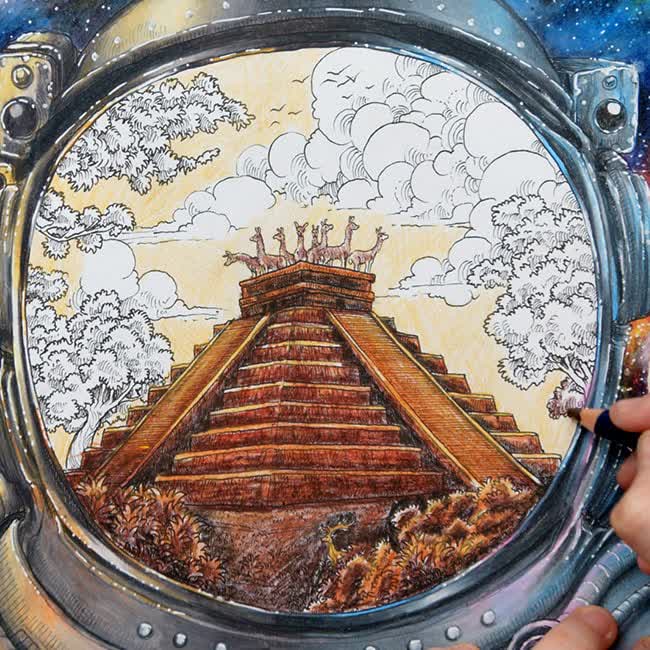
When I was ready to shade the clouds, I just followed the basic shading that Kerby Rosanes had started in the line work, creating a slight shadow at the bottom of each cloud and leaving the top of the shadows white. I also darkened the area of the sky behind and around the clouds.
Then I covered the base layer of pencils with the isopropyl alcohol in the water brush, but you can also try a colorless blender marker or water to do this. (I’ve avoided water so the colors don’t bleed through the page)
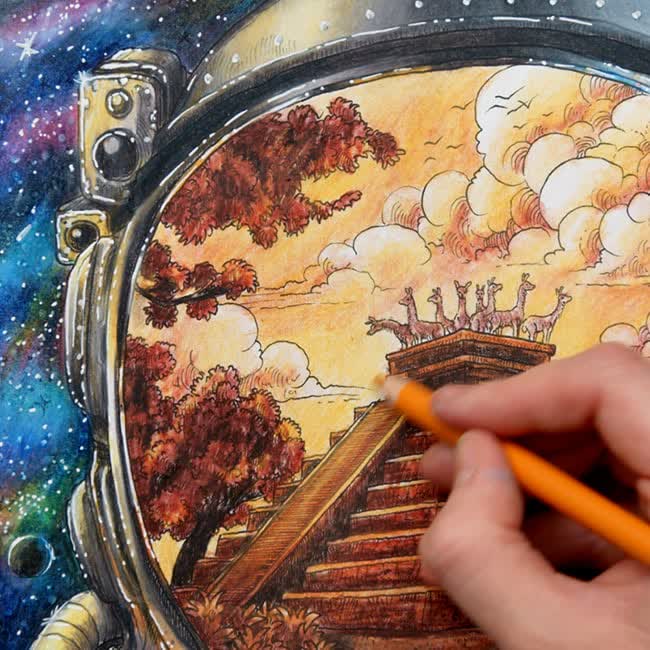
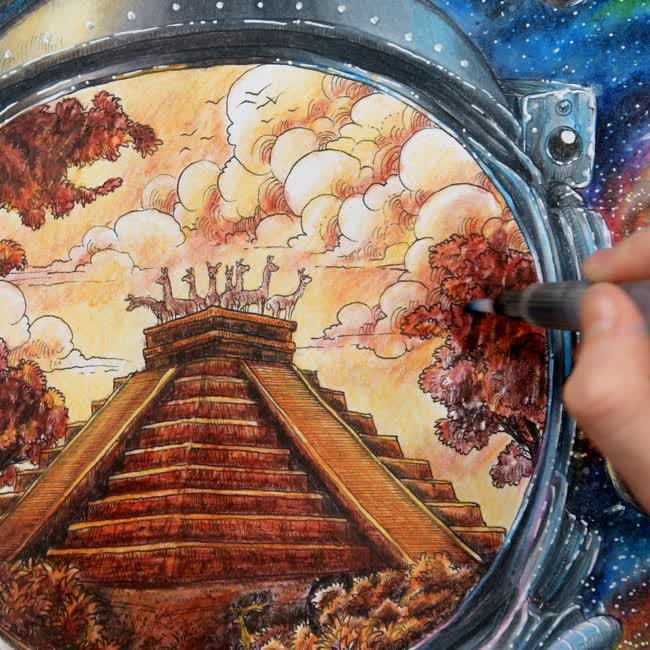
Once the base layer is dry, I’m doing some final touch ups with my Prismacolor pencils with just 4 colors that I matched to the Inktense colors as closely as possible. In particular, I’m focusing on adding stronger shadows, flattening areas with too much texture, and adding more contrast and detail.
And to help give my helmet it’s round shape, I’m adding a black shadow around the whole edge, feathering it by reducing the pressure as it goes towards the middle.

And then, blending it into the medium and lighter colors until it fades into the scene.
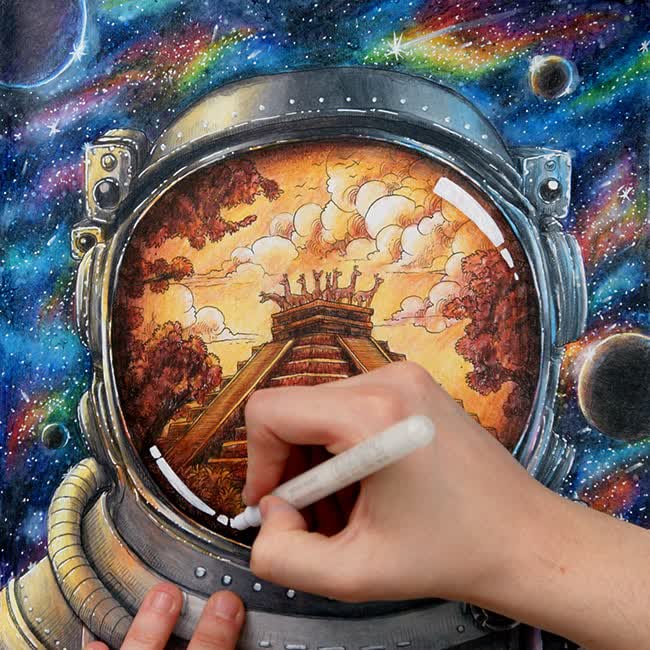
One final touch – it’s probably unnecessary, but a white highlight just reminds us that this is a reflective helmet and not a gaping hole in our spaceman’s head.
This page has taken me just under 5 hours – which is less than I’ve spent on some of my past coloring pages – because the Derwent Inktense definitely speeds up the process. Plus, this all gets easier with practice. So if you’re overwhelmed at the idea of ever being able to color like this, don’t panic! Just start somewhere, and give your creativity a chance to grow.
If you’re looking to stretch your creativity in new ways, check out my 100 drawing prompts in 100 minutes video, where I take on Moriah Elizabeth’s Create this Book HERE.


Sarah, I love your channel, it is a lot of fun and informative. I have a tip for you. Whenever I am working on a picture, whether I am drawing or coloring, I manage to smudge work I’ve already done. To solve this, I use a bridge. It keeps your arm off of your artwork. The one I use is on Amazon – Creative Mark Artist Leaning Bridge Hand and Wrist Leaning Bridge Acrylic Used for Steady Hand Painting, Drawing & Sketching – 18 Inches Clear
Good luck and happy coloring.