
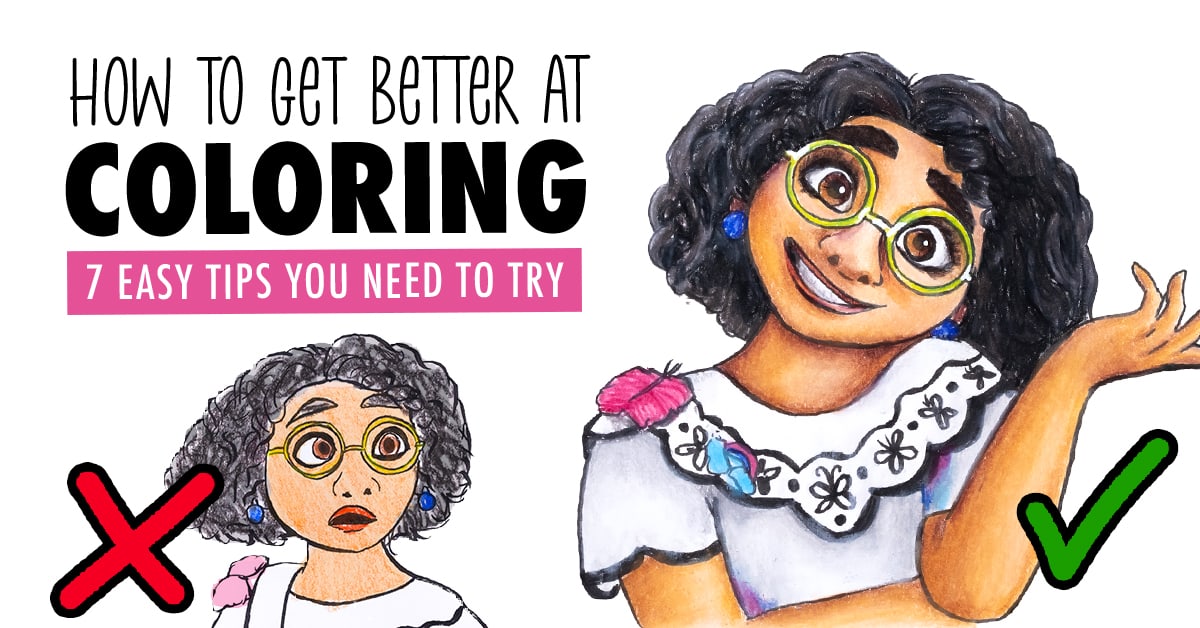
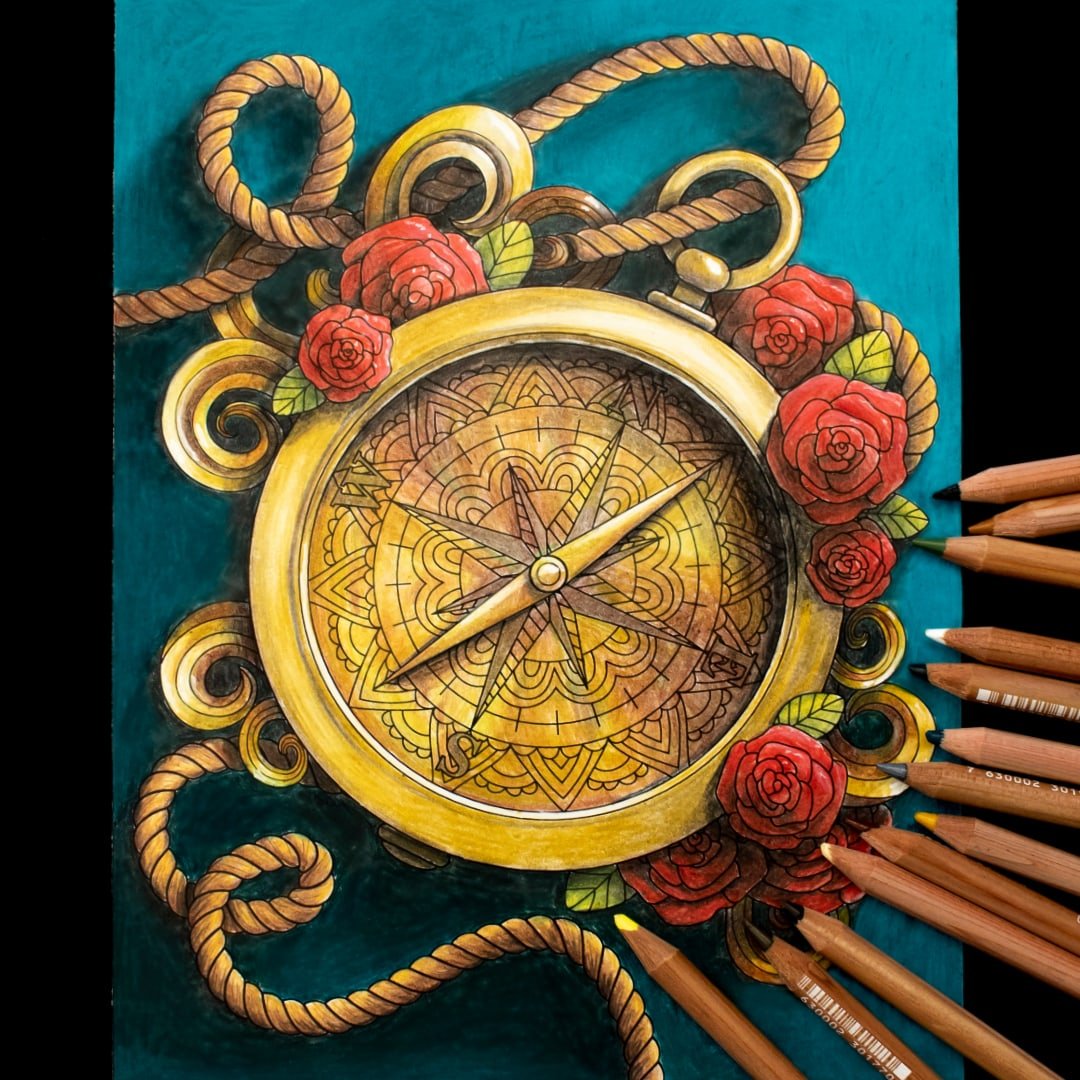
Today I’ll show you 7 easy tips that you can use to improve YOUR coloring pages.
It’s not about the brand of pencils you use, and these techniques can work for ANY budget.
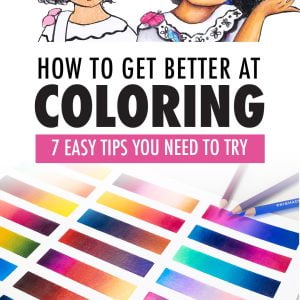
Check out the video below to see these tips in action and then keep scrolling to read how your coloring pages can get an instant boost.
Note: This content is NOT sponsored or endorsed by any of the brands mentioned in this post or video. This post contains affiliate links and I may earn a commission if you click them (at no cost to you).
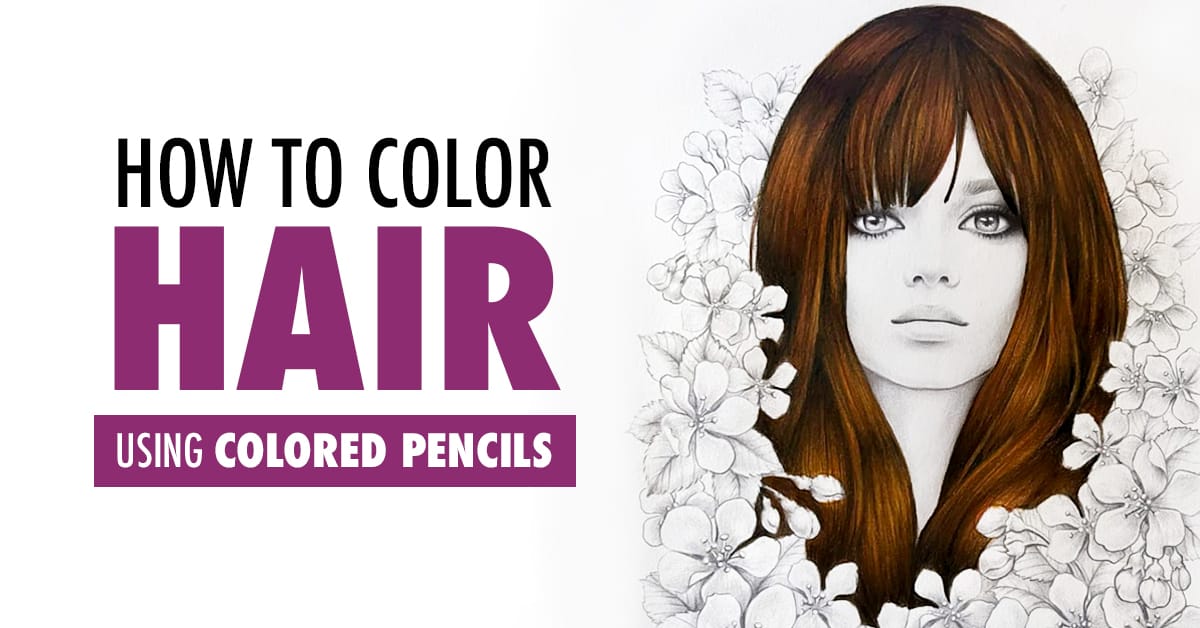
1. Learn How to Blend and Shade with Coloured Pencils
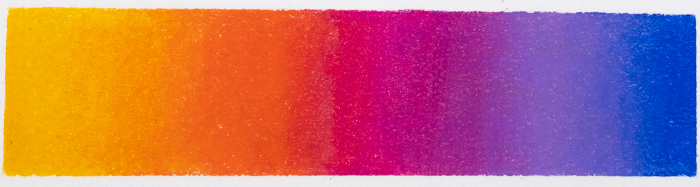
If you’ve followed my videos and blog for a while, you know that I really like drawing gradients. I draw gradients A LOT and all this practice has given me a lot of confidence when it comes to approaching my coloring pages. Learning to blend coloured pencils or add basic shading can feel like a really intimidating task when you’re just starting out, but it definitely doesn’t have to be overwhelming.
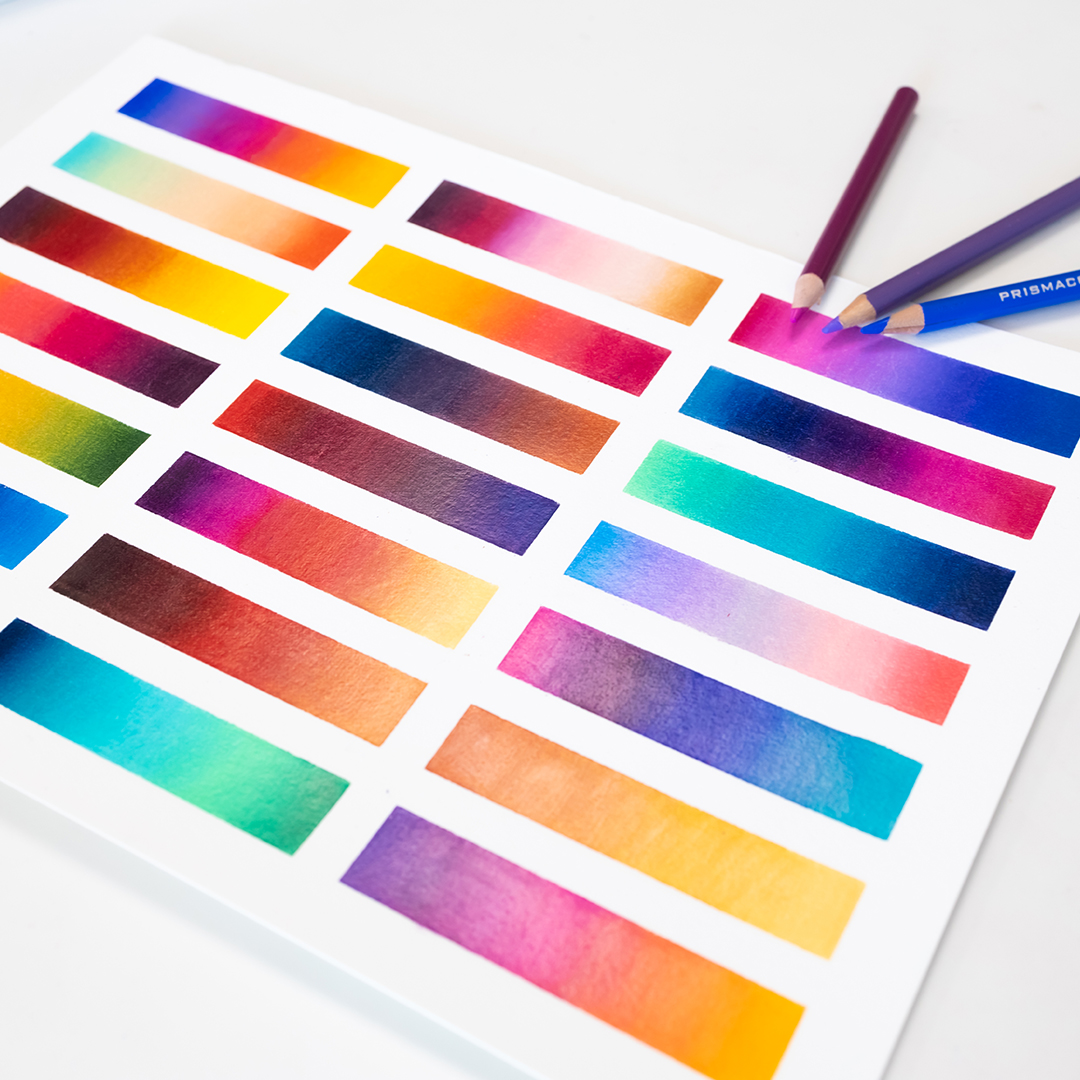

So lets take a super simple approach that you can use to get started.
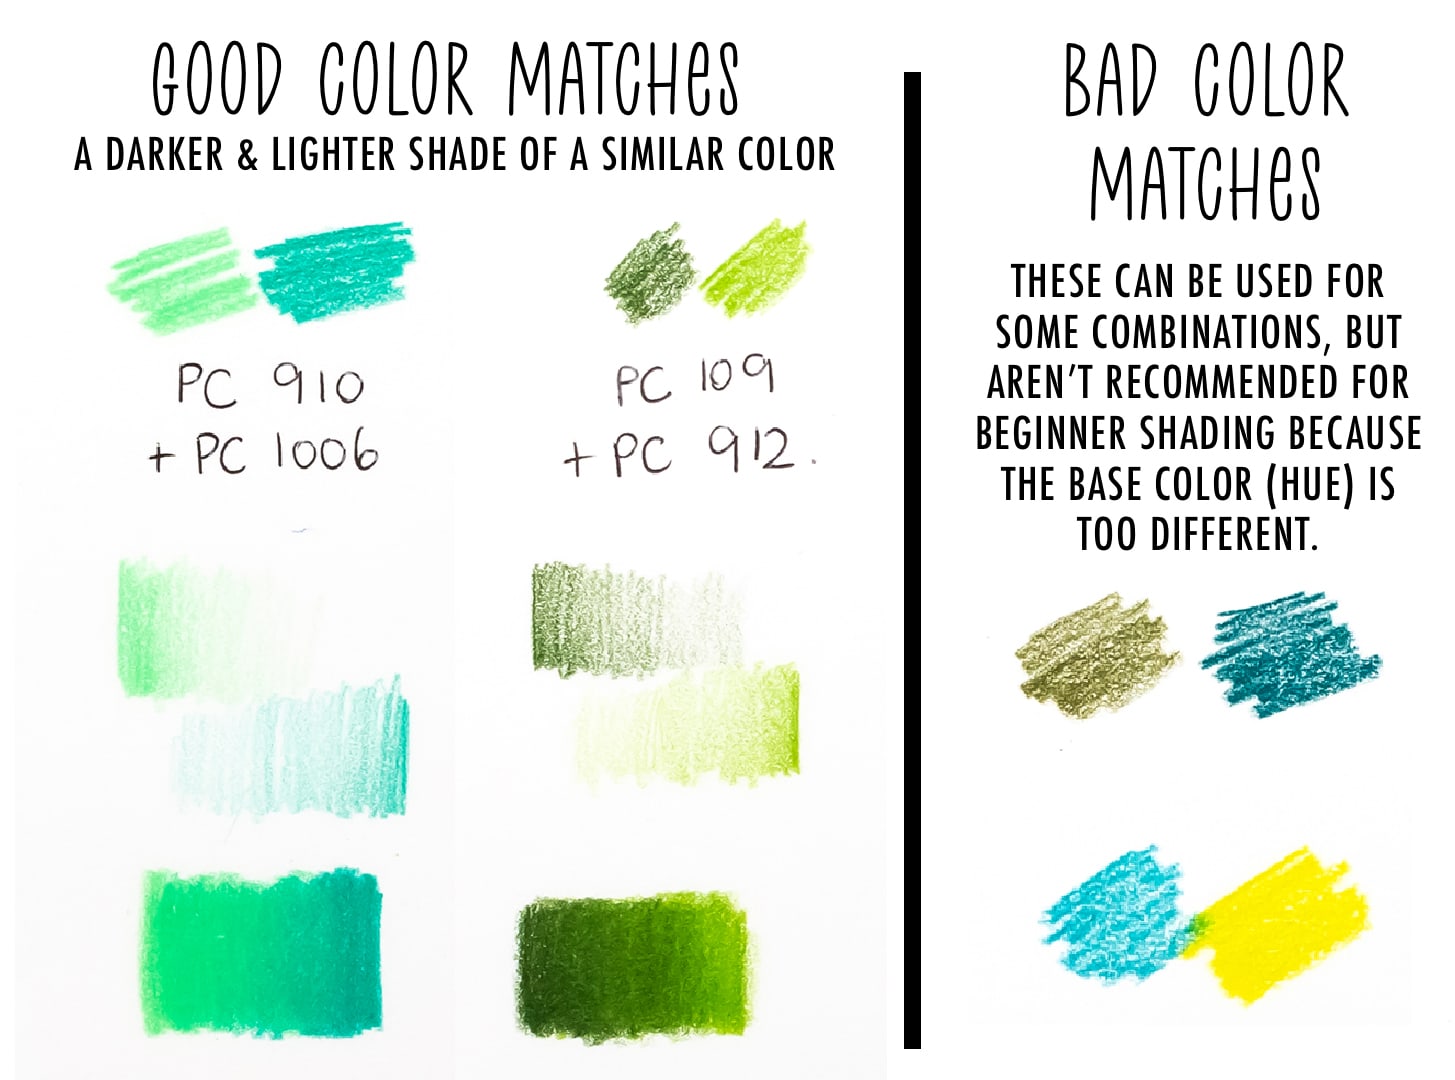
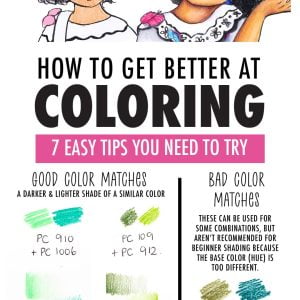
If you’re wanting to color something green, grab 2 green pencils instead of one. Try to find 2 greens that have a similar hue to them, with one being darker or lighter than the other one. What we don’t want is a green that’s more yellow or a green that’s more blue, we want them both to have the same basic color so they match really well. Later on, you can get adventurous with mixing some different colors, but for now let’s start with the basics! And don’t panic if you can’t find the perfect match, the important thing is to have a go and get a feel for how it looks. With practice, this process will give you the confidence to go with what feels and looks right.
Once you’ve choses your colours, we’ll blend these together through layering. This works for any brand of pencil, wax or oil but one big tip is this – a sharp pencil will always be easier to work with!
Use light pressure and overland your colors in the area they need to blend together, lessening your pressure as each color gets closer to the other. Add more layers, and a little more pressure, until you feel like you’ve got a smooth blend. There’s no perfect amount of layers, because this will depend on your pencils, your technique and your paper. Experiment for as long as you need to, to find out what works for you.
This is the basic method I use for all my gradients, for all my shadows and for every area of a coloring page where I don’t want a single, flat color. Adding a second color instantly brings new depth to your coloring page and it’s the single easiest way to improve your coloring.
I have a huge collection of videos to help you with this! Once you have the basics, you can level up to some more advanced shading techniques. Here are some links to other posts and videos about blending that can help you develop your skills.
Basic blending and shading is the foundation of creating almost anything you can imagine with pencils. From advanced lighting, to skin tones and even shadows and 3D effects. All of this starts with learning the basics of shading and how to blend 2 colors together in a simple gradient.
So if you’re looking for the one thing to practise obsessively, this is it! Which is much easier to do with my second tip…
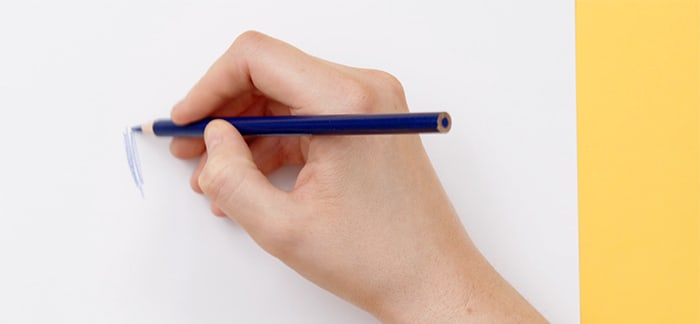
2. Learn How to Hold & Use your Pencils
So, what’s the right way to hold a pencil?
The truth is – there is no RIGHT way! Different pencil grips will allow you to change the pressure, movement angle and more. A grip for drawing a straight line or for drawing fine line details is going to differ from the ideal grip for light layers of color.
Pencils are a tool and however you can use that tool to create art – you should go for it! There are of course, some basic methods of holding your pencils that are easier than others; so let’s go through some techniques that will help you create better results without causing long term injury.
Holding your pencil closer to the point will give you more control and more pressure for fine details. Holding it upright will allow the pencil to get into the grooves of the paper and remove the white. Keep in mind however, this isn’t going to work as well for blending or coloring large backgrounds.
Holding your pencil further to the back makes it much easier to reduce your pressure for lighter layers. Holding it on an angle allows you to use the side of the pencil more than the point and avoid the harsh lines. This gives you less control, but is great for coloring large areas and blending colors together.
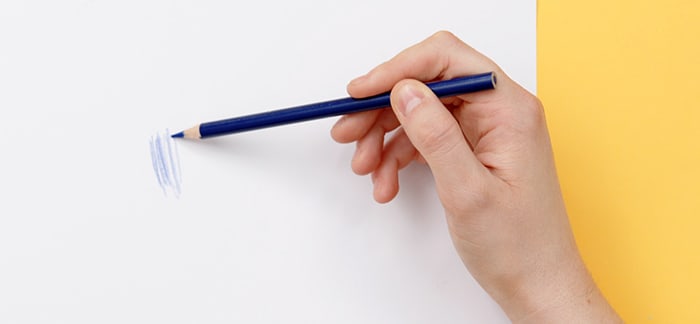
There are so many ways to hold your pencil that fit between these 2 extremes so experiment and find the style that works for you. I often change my approach, depending on what I’m working on.
Another tip to reduce the lines is to work in small circles rather than in straight lines. I do this in most of my coloring, although sometimes my circles are so small that you can’t even tell. And if you’ve already colored an area with straight lines, try changing the direction of your lines on your next layer, something you can see me demonstrate in the video above.
3. Mix your Media
Instead of just working with pencils or markers exclusively, try using them together! This is optional but a really fun way to stretch your creativity.
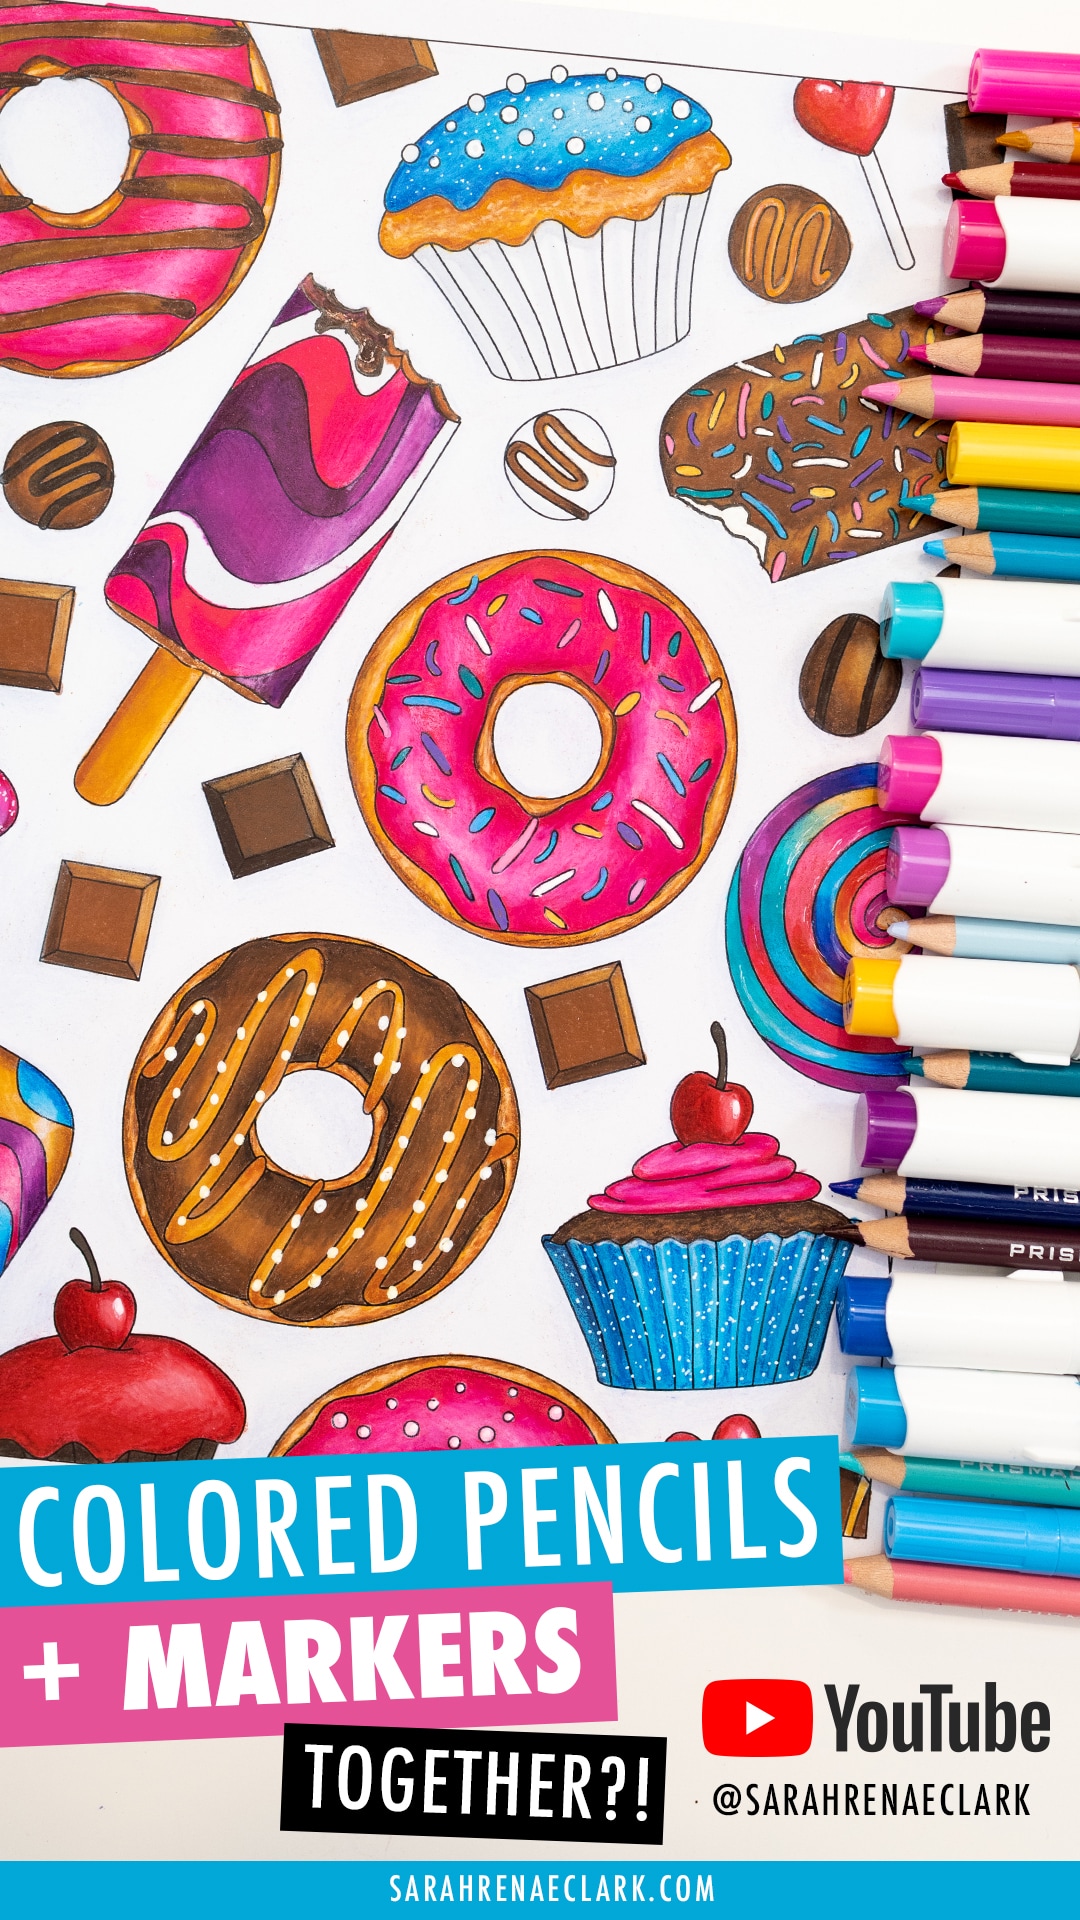
I love working with pencils, but they can take a lot of time to fill large areas, especially if you are trying to remove every little bit of white from the paper underneath. Starting with a layer of marker, pastels or even watercolors can speed up the process, remove all that white and even make your overall colours look brighter.
Markers can be a great shortcut if you’re working on cheap paper, although they will bleed through the page. And if you do try watercolors, you’ll want to use paper that can handle the extra moisture.

4. Upgrade your Paper
The lesson that has probably surprised me the most in the past year is this discovery – upgrading my paper made a bigger difference that updating my pencils. In fact, I’m pretty sure I’ve said in the past that paper didn’t matter!
I take it back
Cheap supplies don’t have to hold you back but using the right tools will give you an advantage and make your creative journey easier and more enjoyable as you learn. They can take away some of the frustrations you might be feeling as a beginner and help you to focus more on the techniques and less on the tools. It’s like the analogy of cutting down a tree with a blunt axe – you’ll get there in the end but it won’t be fun! Don’t create more work for yourself if you can afford the right tools.
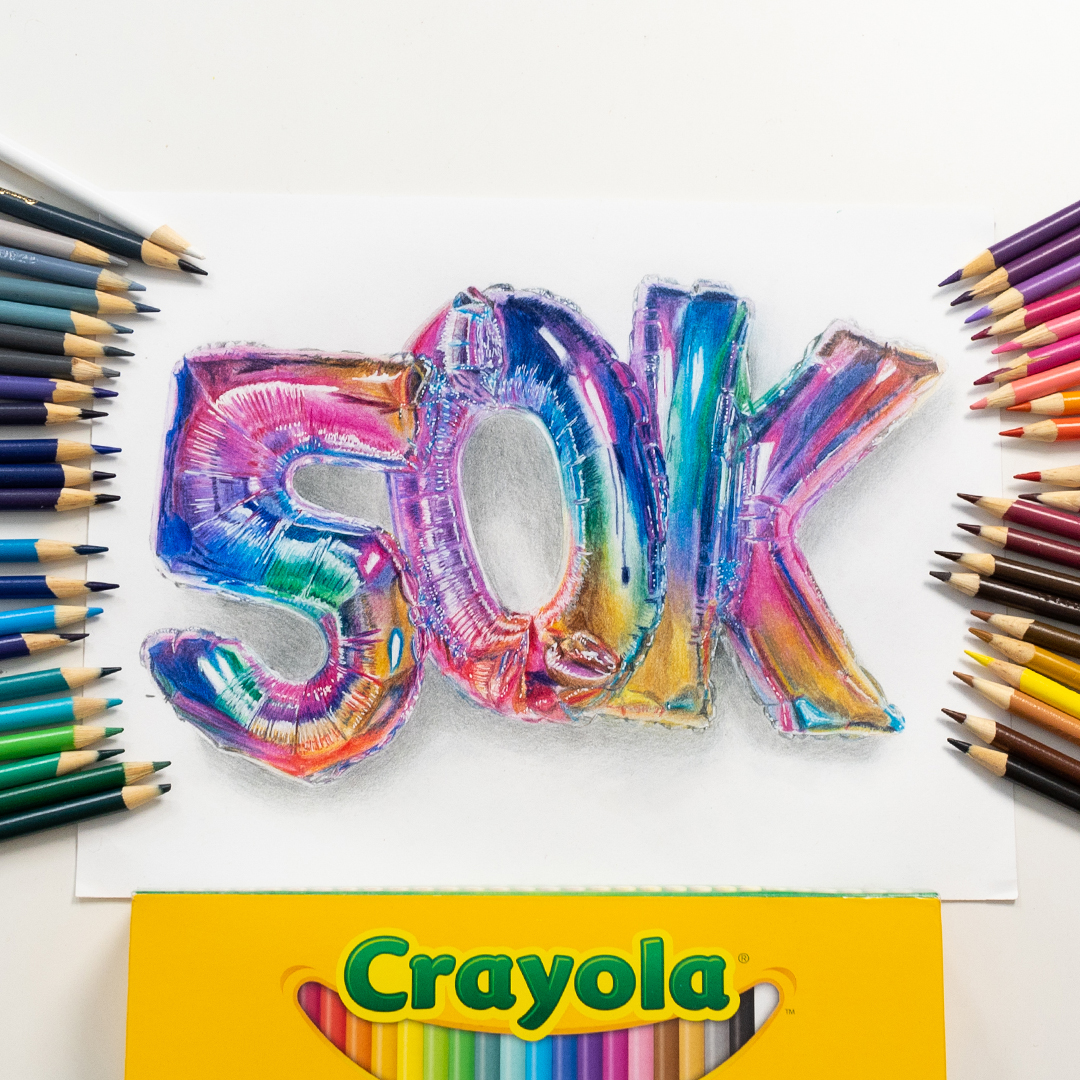
A good artist can create art with ANYTHING. After I did my 50k Crayola Cheap Pencil Challenge I had to reply to a lot of comments that thought my video was highlighting how good the Crayola pencils where, when actually, I spent most of the video talking about how difficult they made the process compared to so many other brands I’ve used!
And yes, I love investing in a good set of pencils, but there are so many great budget pencils available now that you don’t have to wait until you can afford Prismacolor or Polychromos pencils before you become an artist. But now that I know what I know, I’d actually upgrade my paper before my pencils, rather than the other way around.
You don’t need to buy a super fancy brand of paper. There are some more affordable papers available that can work in your printer and are great for colored pencils. I personally use Neenah Bristol Vellum for most of my printed coloring pages, and I know Springhill Bristol Vellum is another popular option.
I list some of my other paper recommendations HERE.
And if you’re coloring in a book instead of with printables, just work with what you’ve got. It’s not a dealbreaker.
I’ve created a new page on my website where you can see all my current favorite supplies and recommendations in one place, so if you’re ever curious about what pencils I like, the paper I use or even the tech equipment I use in our videos, it’s all HERE.
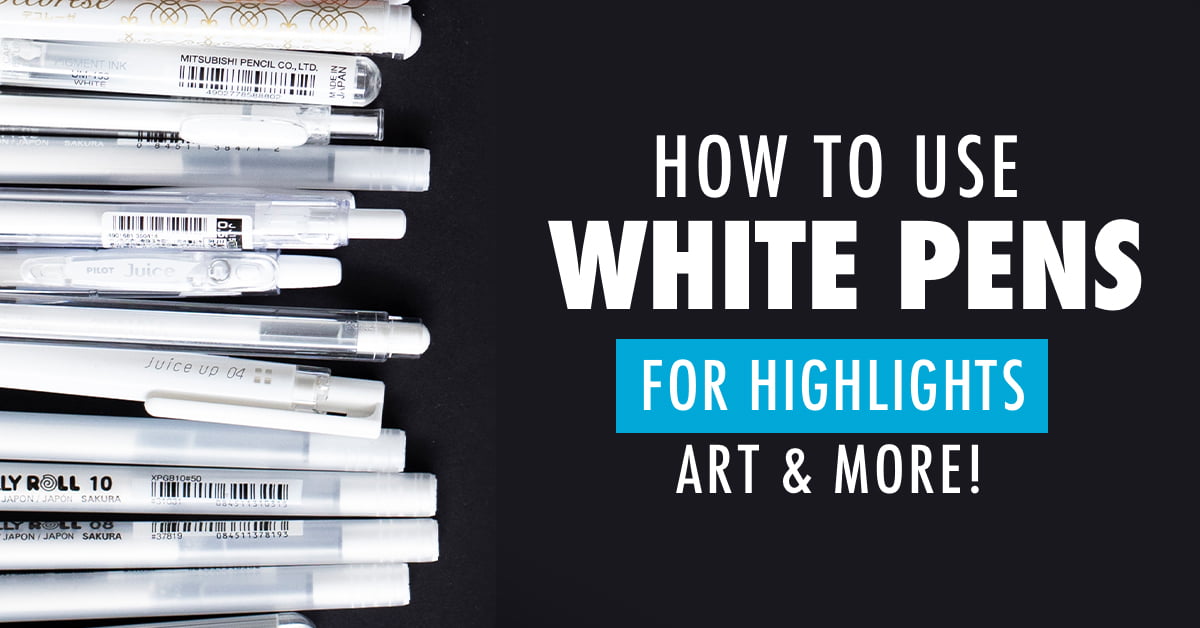
5. Add Highlights to Your Coloring Pages
This trick is one that I use all the time, and it’s one of my favorite parts of coloring.
Every colorist needs a white paint pen or gel pen in their art supplies. They are perfect for finishing touches like sparkles or reflections on water, in patterns, in eyes, and just everywhere in coloring pages.
I LOVE THEM.
And in the past, I relied mostly on gel pens. But more recently I’ve found a fine-point acrylic paint pen to be easier to use and more reliable. They don’t skip like gel pens, and as long as you don’t load too much paint in the barrel, they shouldn’t make a mess. Not to mention, I love that you can buy them in different colors, although I love my white more than anything.
6. Practice!
The biggest reason my art has improved over the past 12 months is PRACTICE. I’ve been creating something new every week on my YouTube channel, and that’s given me a lot of time to develop in my skills.
Creativity is a muscle. The more you use it, the more it grows. You don’t have to draw every day, but creating a regular habit can help you to grow your skills much faster than just watching tutorials.
But don’t just do the same thing over and over. Instead, take every opportunity you can to challenge yourself and try something new.
This is so important in the creative process that I’ve made it my 7th tip…
7. Take Risks
My biggest growth has happened when I’ve taken the biggest risks with my art.
And we’re not talking about life or death here – in most cases, the worst outcome is that you’ve got an ugly coloring page at the end and you’ve learnt something new. I say that’s a win!
Don’t be afraid of using your good supplies or ruining your favorite books. Take a risk and give them a go. Only then will you give your creativity a chance to really take off, and you might surprise yourself with what you can create in a few months or a year from now.
For me, I wish I had learned how to take risks earlier in life. Being scared of failing held me back from a lot of things, and my art has improved more in the last year than in the last 10 years because I finally learnt how to embrace failure.
I talk about this and some of the other things I wish I knew as a beginner artist in this next video below, which is a must-watch for every artist. I hope you enjoy it!
So whether you’re just starting out with coloring, or looking for ways in improve your coloring techniques, these 7 tips are an ideal way to kick off your creative practice. If you’re looking for more techniques and tricks to help you, make sure to subscribe to my YouTube channel and subscribe to my newsletter. That way you’ll never miss out on an opportunity to join me on the creative journey!
I love your knowledge, experiences, experiments and most of all, your laughter! Thank you for all your work you do and share with the creative world. I learn a lot from you. I am saving up for the complete color bundle, looking forward to that purchase!
Kind regards,
Jolande
Experiment with different blending techniques to achieve smooth transitions between colors. You can use blending tools like blending stumps, cotton swabs, or even your fingertip to gently blend colors together. Blending can soften harsh lines and create a more polished look.Thank for your tips